A modern smartwatch concept with modeled internals and GUI
The idea for this project came to my mind after discovering Plasticity, a 3D CAD modeling software made for artists.
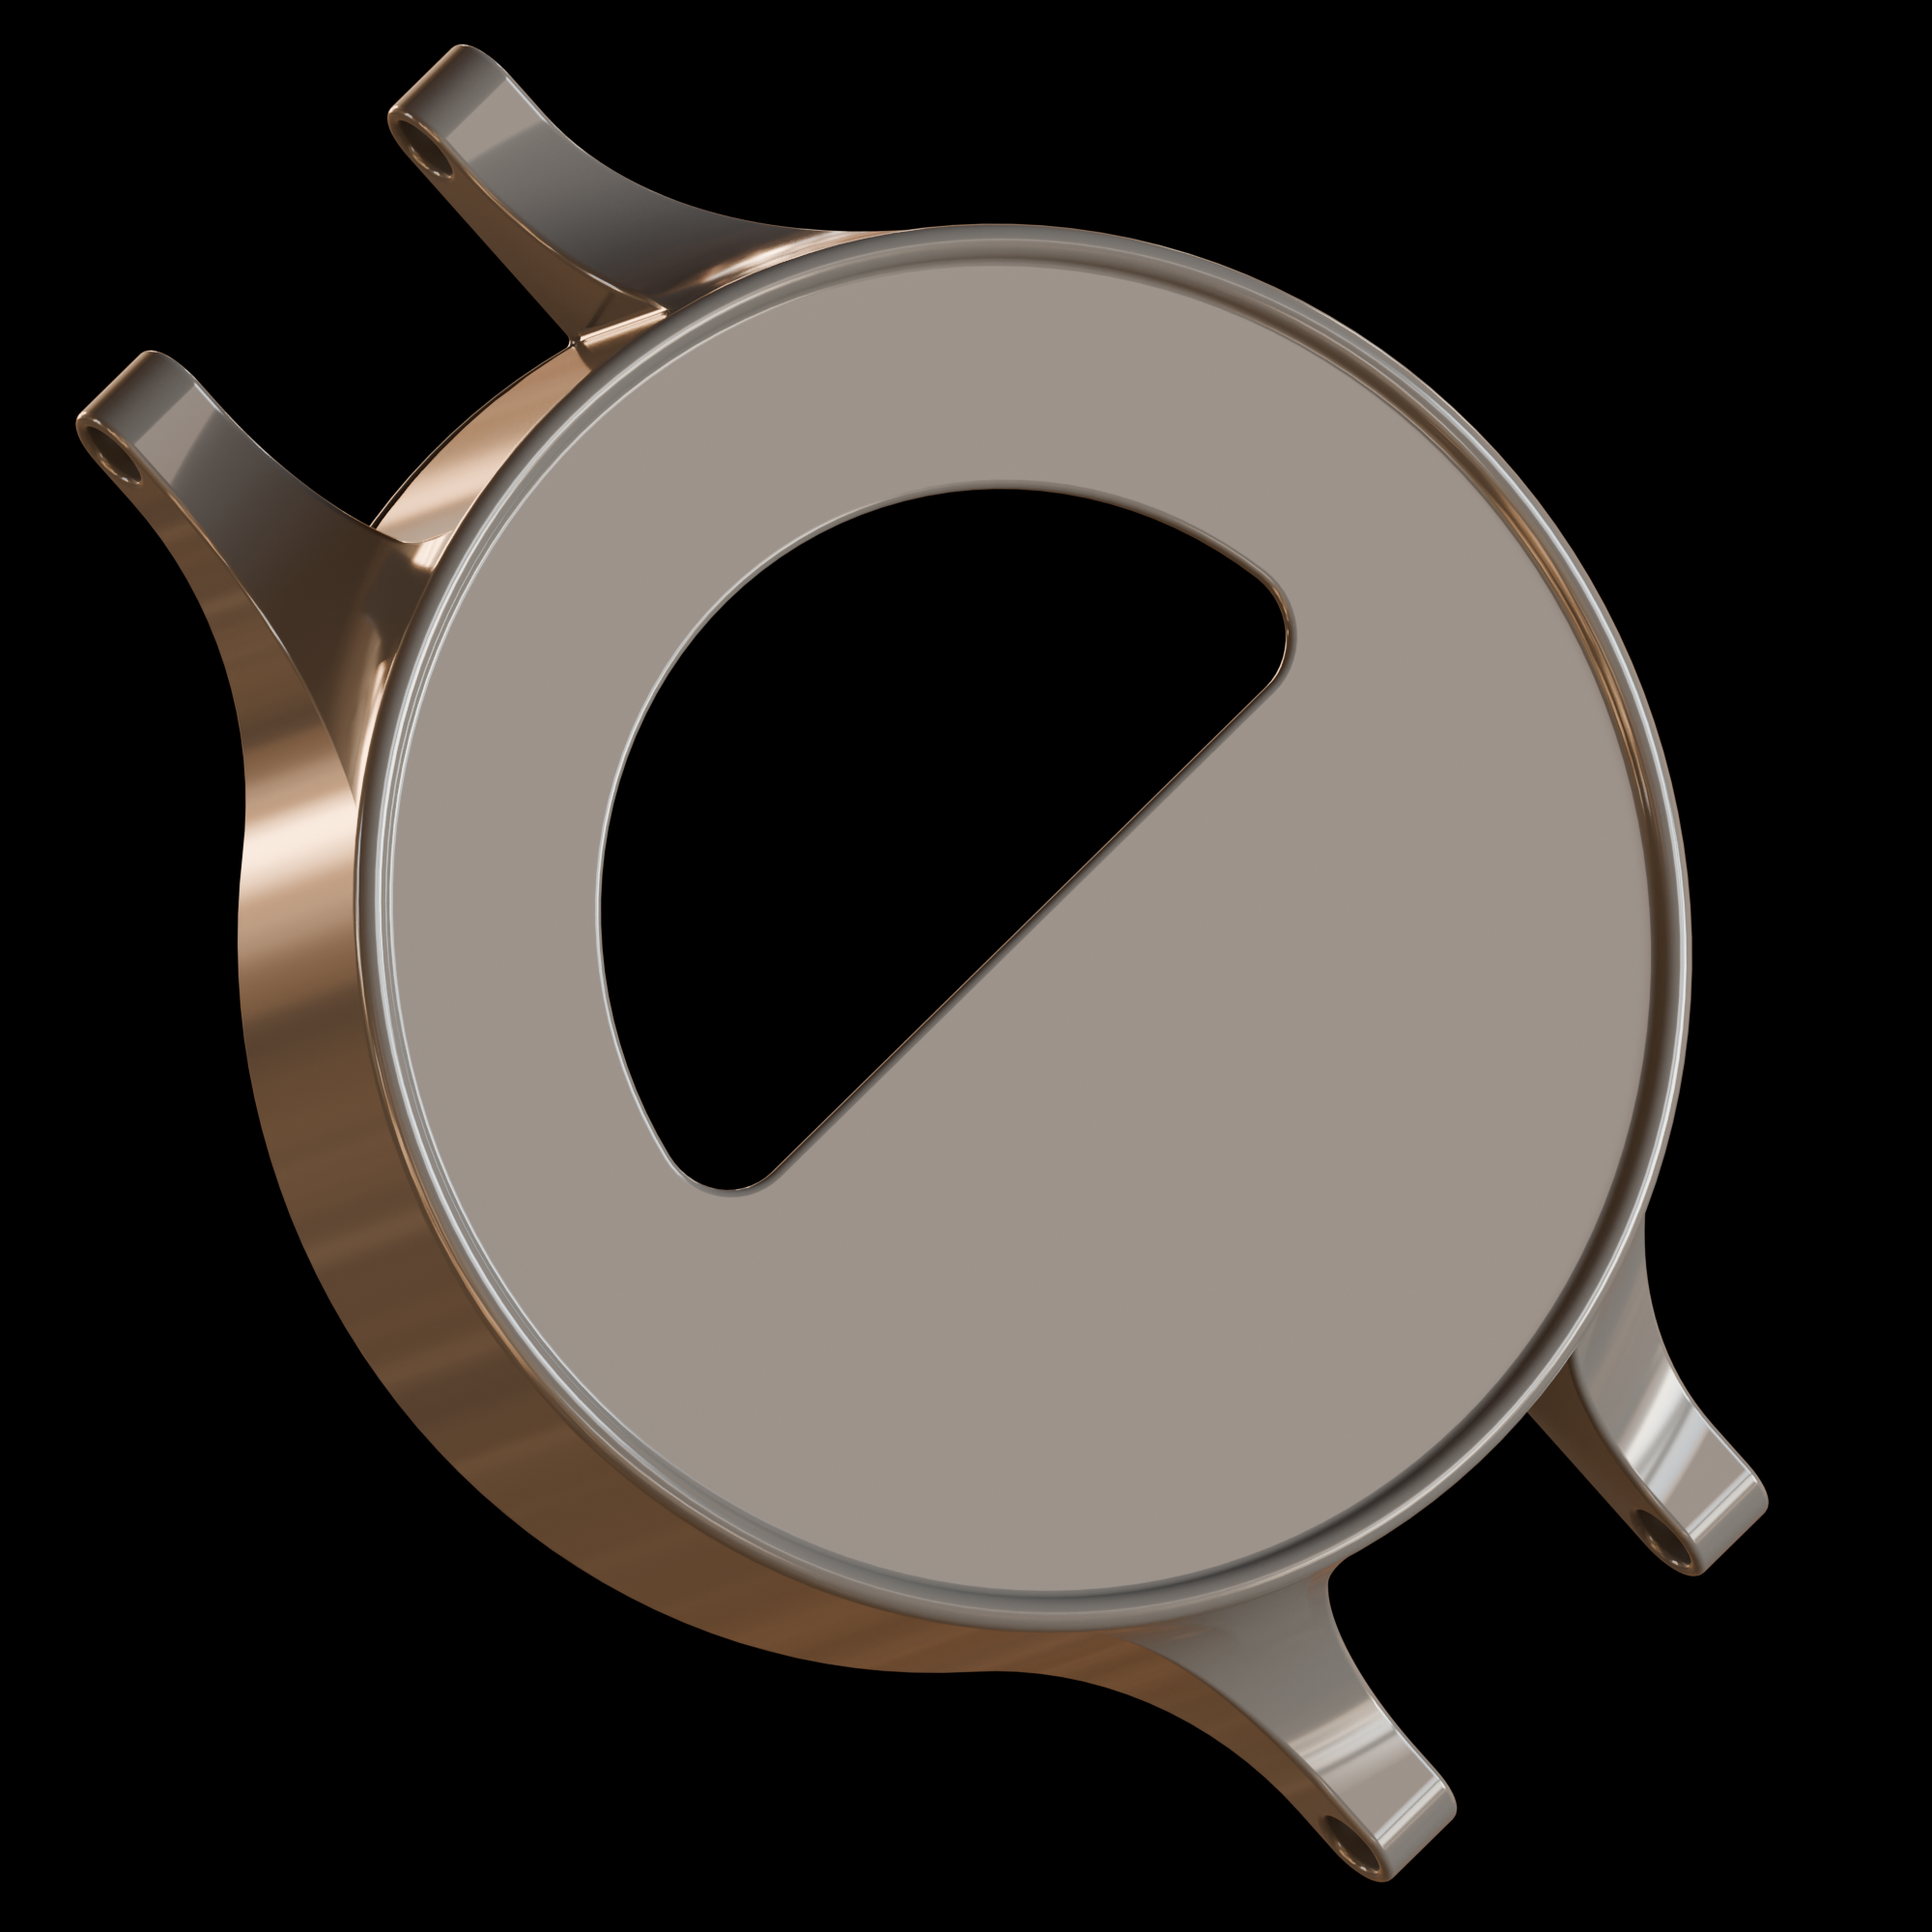
I always wanted to design a piece of tech, and a smartwatch seemed like the perfect candidate, as it's not a flat brick like modern smartphones but still includes a touchscreen which allows for some GUI design.
Lugs are the protruding parts of a watch case that attach to the band. I've decided on a smooth connection of the lugs to the case, which would pose quite a challenge in traditional loop-cut modeling that I employ on most models.
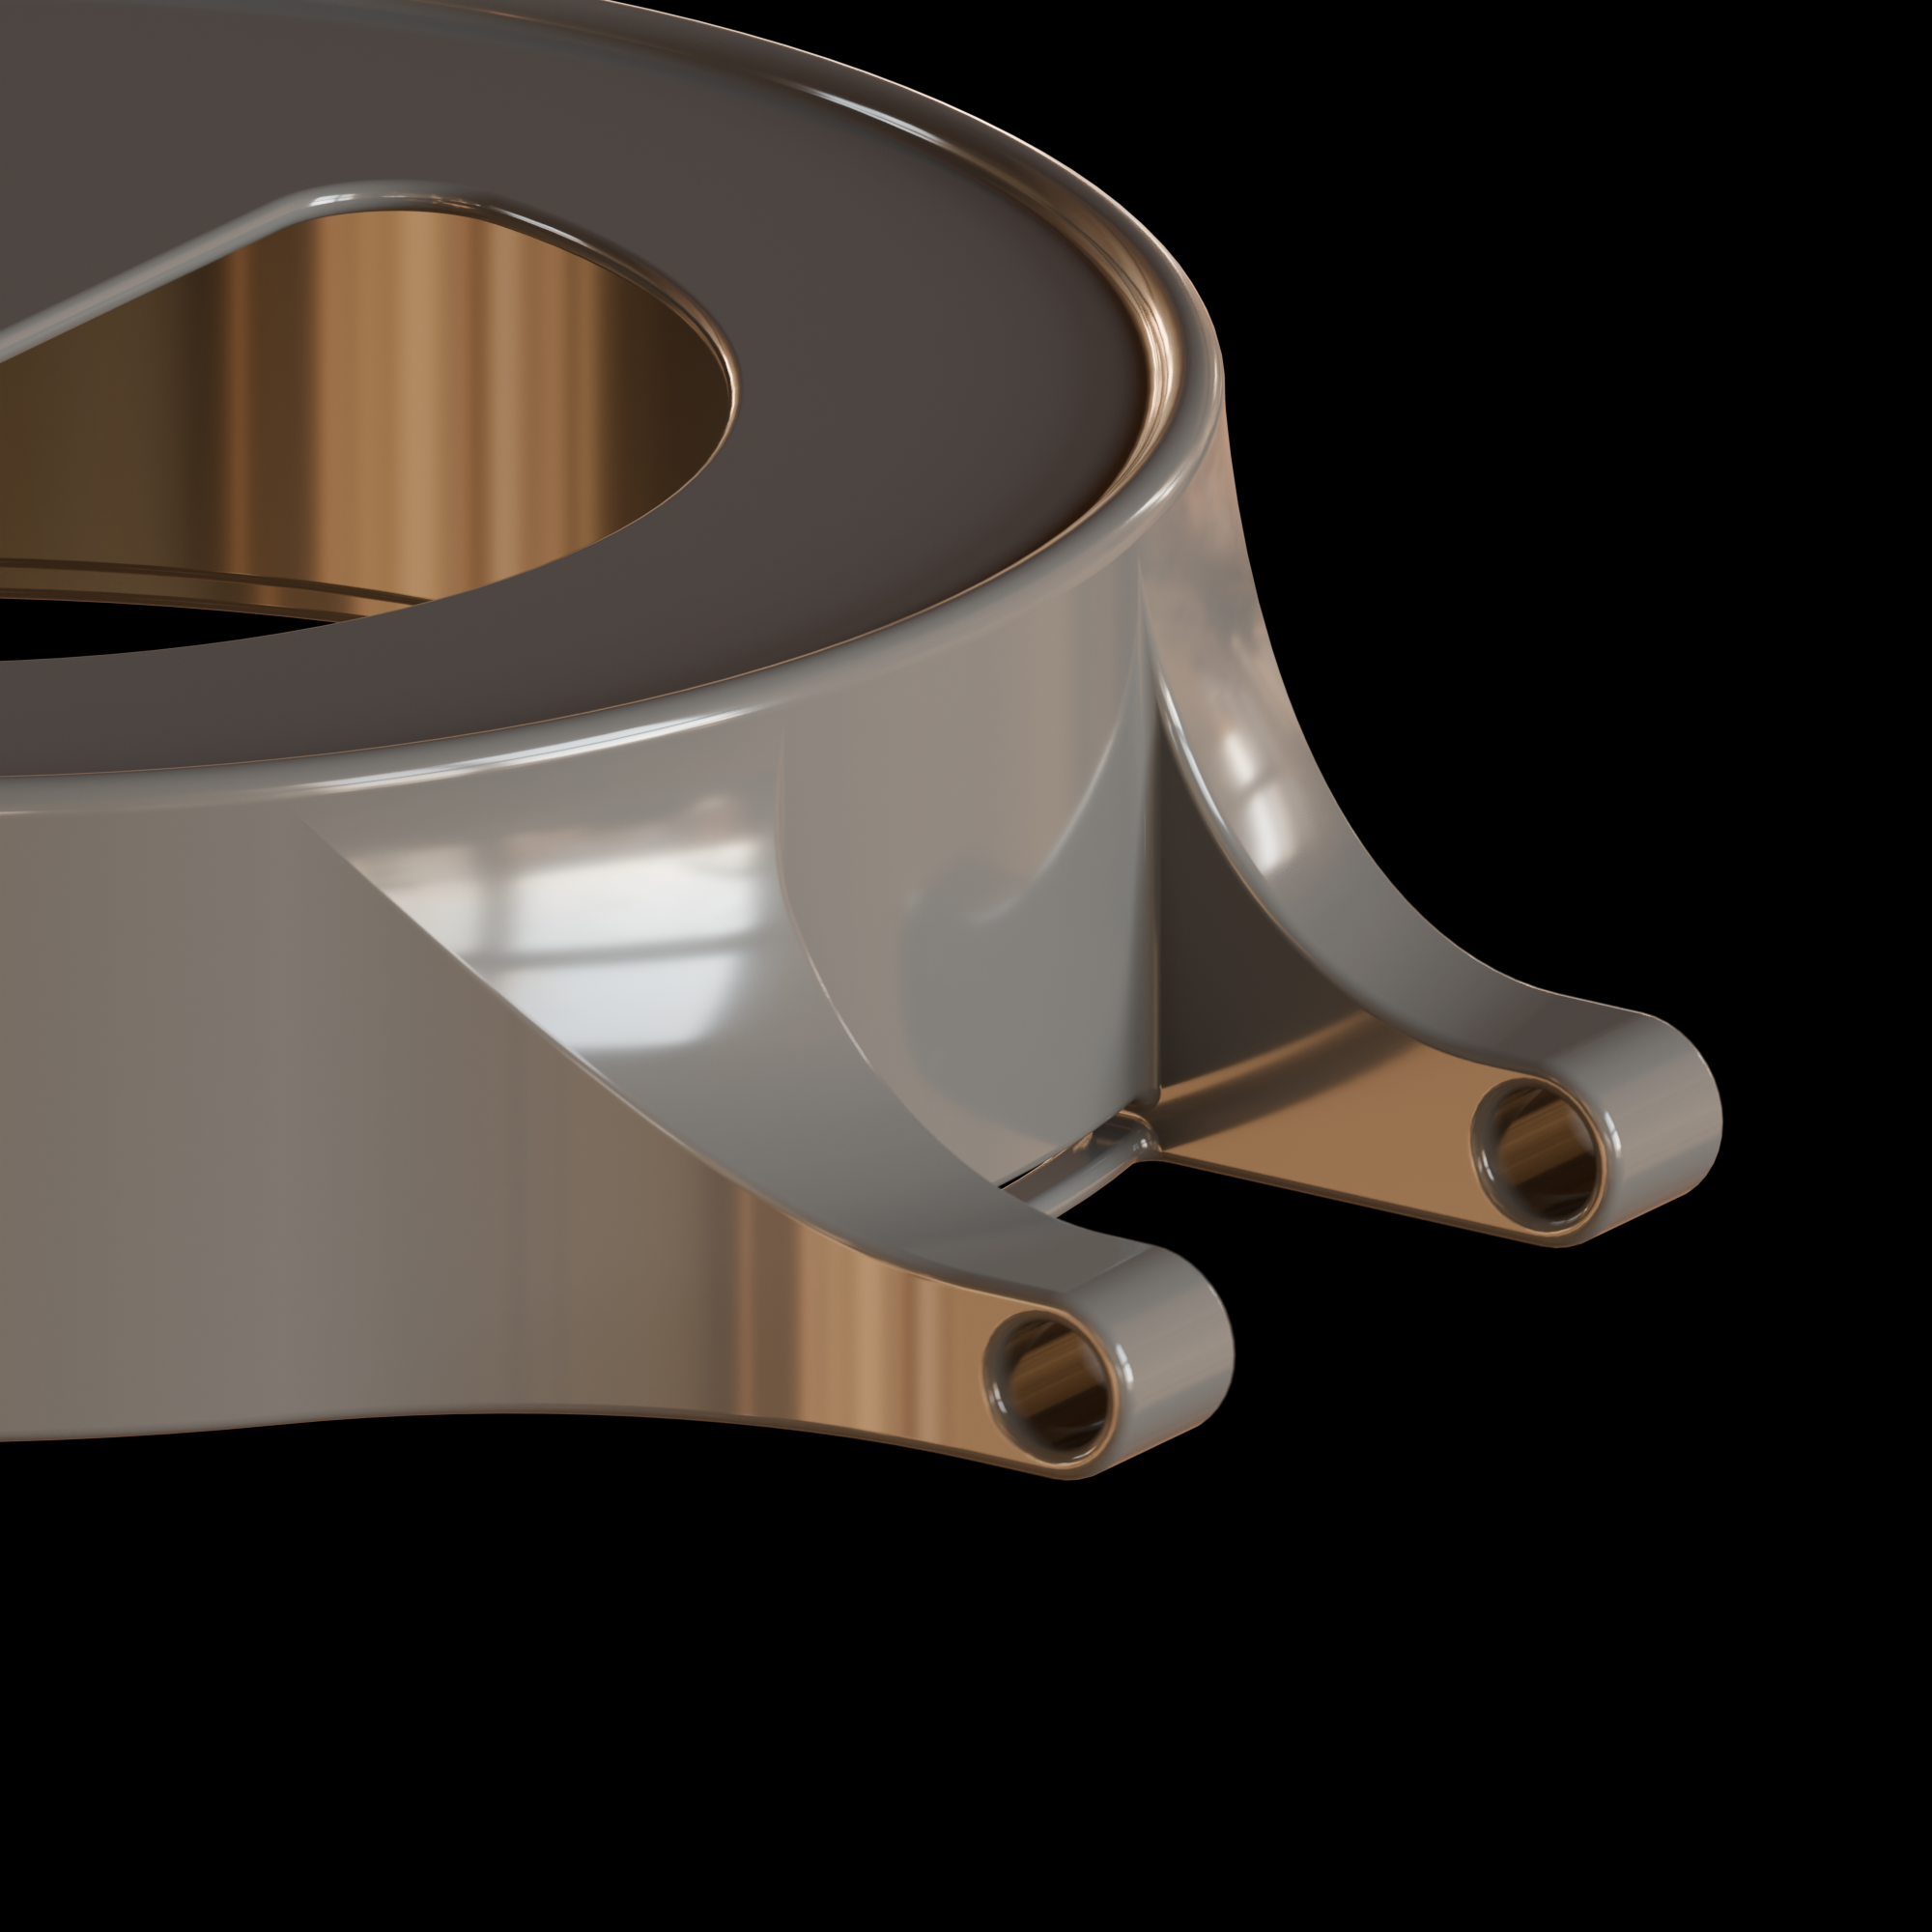
Luckily, since Plasticity is a CAD, it was just a matter of adjusting some beveled edges to achieve my envisioned shape.
The design of the rotating crown, which functions as a GUI navigator on this model is pretty simple.
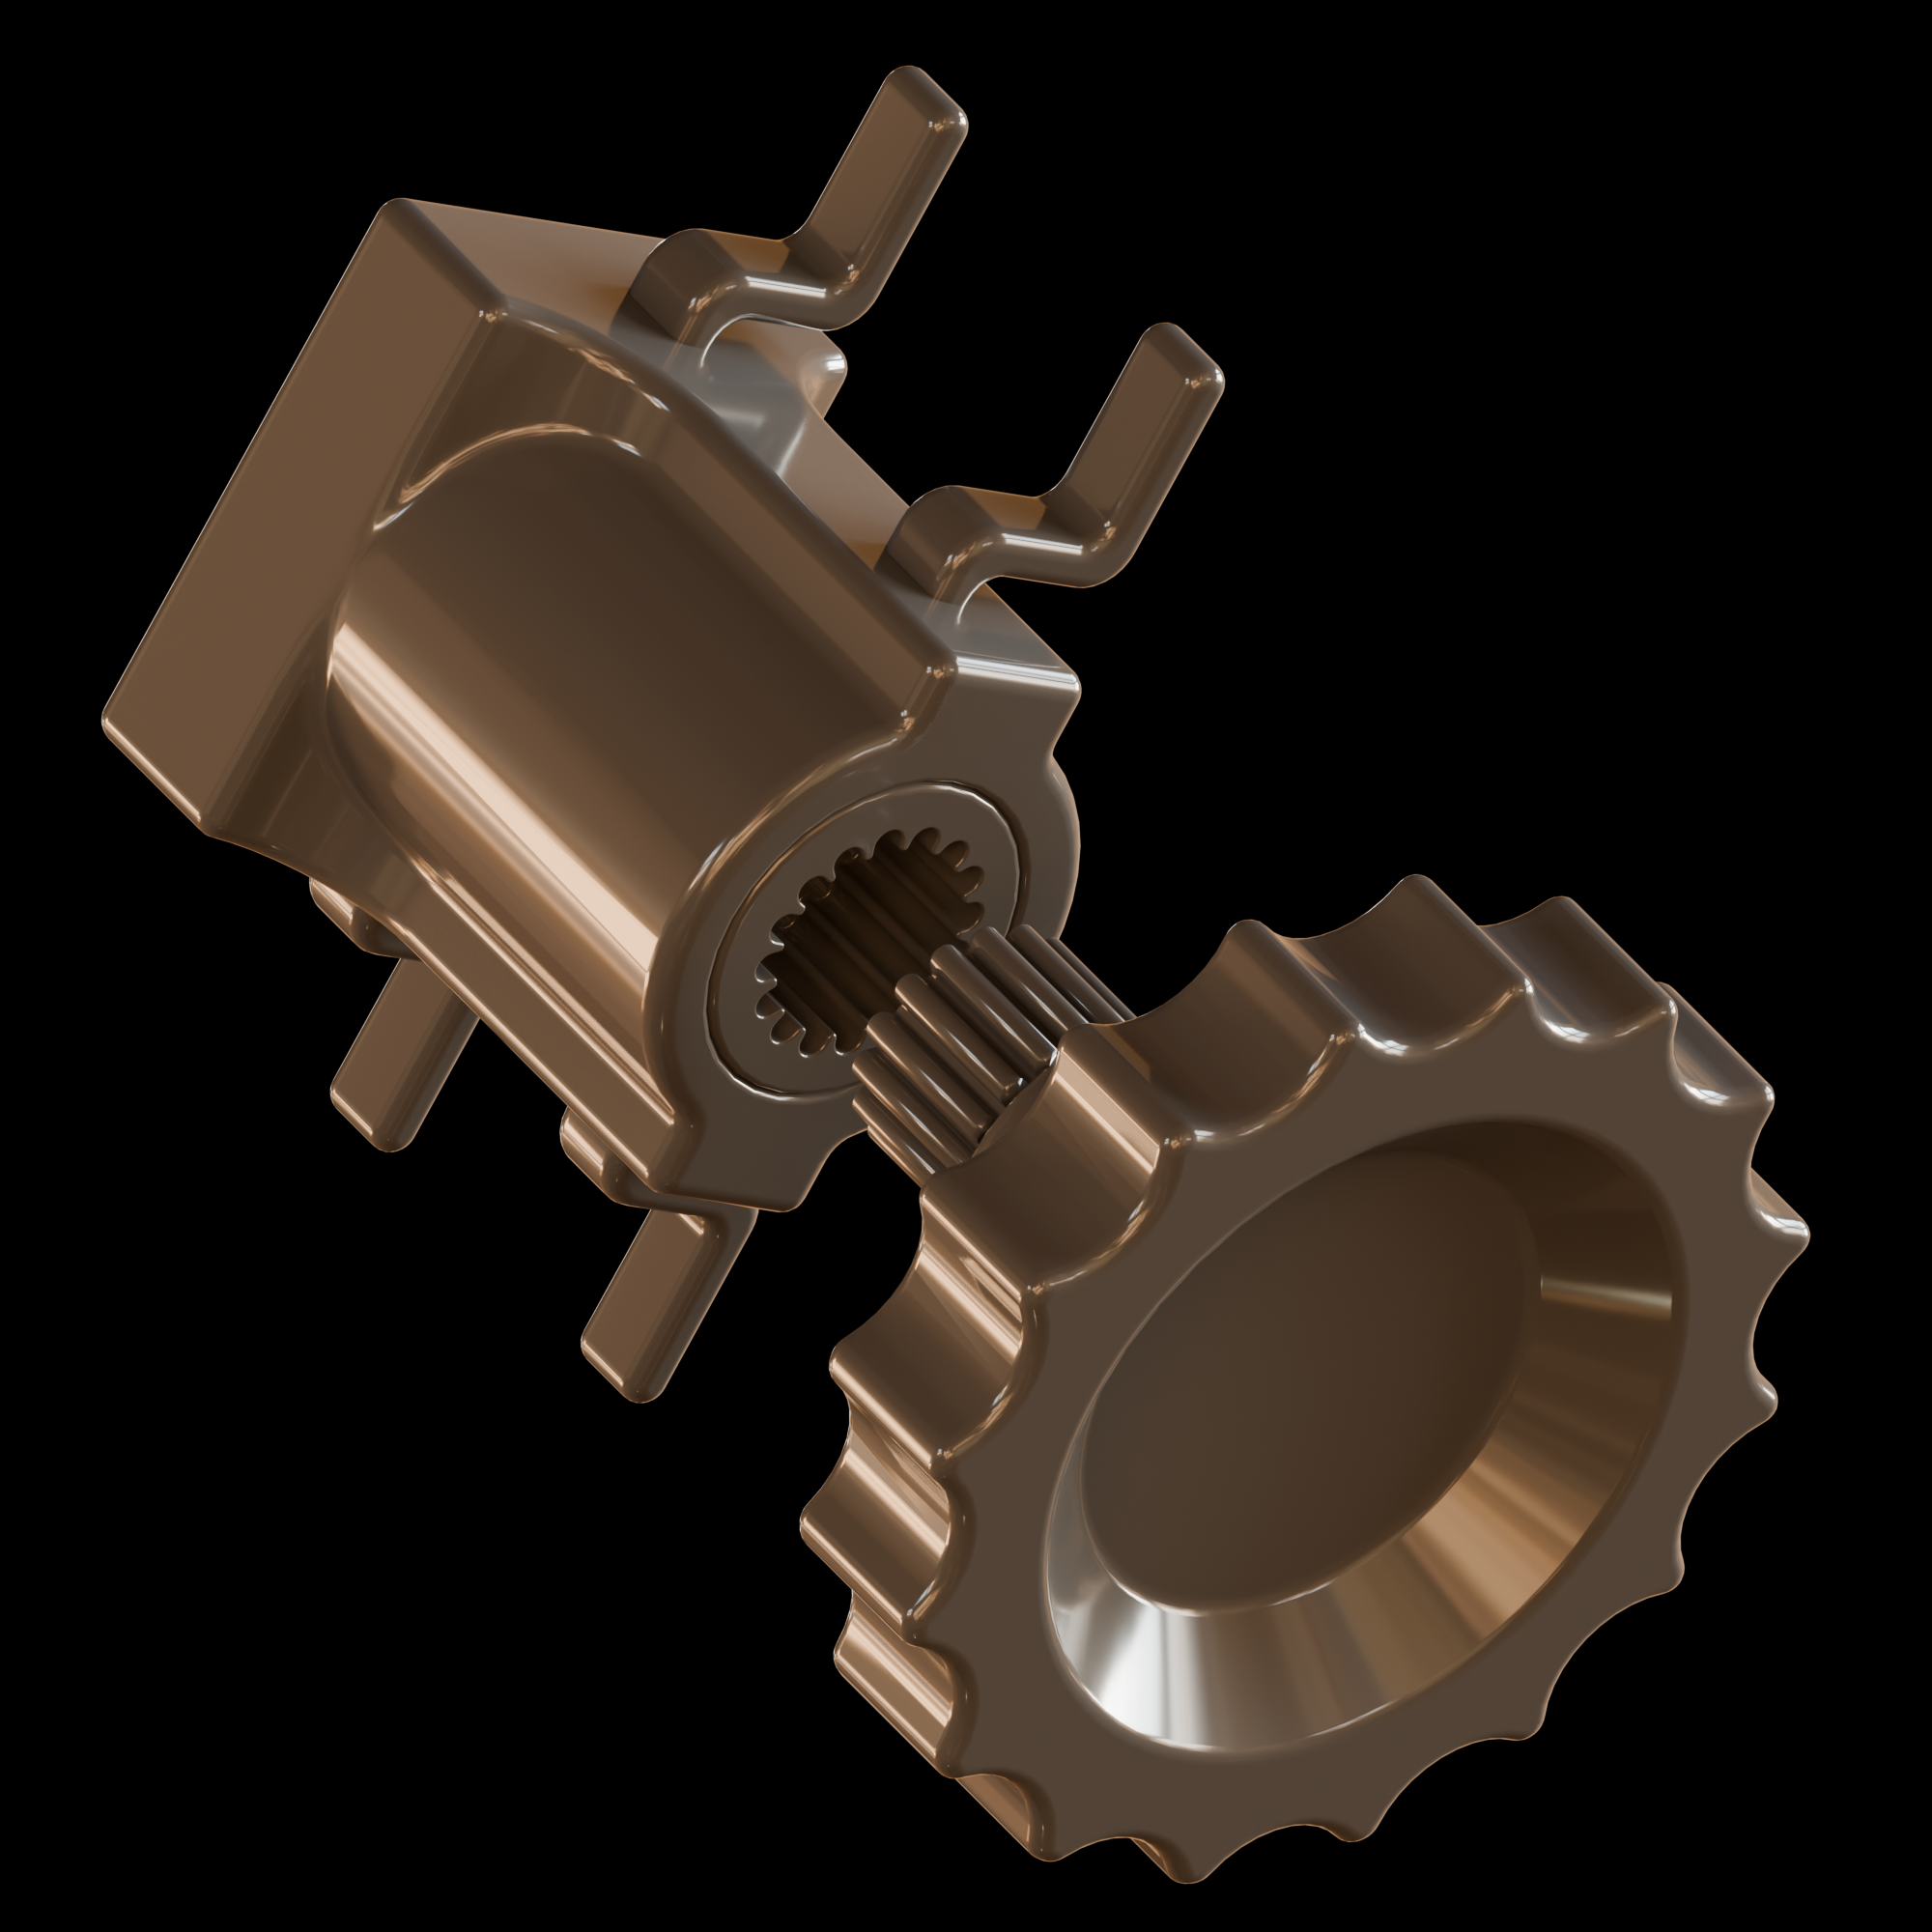
It interfaces with the rotary encoder on the main board, which we will talk about later.
All the materials for this project were made in Blender, utilizing its built-in nodes for material programming.
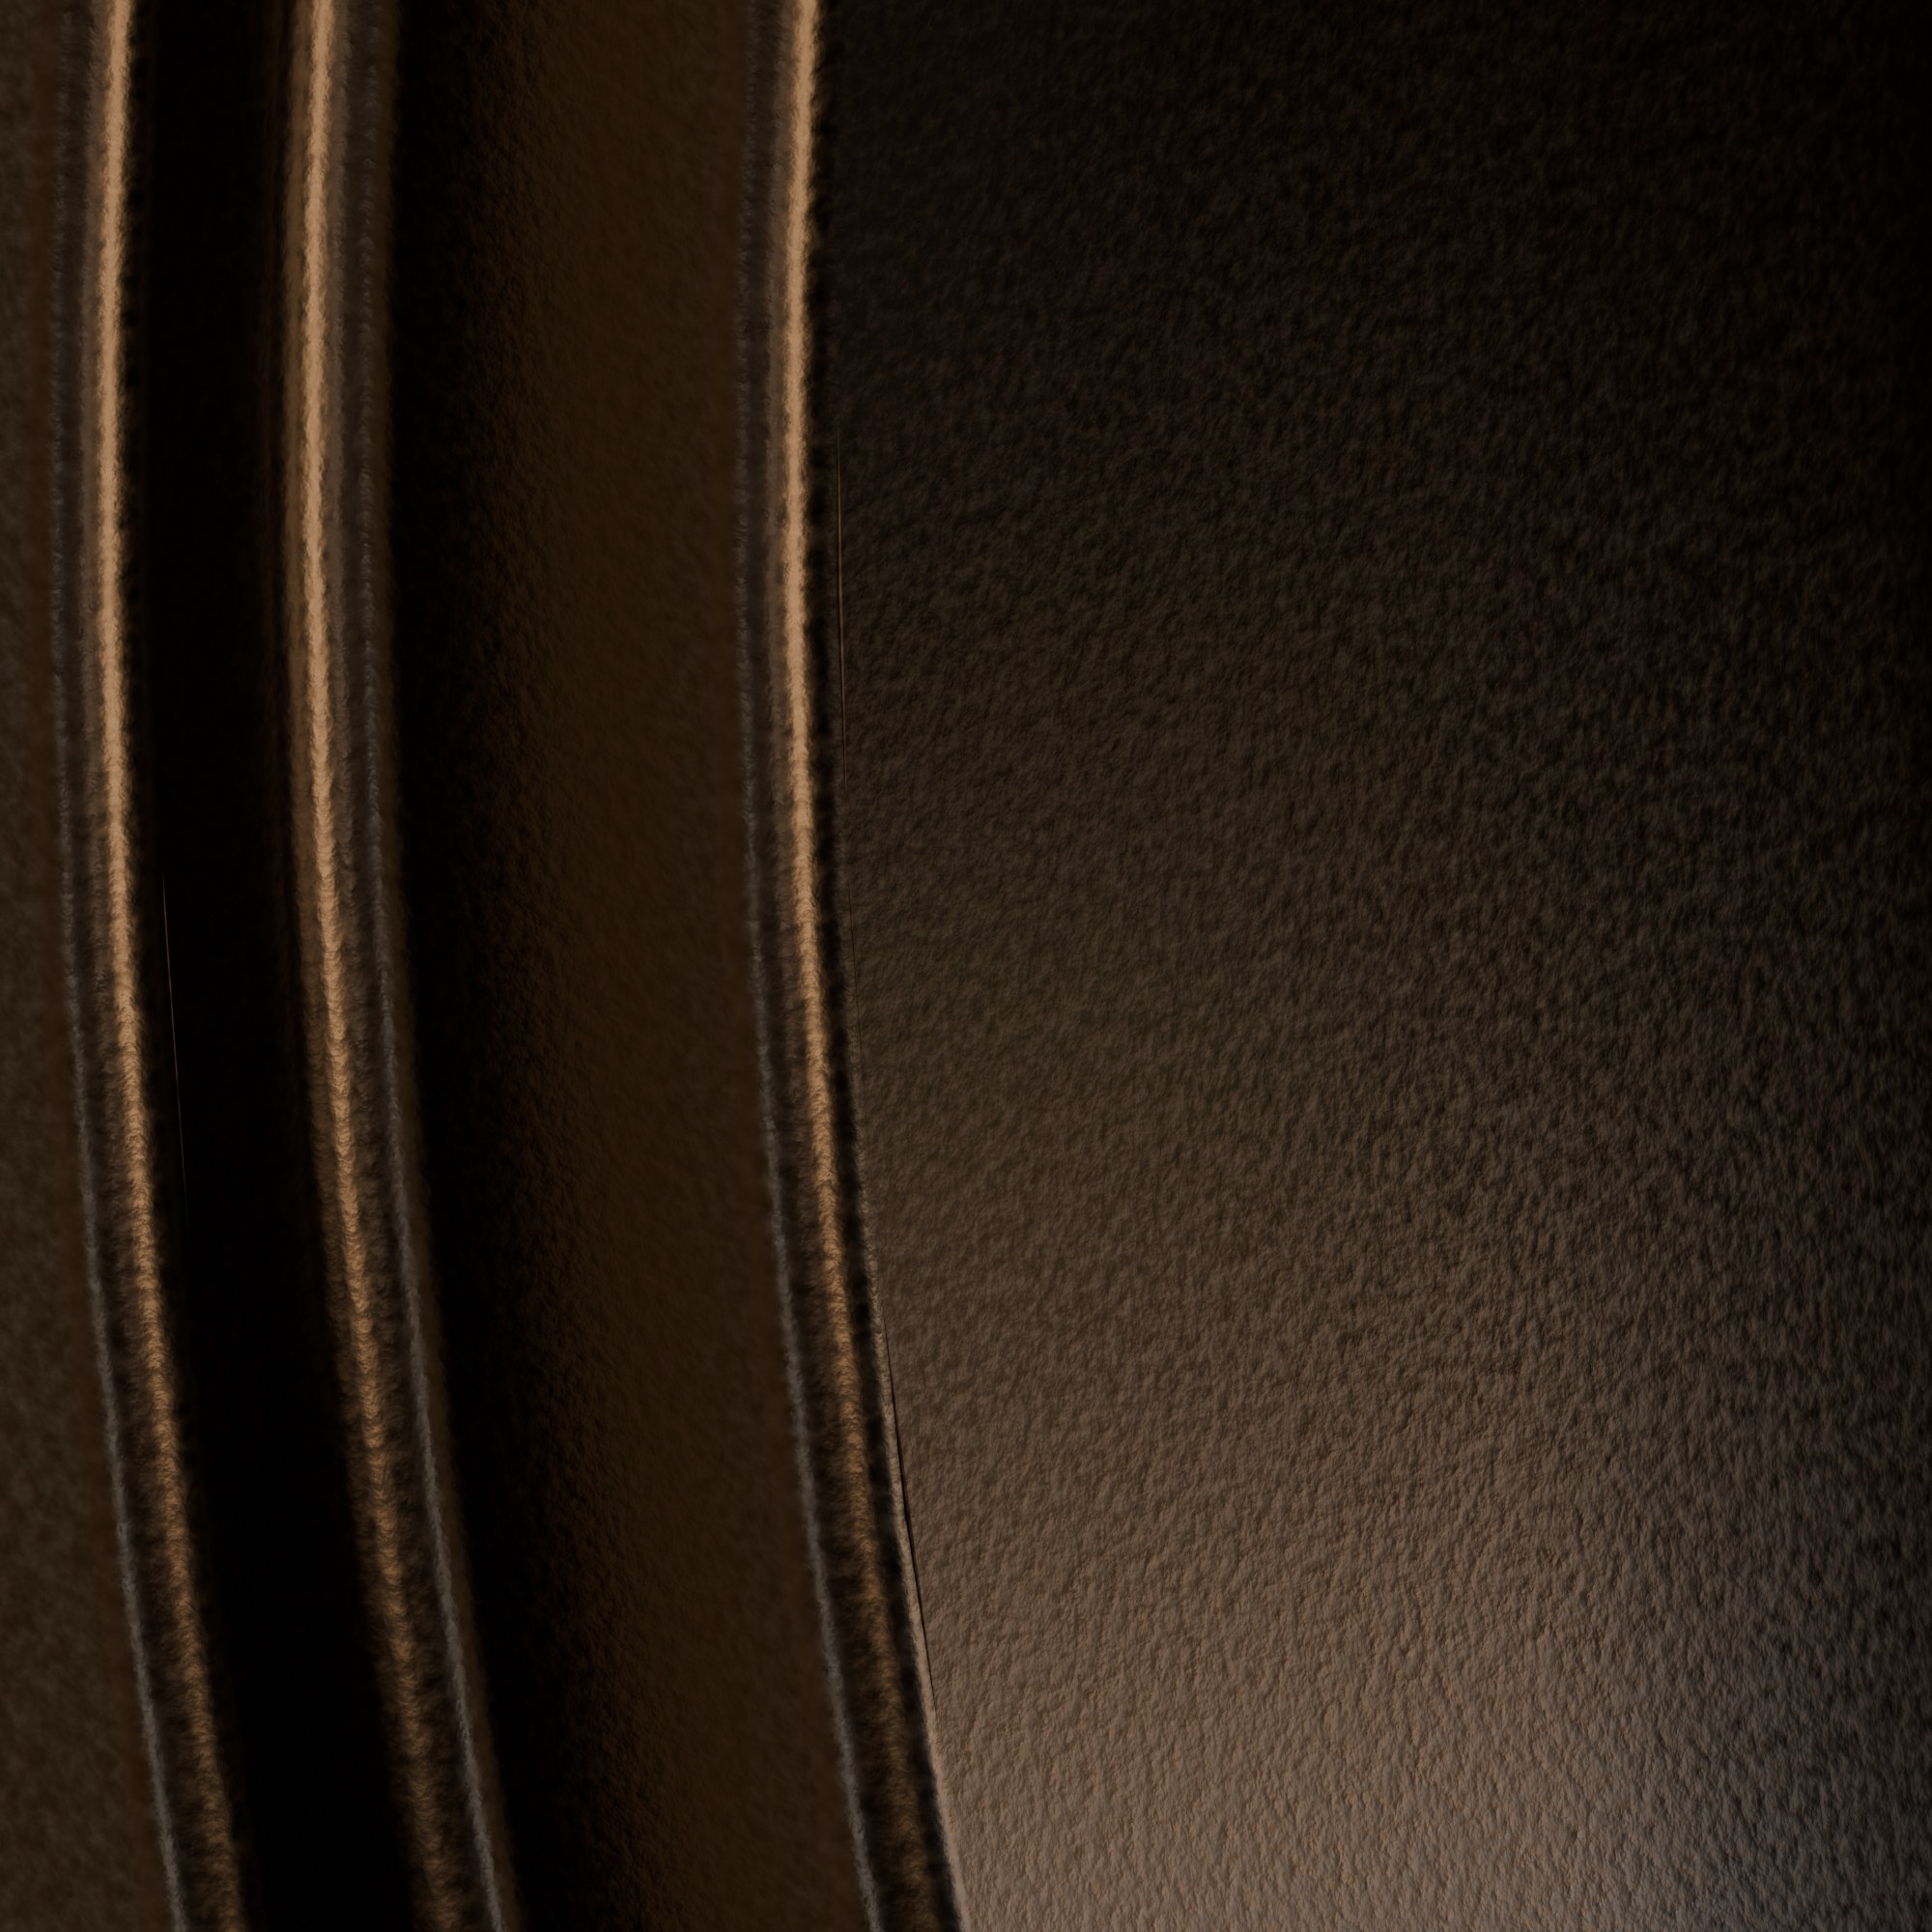
Real references of anodized parts have a "noisy" look to them, which comes from the electromechanical process of growing an oxide layer on top of a part.
This process creates pits and pores in the metal, which along with the complex light diffusion and interference that's happening when light shines on a part, creates a grainy look.
It can be quite easily replicated by adding a modified noise function to the albedo, roughness and normal inputs of a PBR material. While much of this detail is lost when viewing from afar, up close it adds an important layer of visual interest. Otherwise it would just look flat.
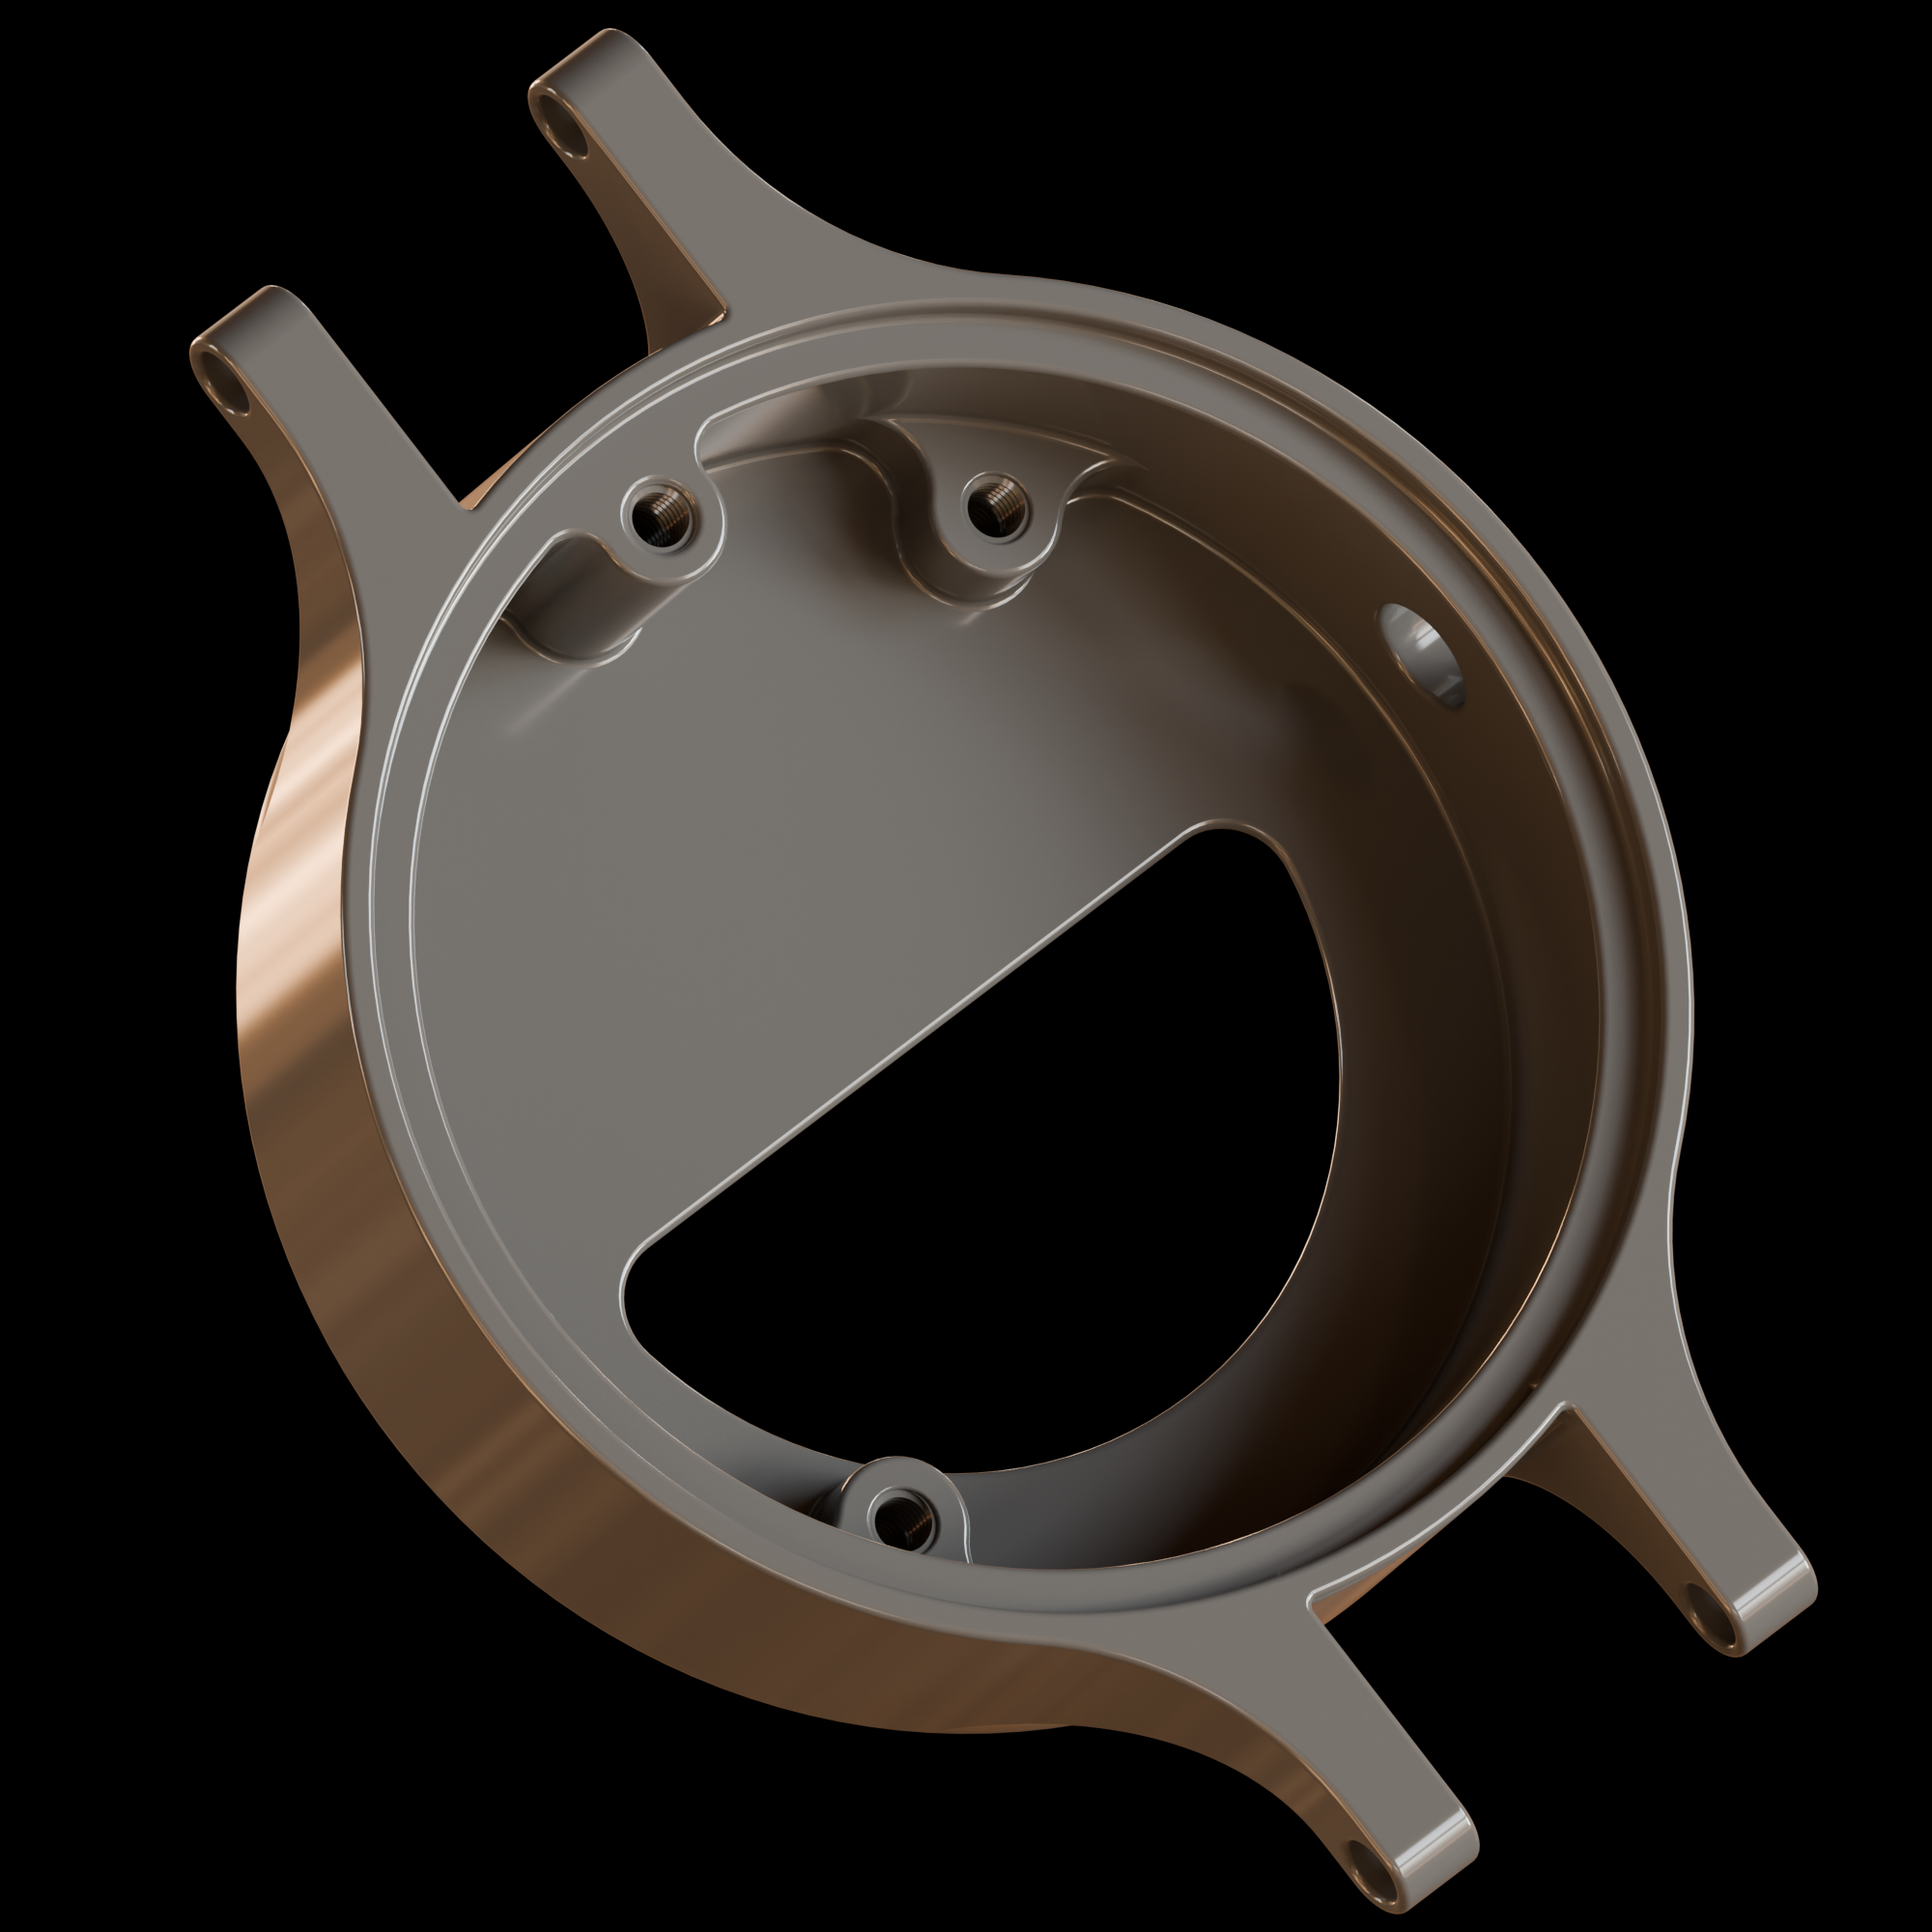
An interesting detail visible on the picture below is that the rest of the watch (which is made of aluminum) is anodized, while the internal threads are not. This is a common sight on anodized parts.
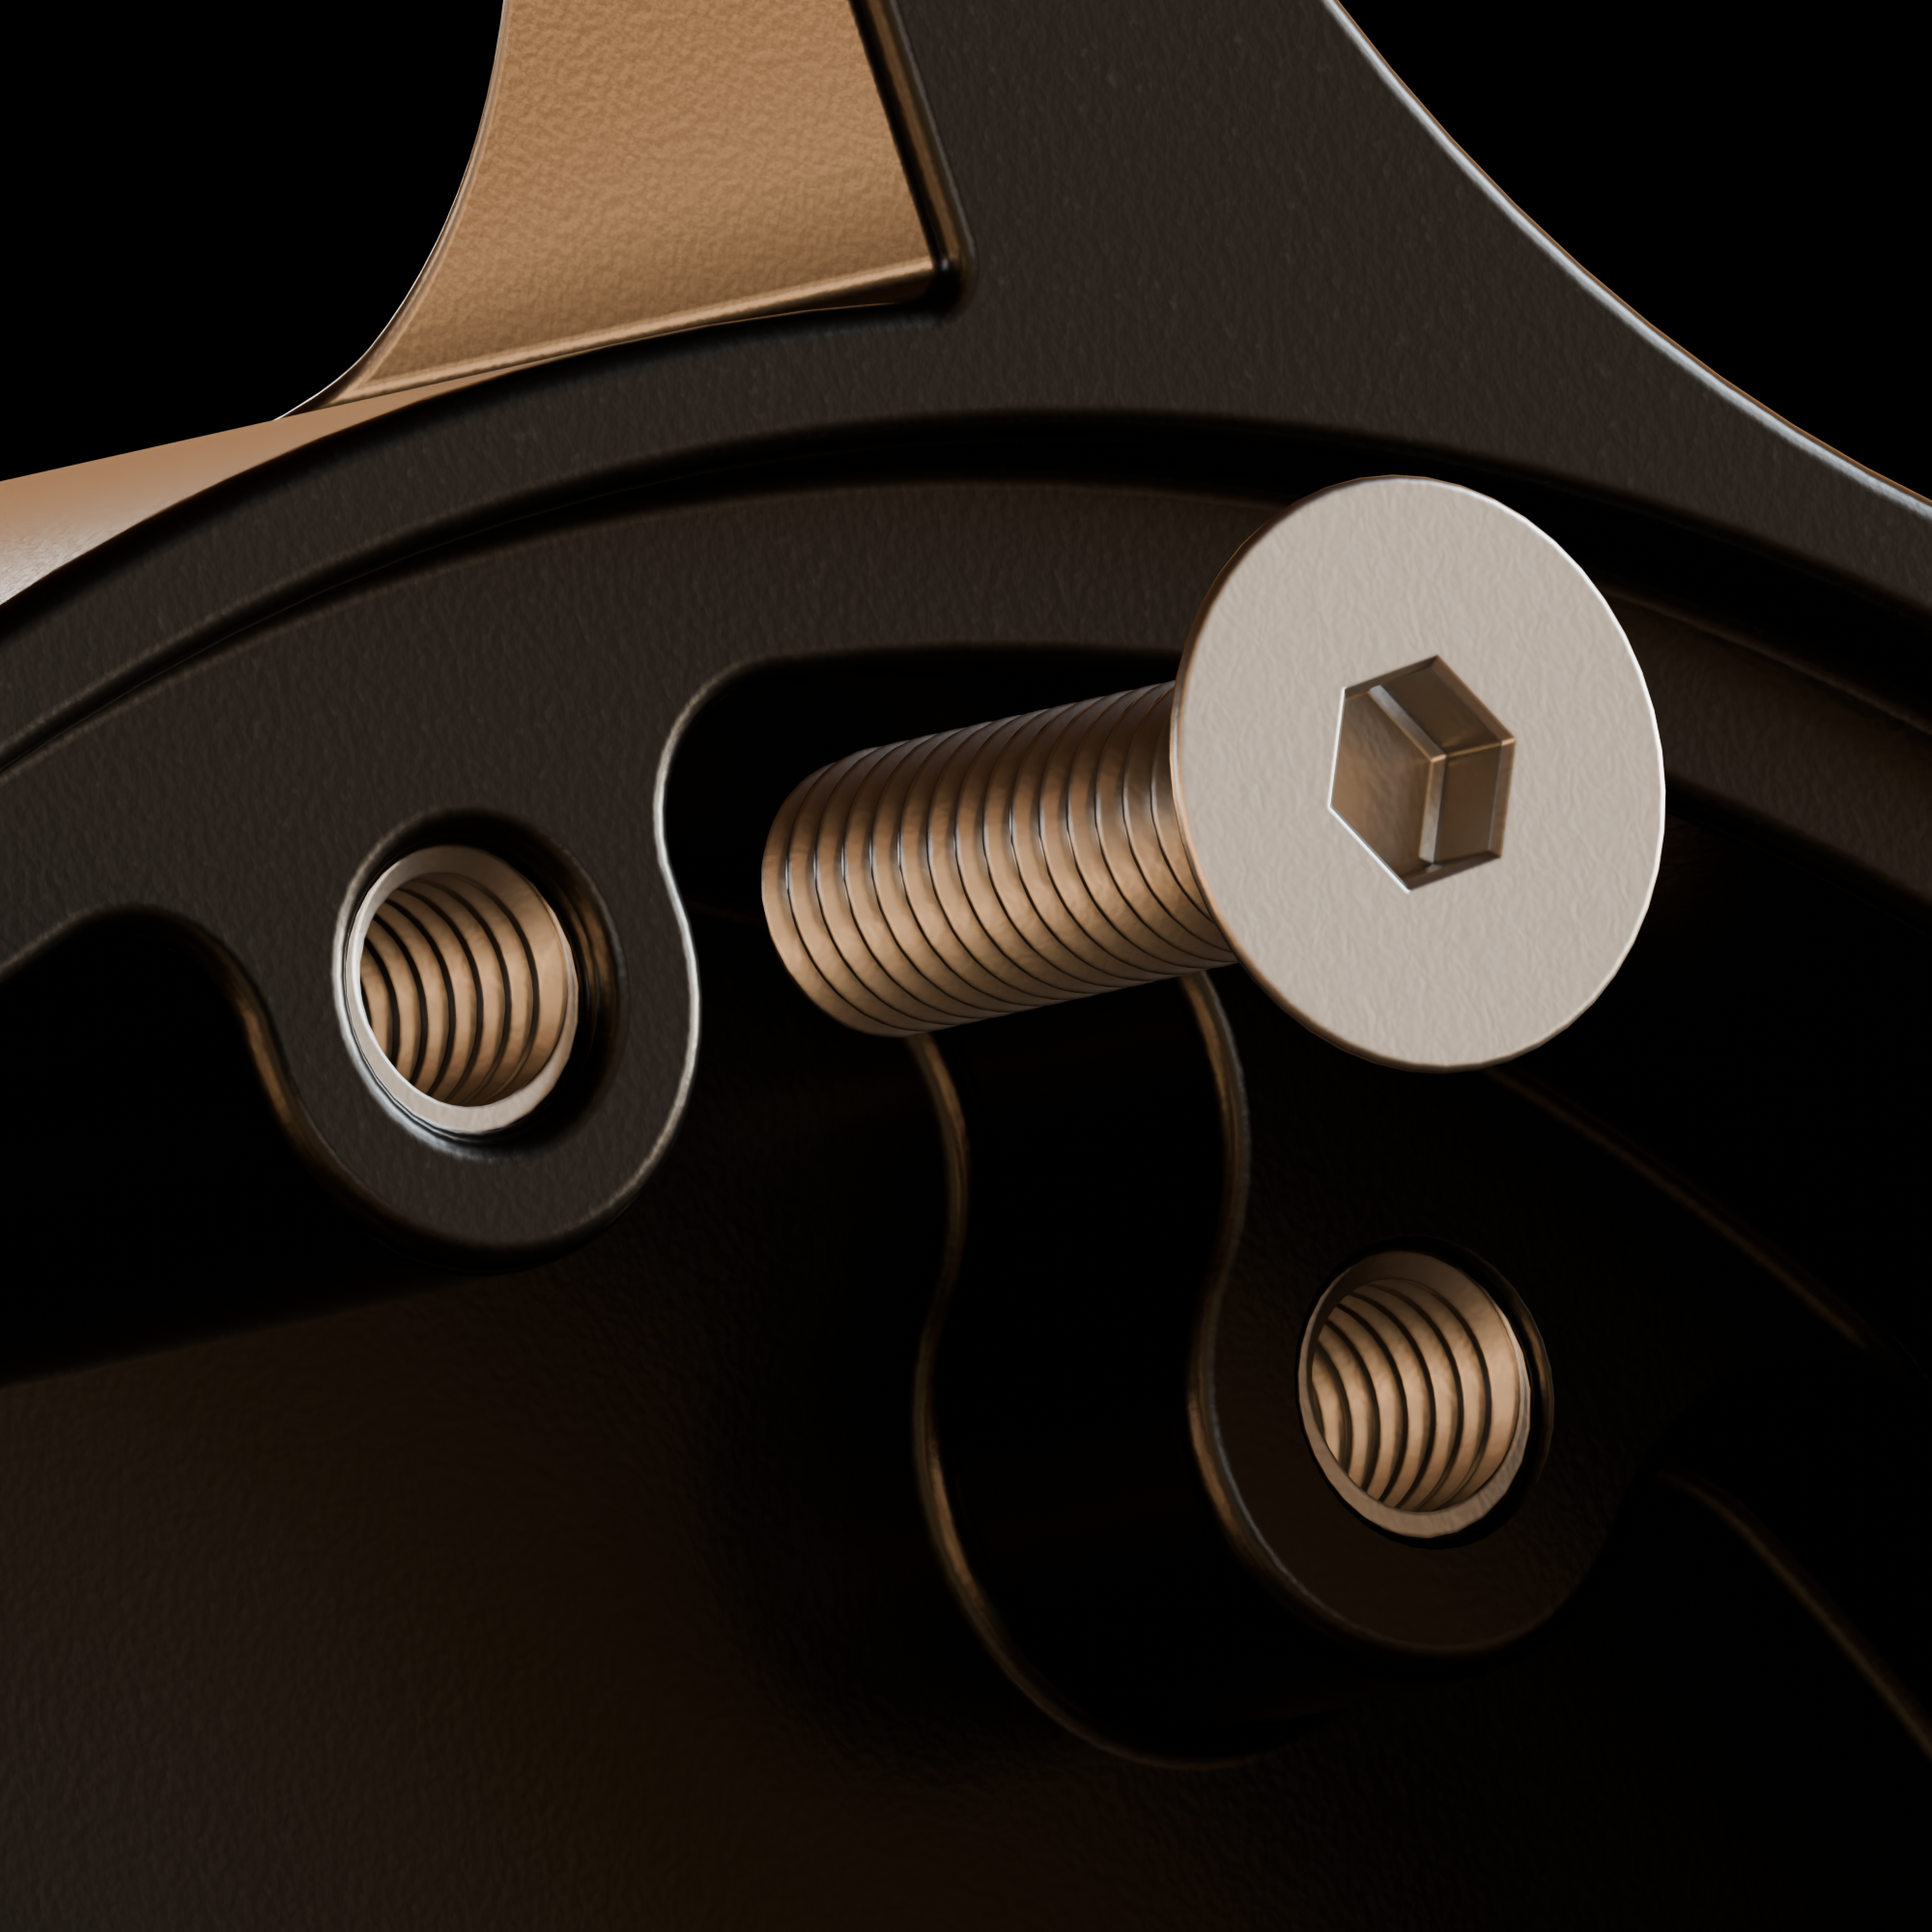
Since the process of anodizing adds a couple microns of oxide on top of the raw part, the threads are tapped after it, to ensure the screws perfectly fit in the final part.
An additional perk of having raw metal on threads is that they remain conductive, which allows for proper grounding of the part without running additional grounding wires to separate parts.
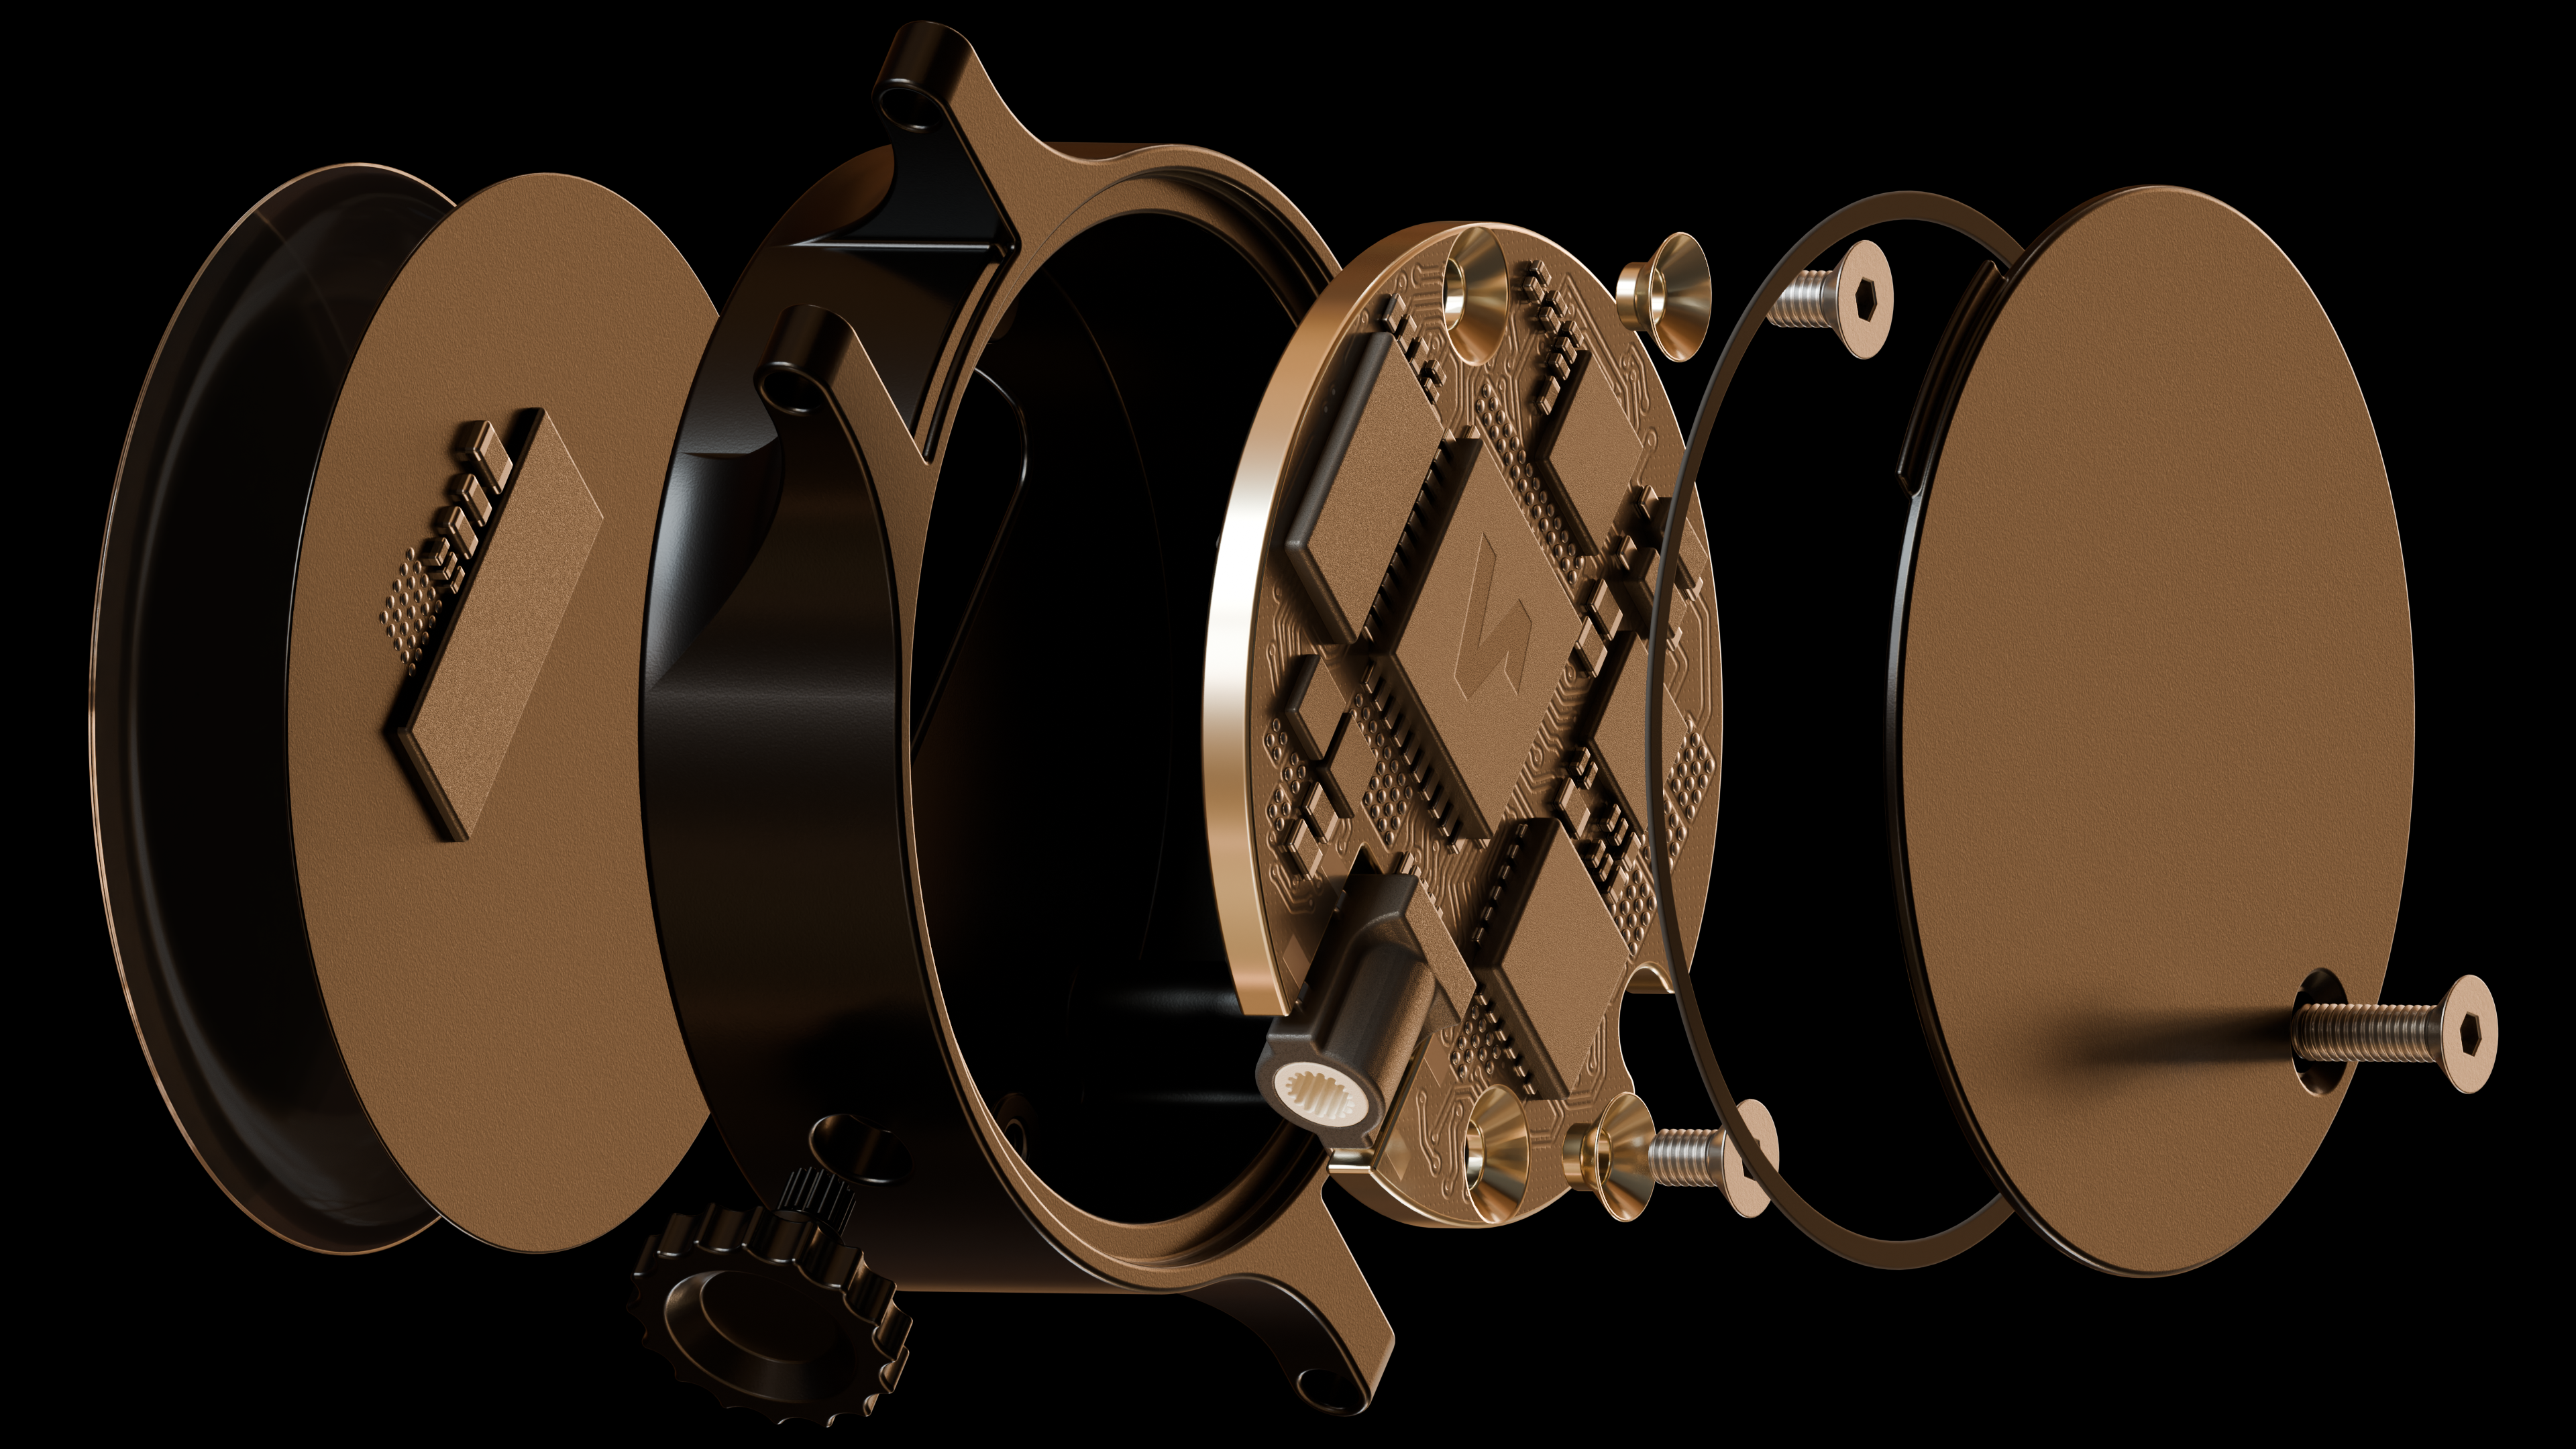
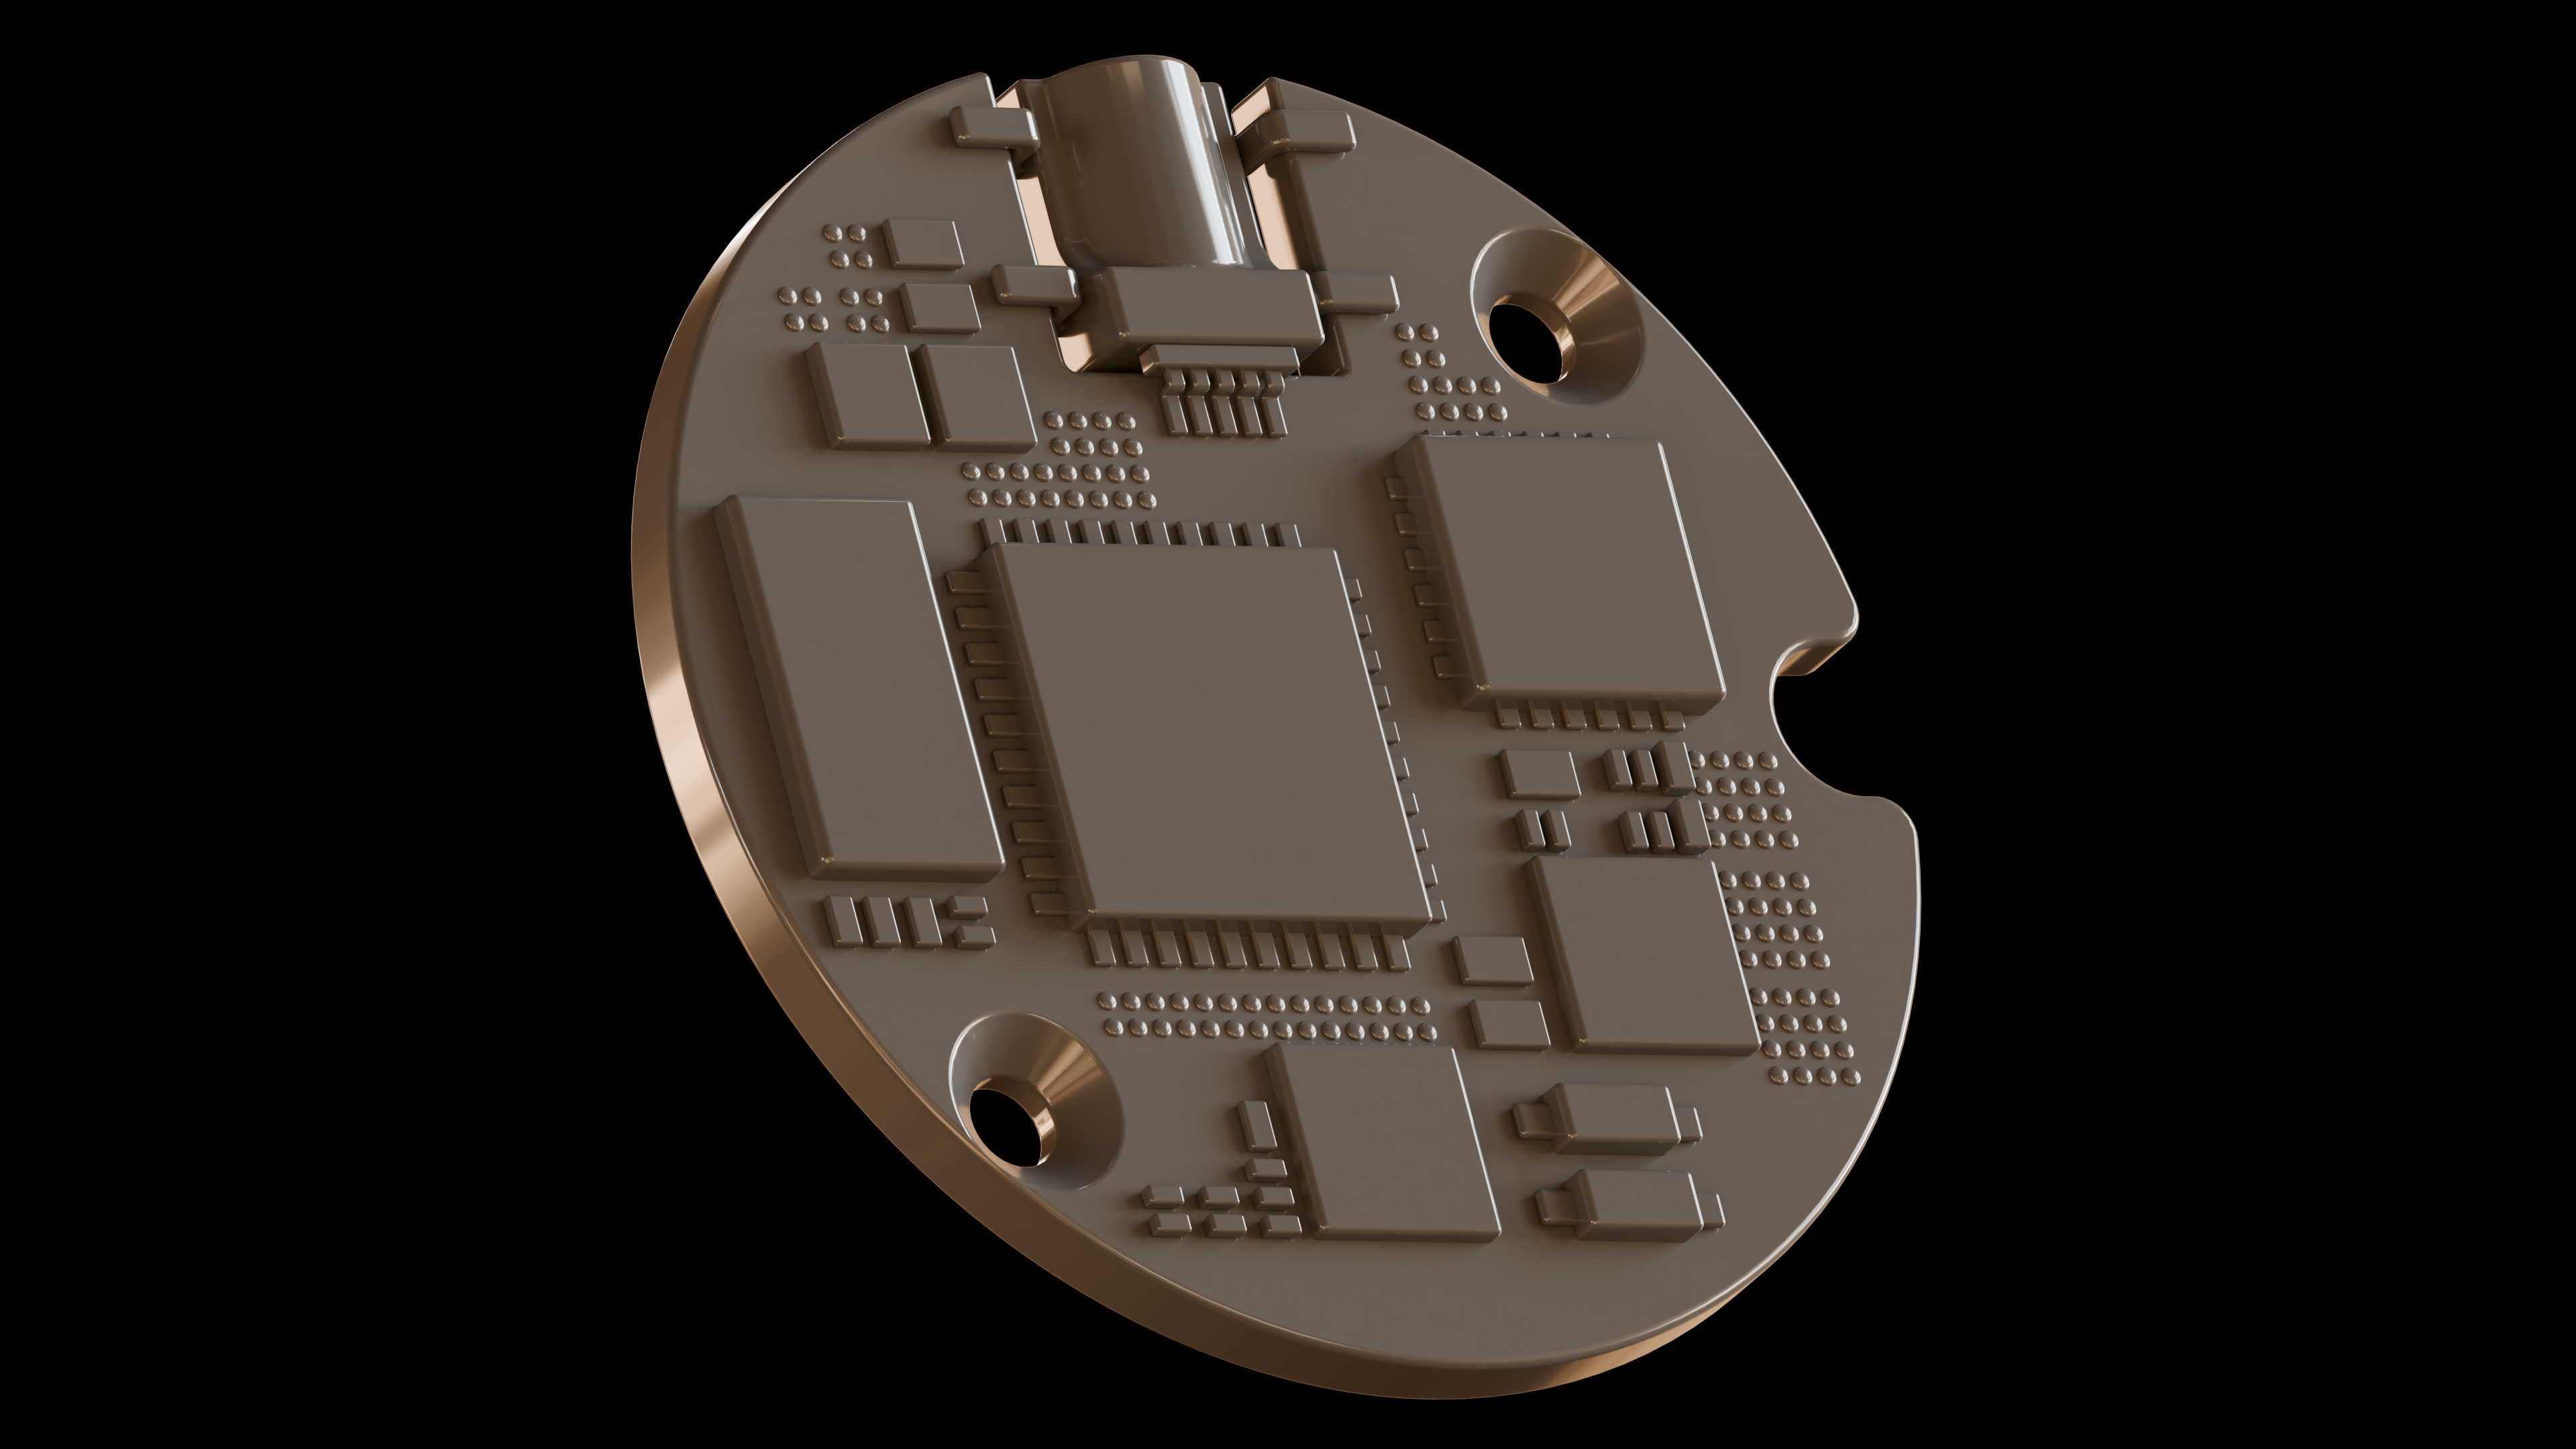
The main board of this watch is what I'm most proud of in this project.
The model itself is mostly dummy parts, a main CPU and some auxiliary chips, resistors, capacitors and MOSFETs sprinkled around. Some of those are leaded SMDs, and some are bottom-terminated.
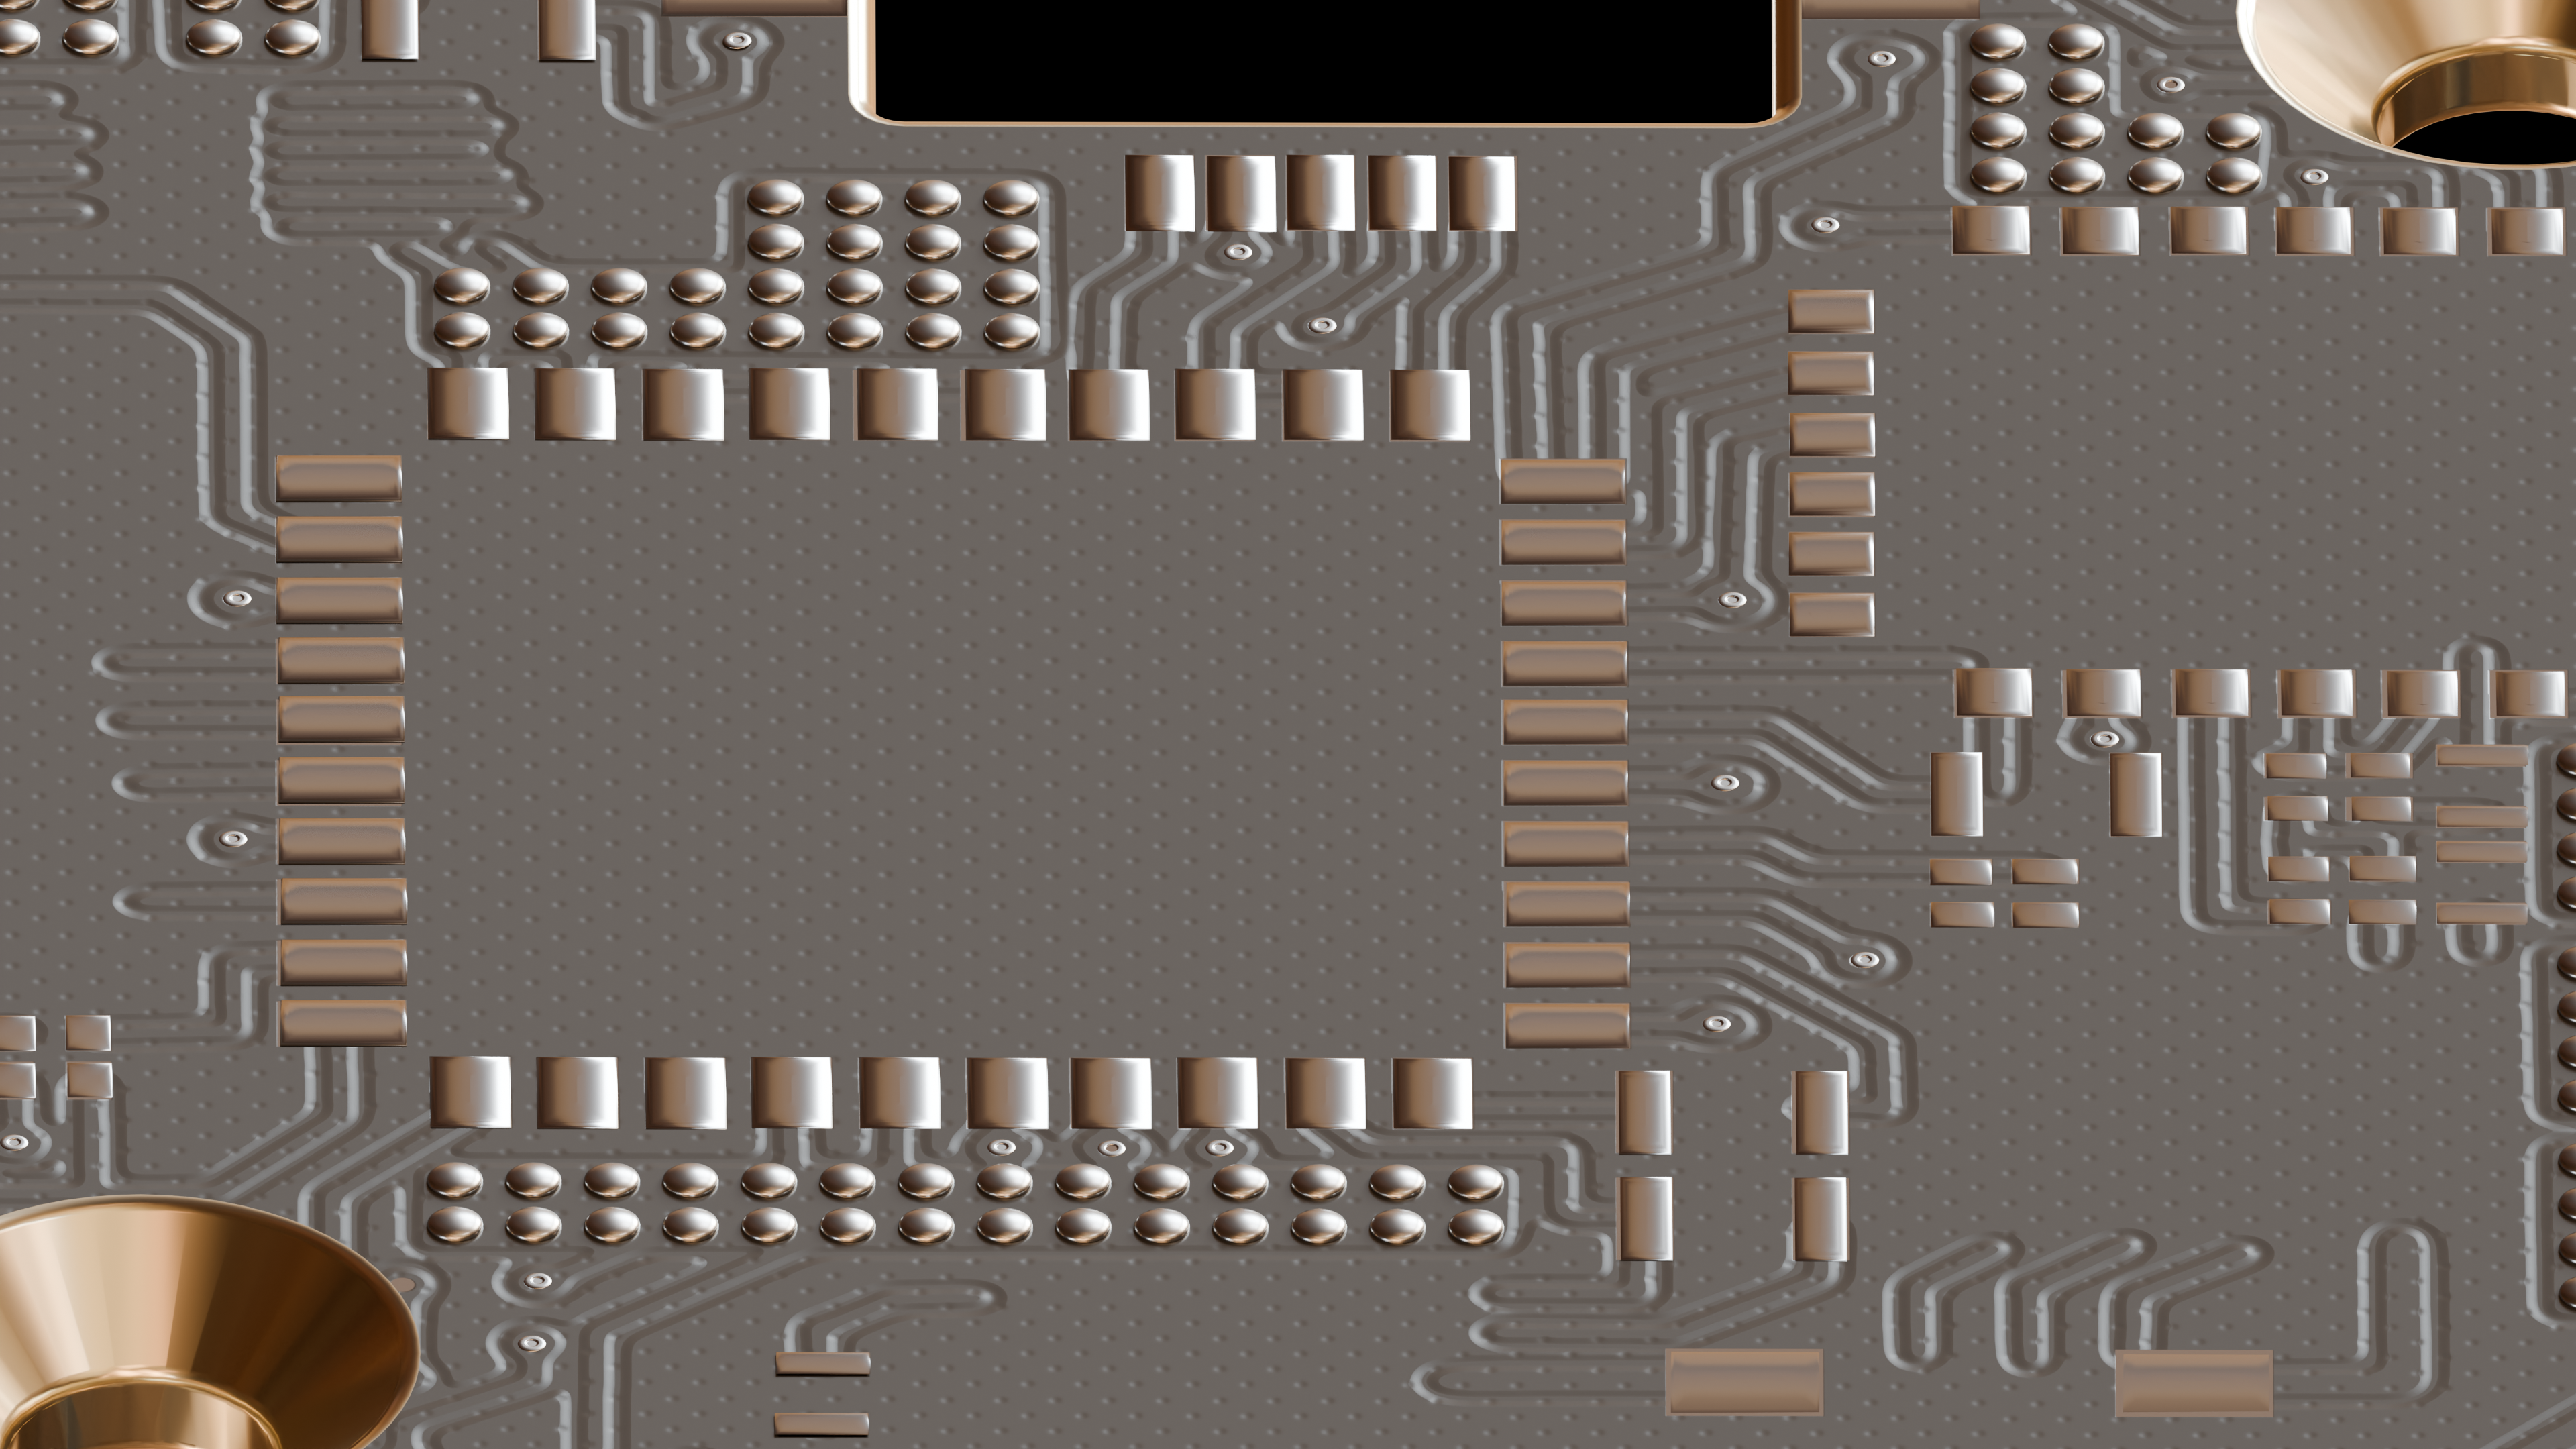
Materials are where most of the detail comes from. The chips and other parts use a plastic material with a noise map to replicate the look of real chips.
The PCB itself has a couple layers of detail:
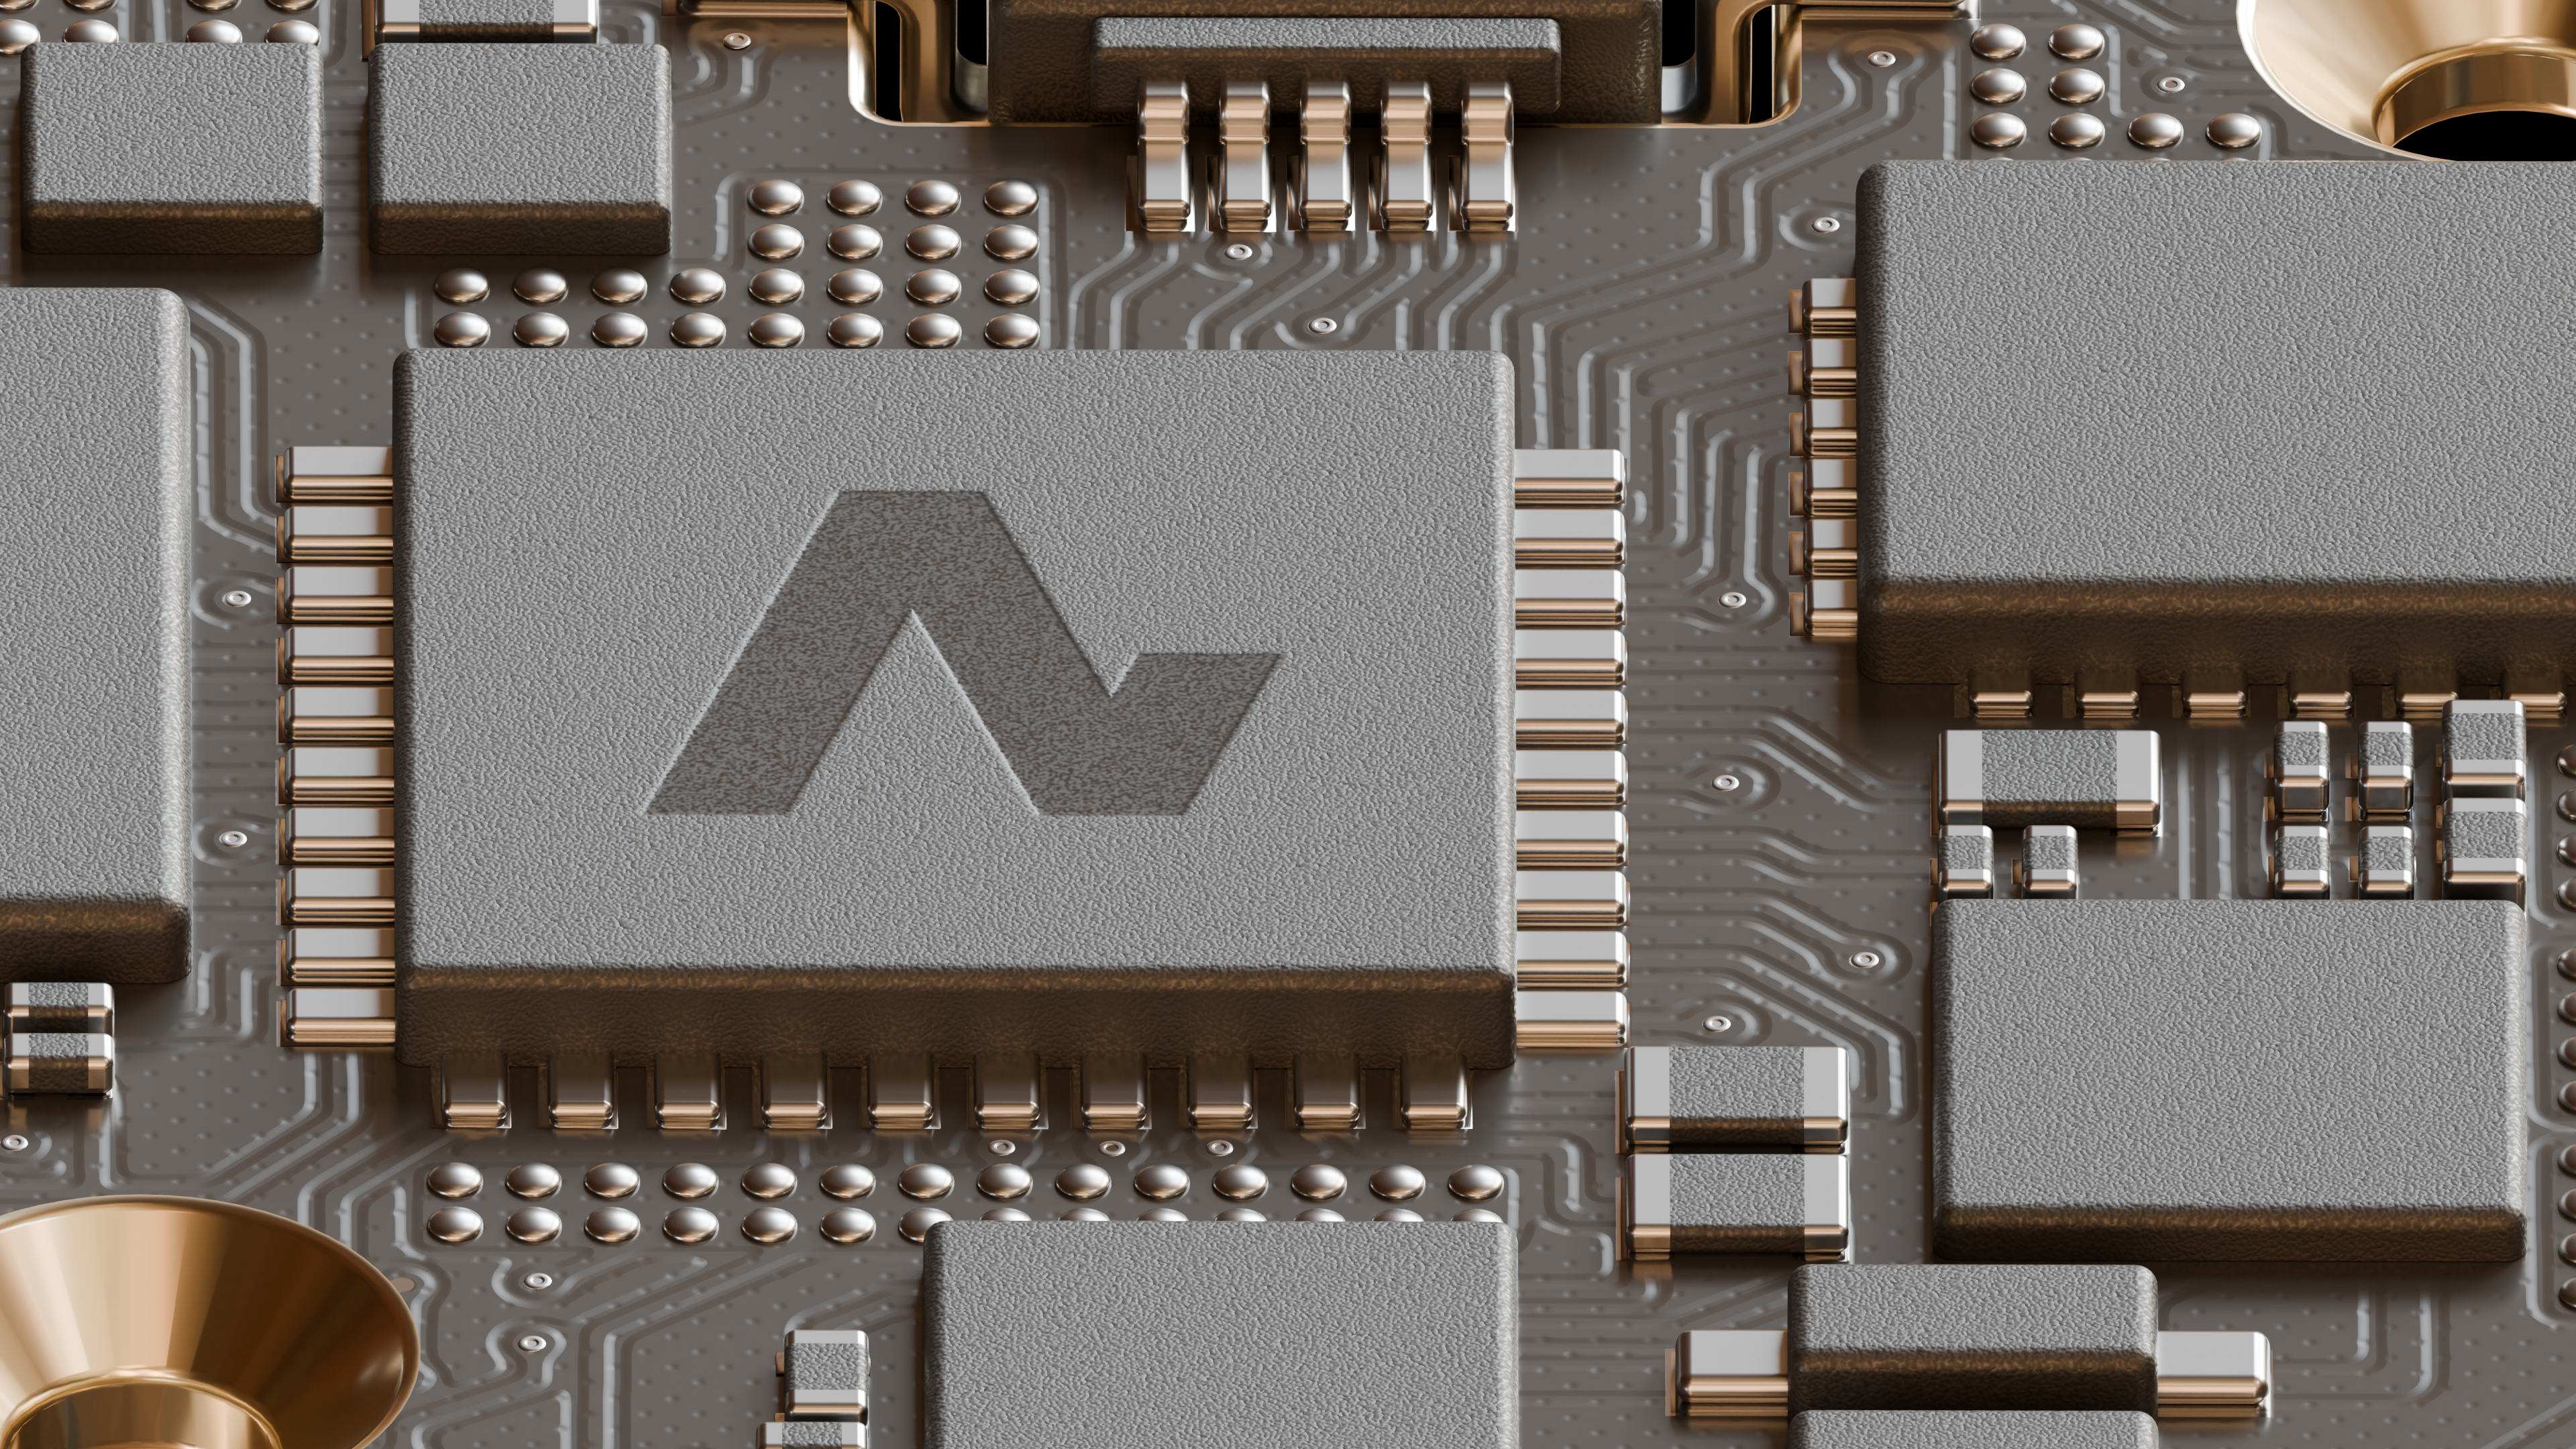
The main CPU has my logo engraved on it, this was simply achieved by flattening the normal map and lowering it a bit with the use of a mask.
Additionally, the entire PCB is lined with brass, including all the mounting holes, for grounding.
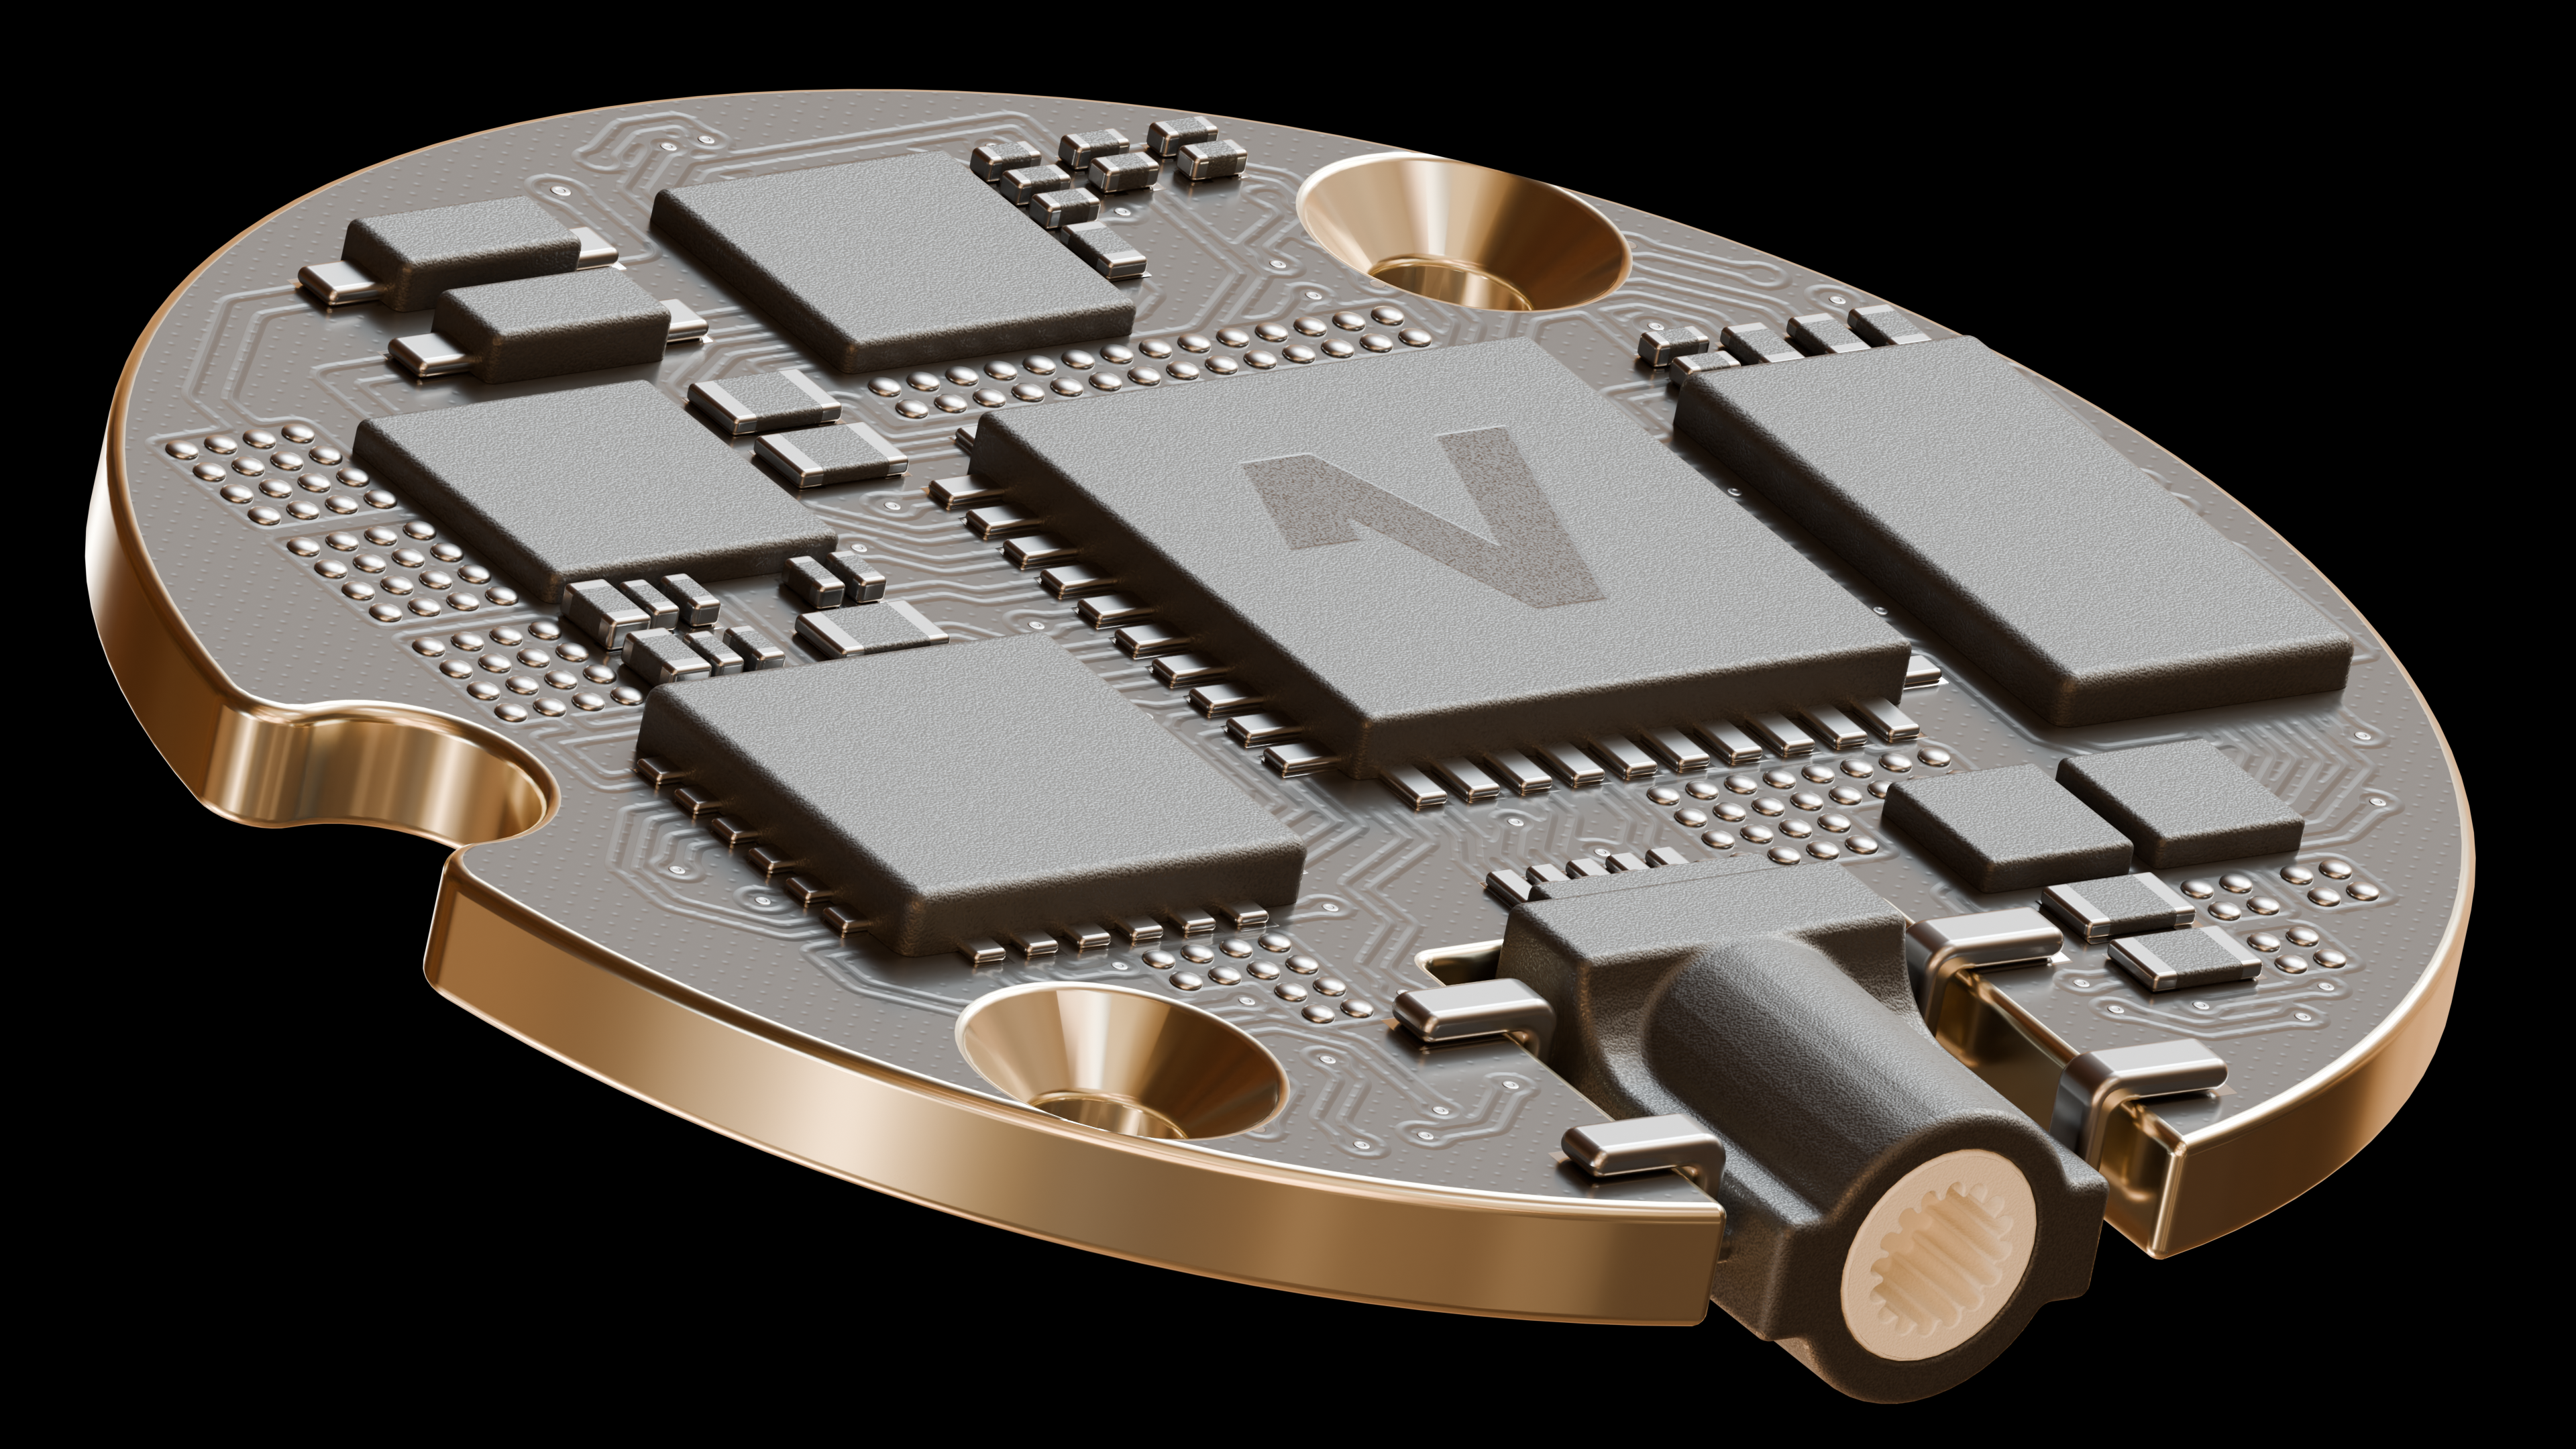
One unique part that you can see above is the rotary encoder, which is mounted "in the middle" of the PCB, requiring a cut-out. It has a white plastic interface used to connect it to the crown.
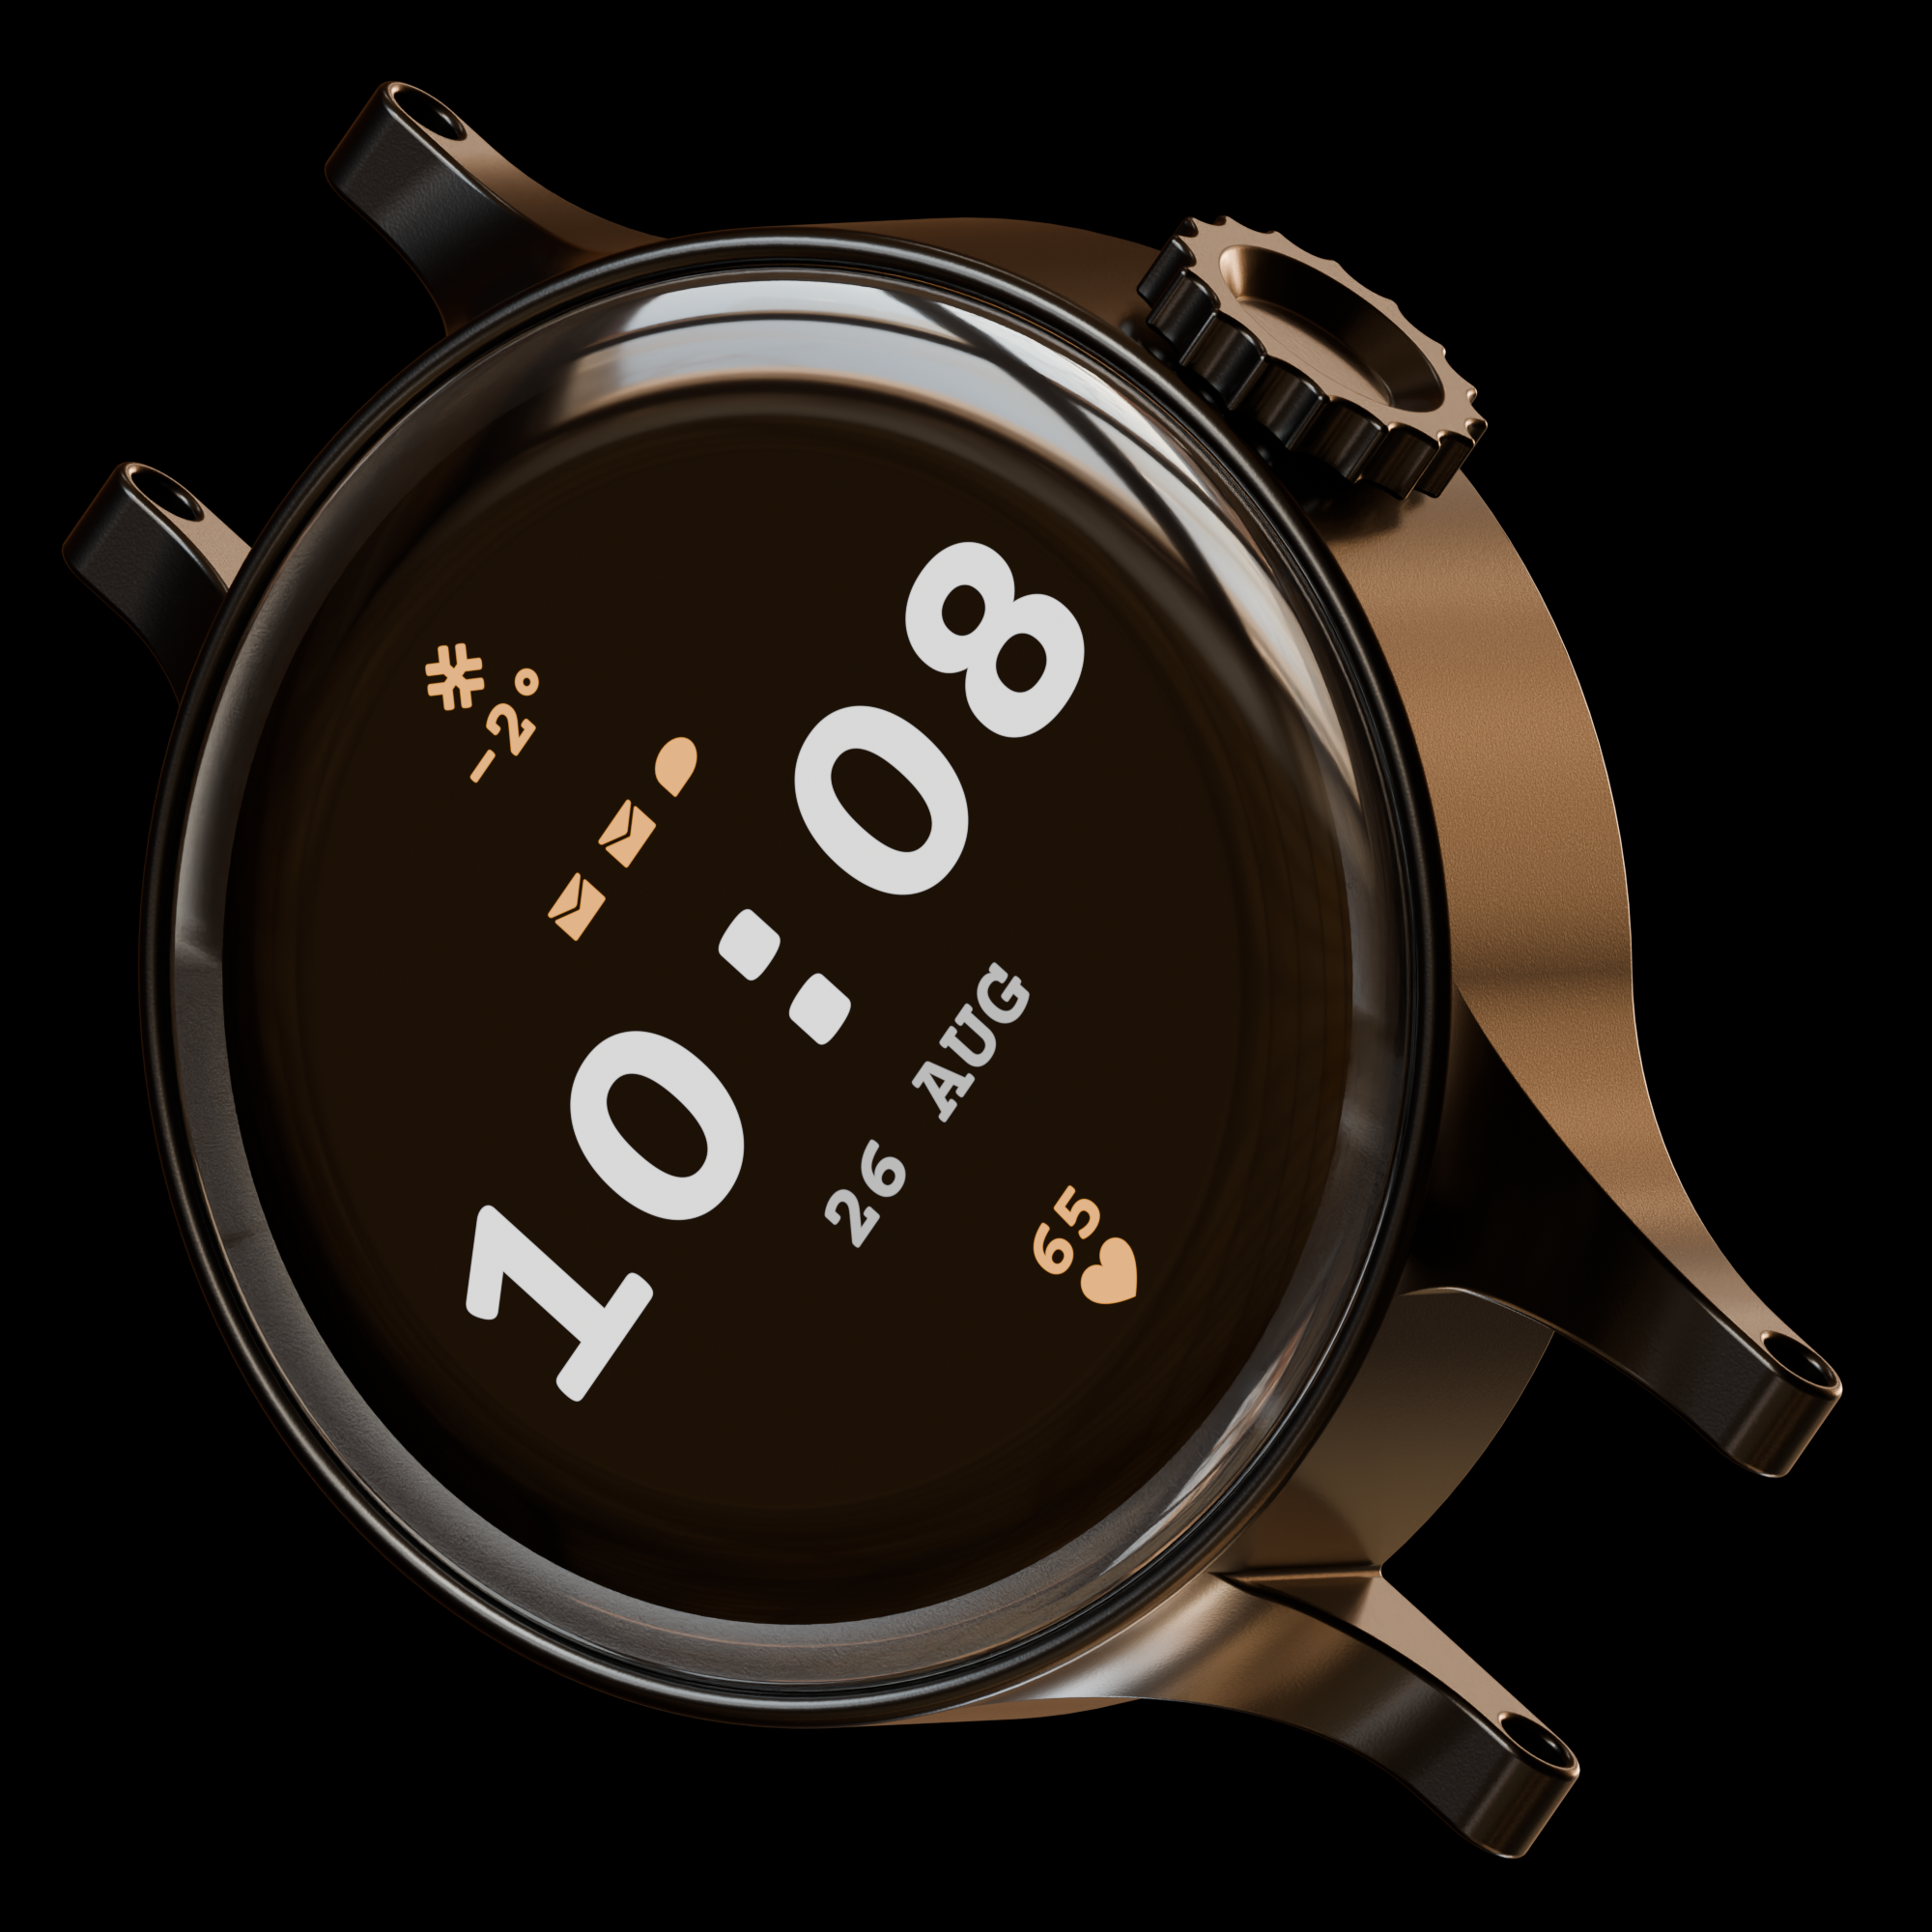
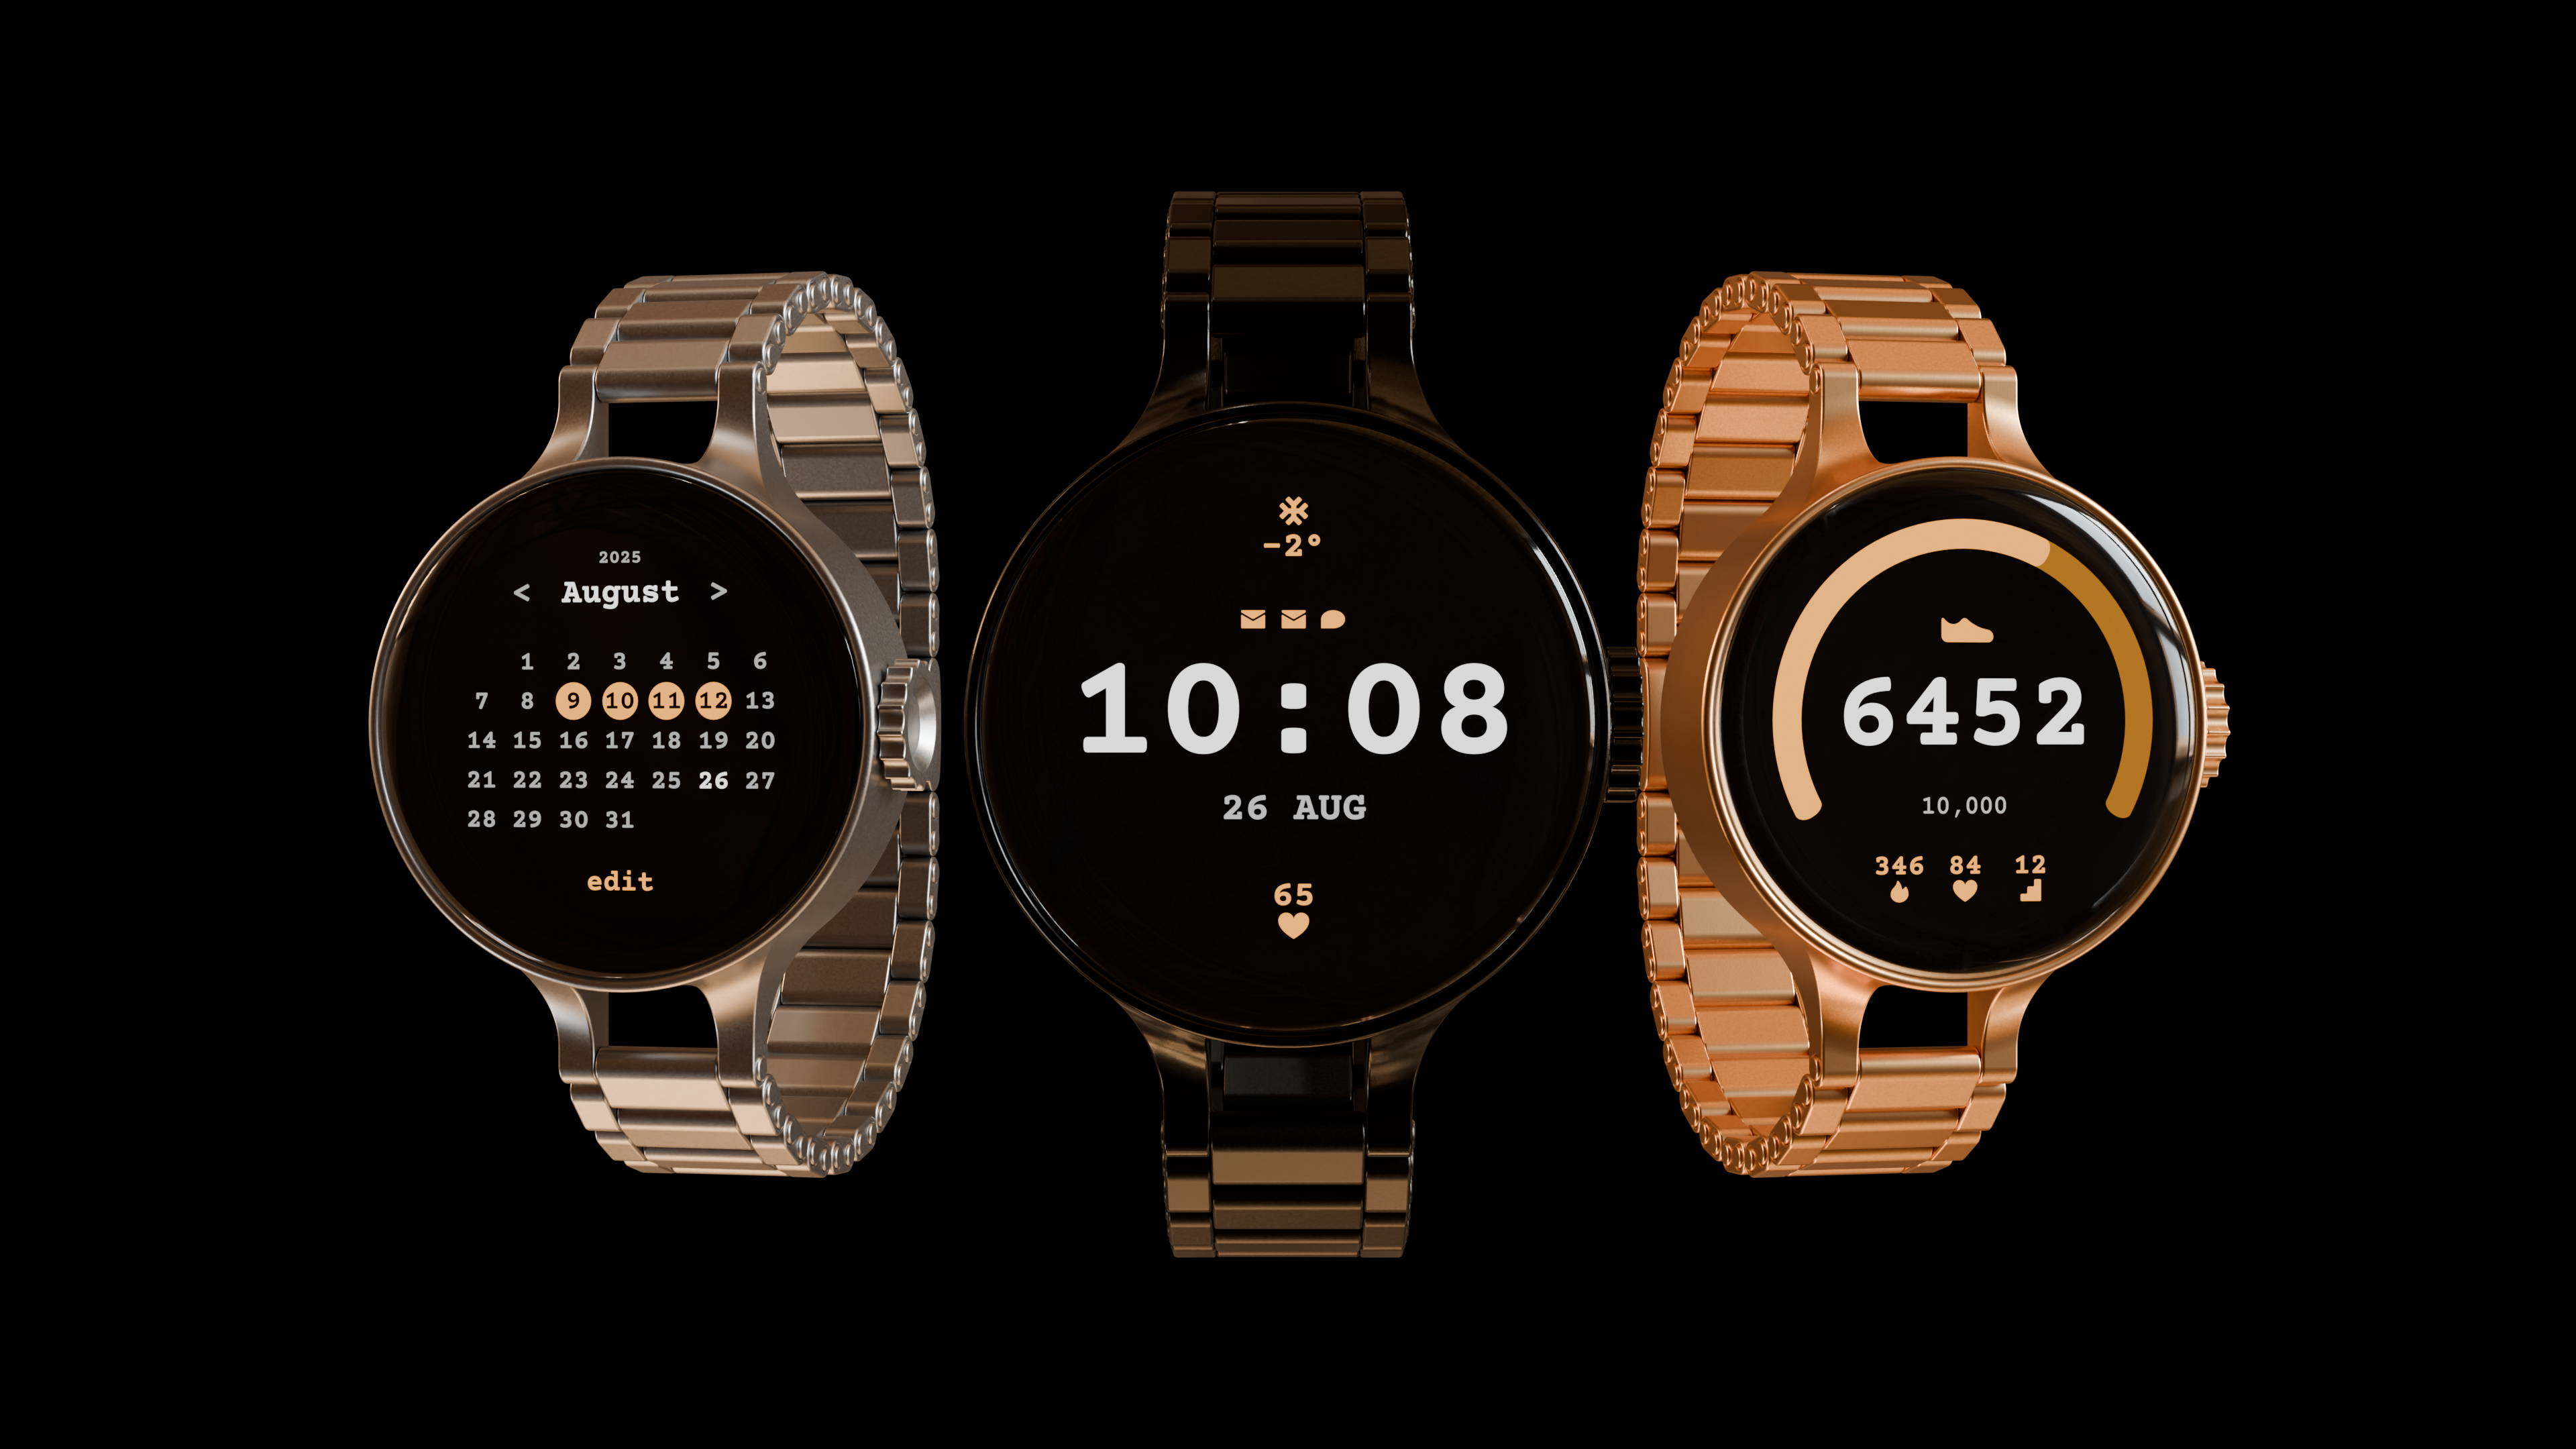
I've made three example screens to show the design of the GUI:


These were roughly designed on paper and realized in Blender, using its curves, and then rendered and applied to the screen with a weak emission material.
This was a very fun project, while also letting me dive deeper into Plasticity, and GUI design.
In the gallery below you can check out all the renders used in this article.
Hope you enjoyed the read, see you in the next one!