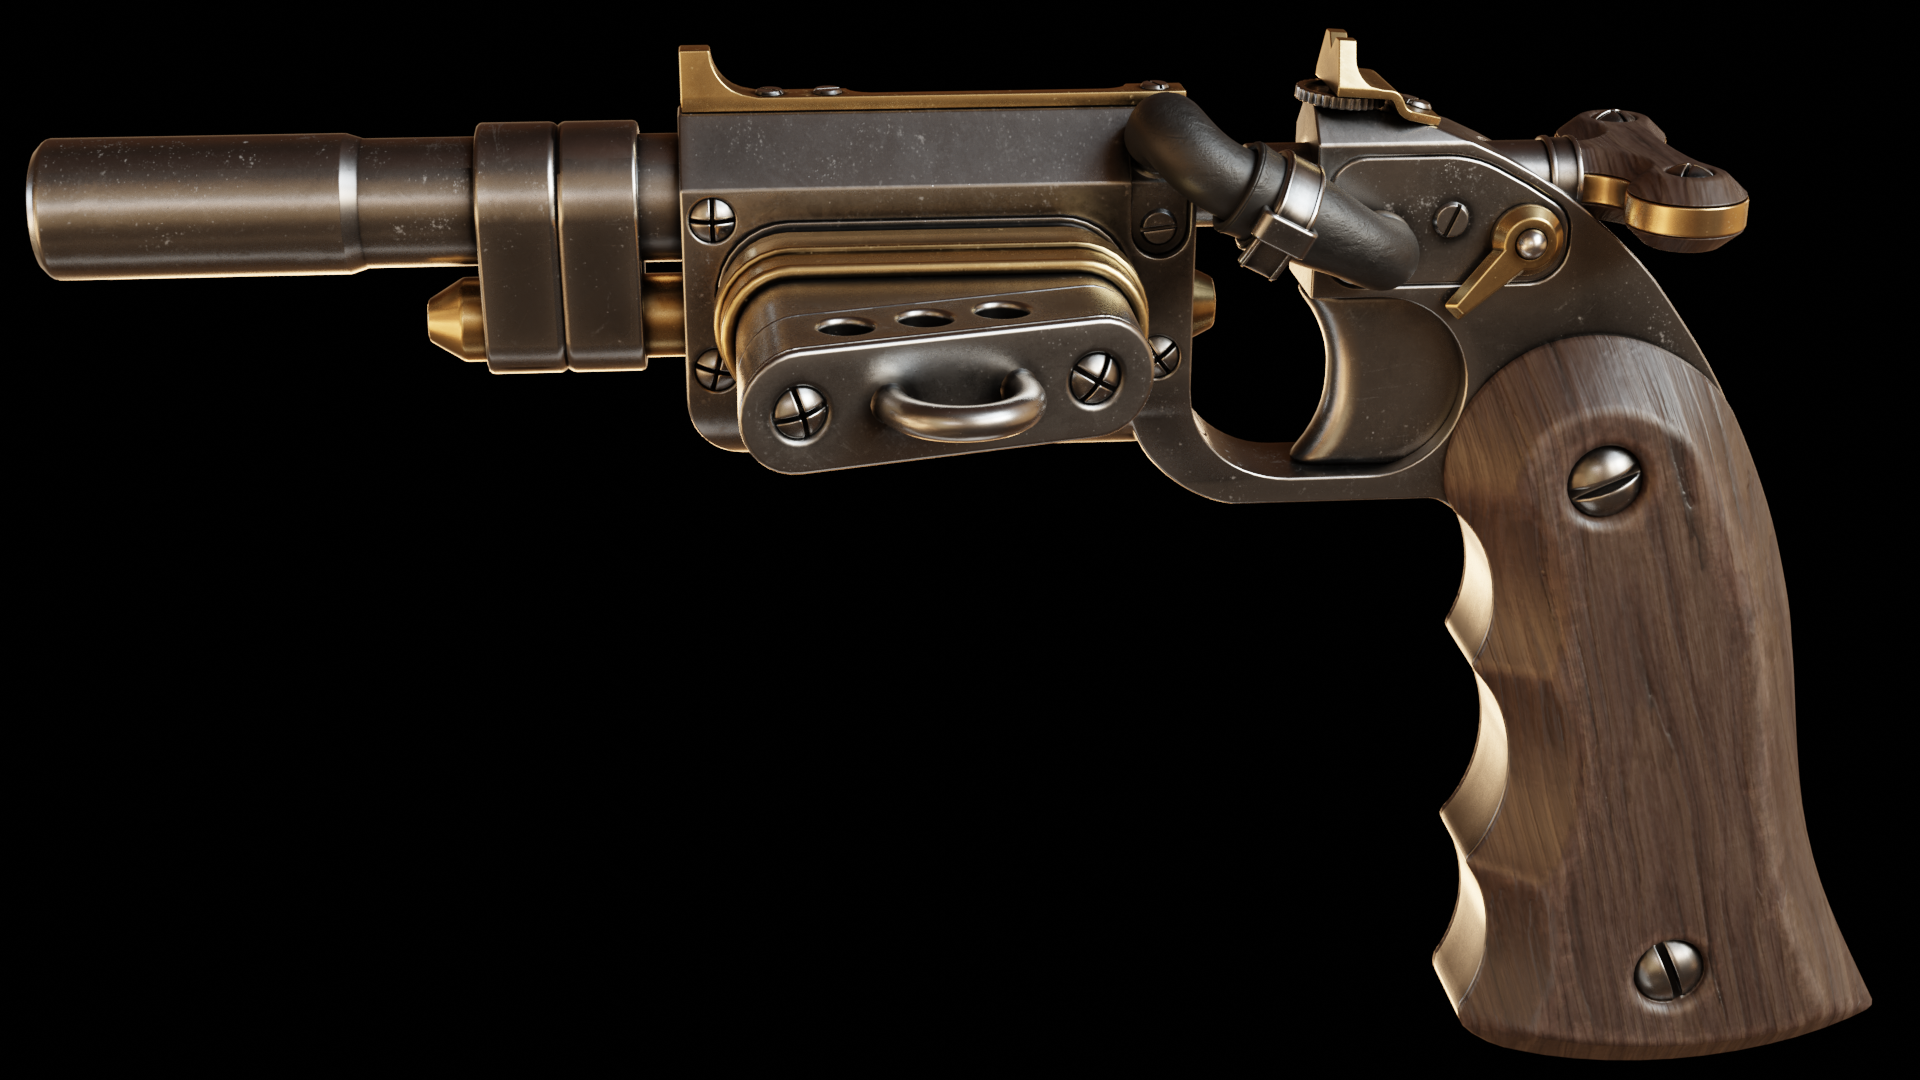
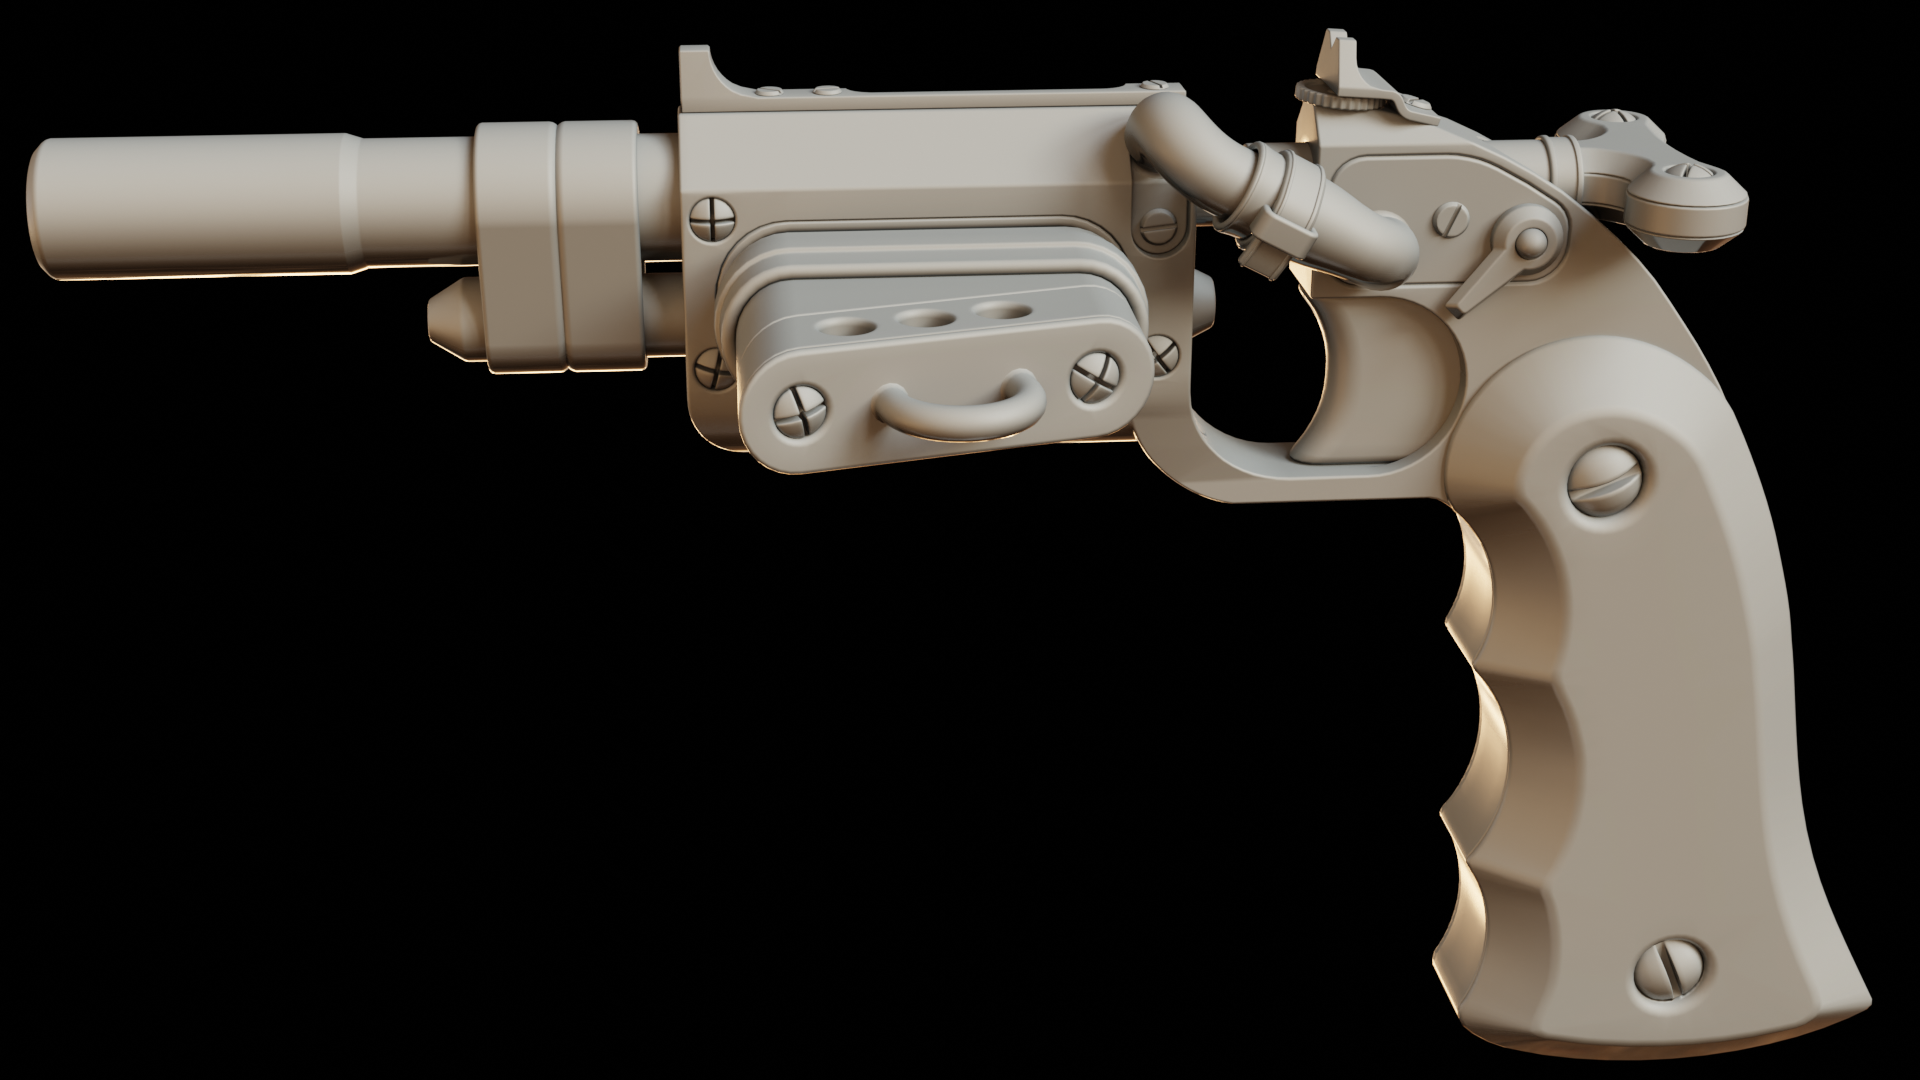
A realistic hard-surface model of a semi-automatic magazine fed Steampunk handgun
I drew a basic concept for this gun a while back while sketching without any particular goal, and really liked the idea of a split design where the handle and hammer portion is attached to the chamber and barrel side only by the trigger guard.
Already at that point I had decided that it's not going to be a practical design and for some reason a Steampunk vibe really fit the weird design of the firearm.
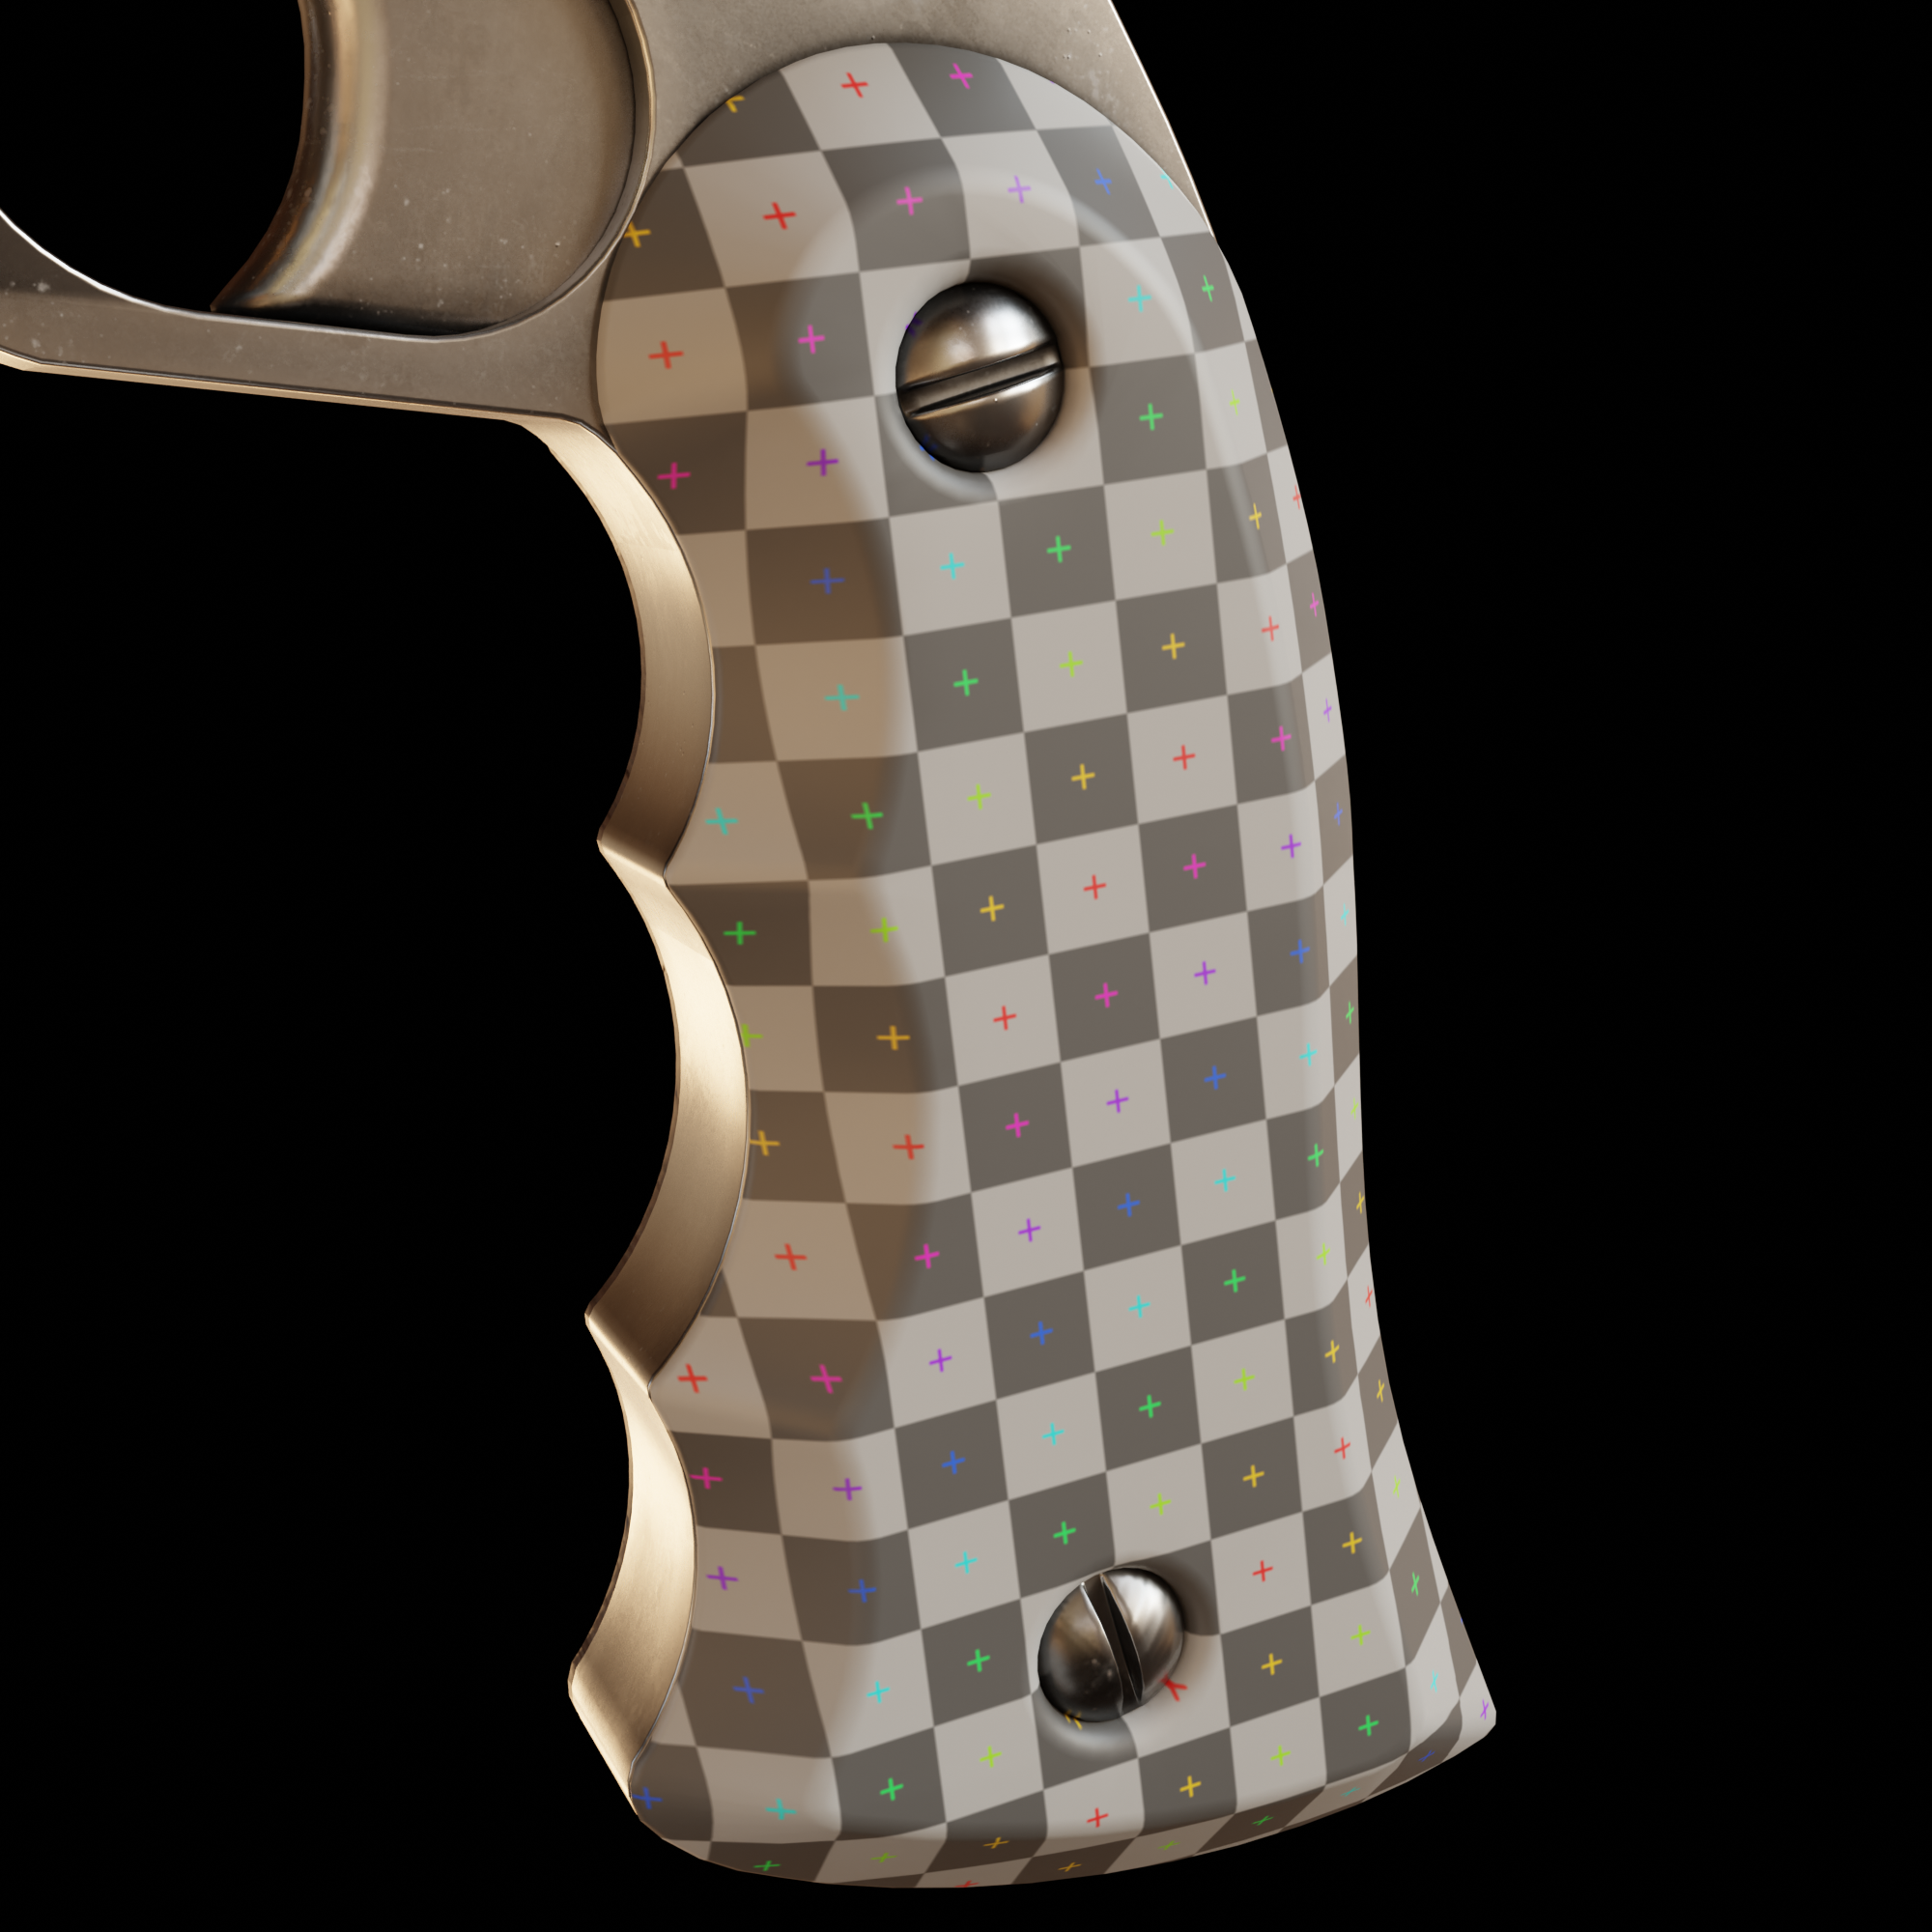
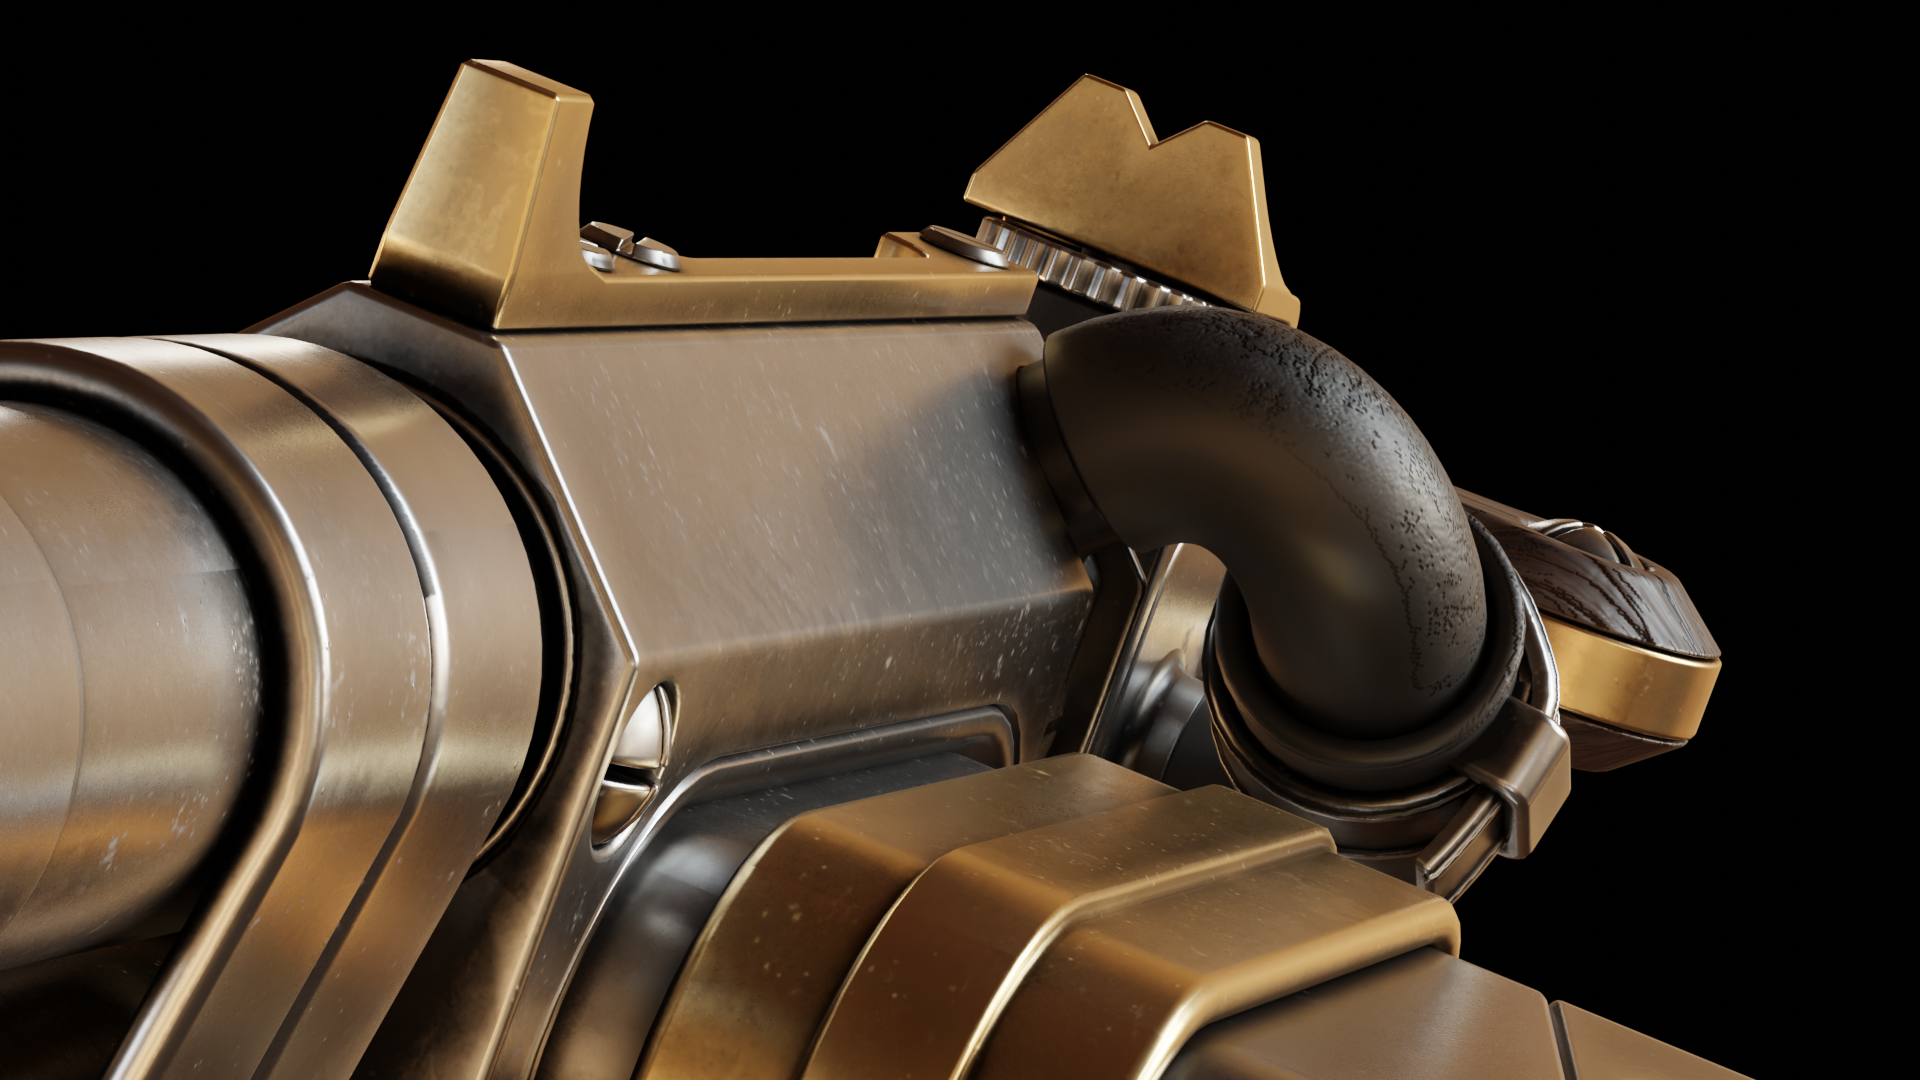
This handle is one of my favorites that I've done. Along with the rounded shape above it, it was inspired by old-school revolvers with added cut-outs for comfort.
I've applied the wood material to both the handle and the hammer using a planar projection, which works very well for semi-flat pieces of wood (more in blog post #001), doesn't leave any visible seams, and "flows" through the shape as if it was cut from a real chunk of timber.

There are a total of three types of screws on this piece:
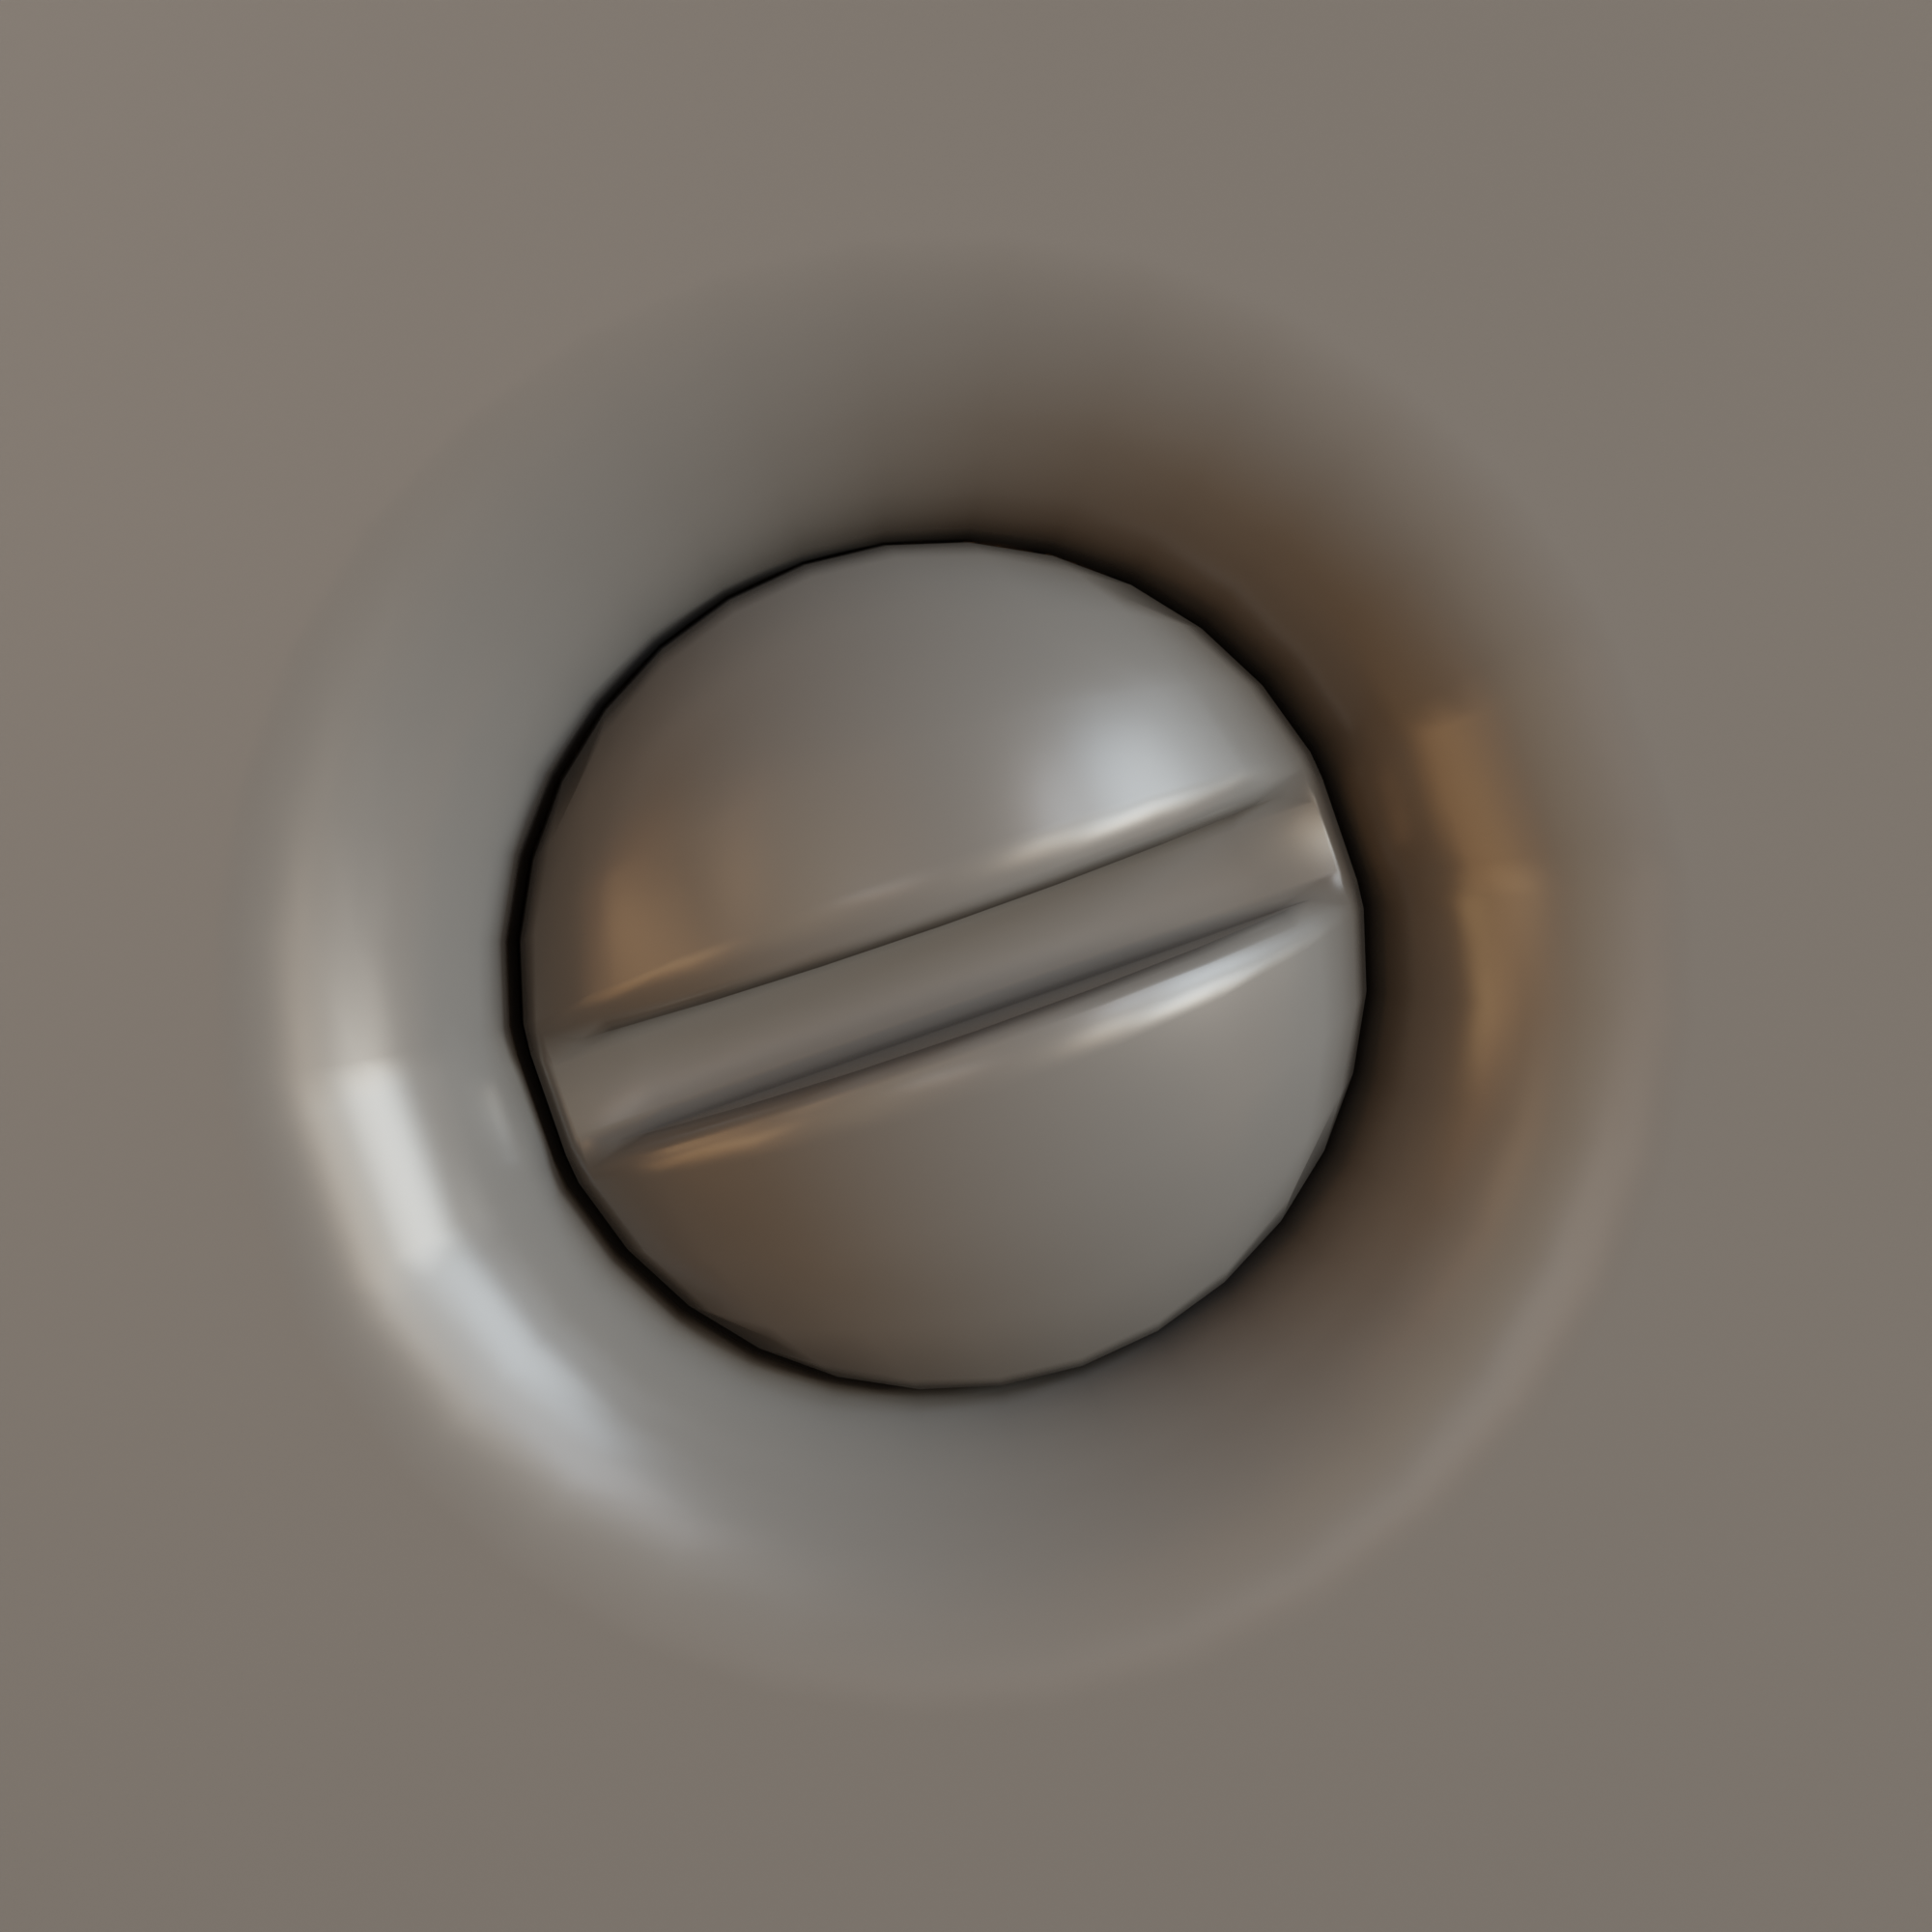
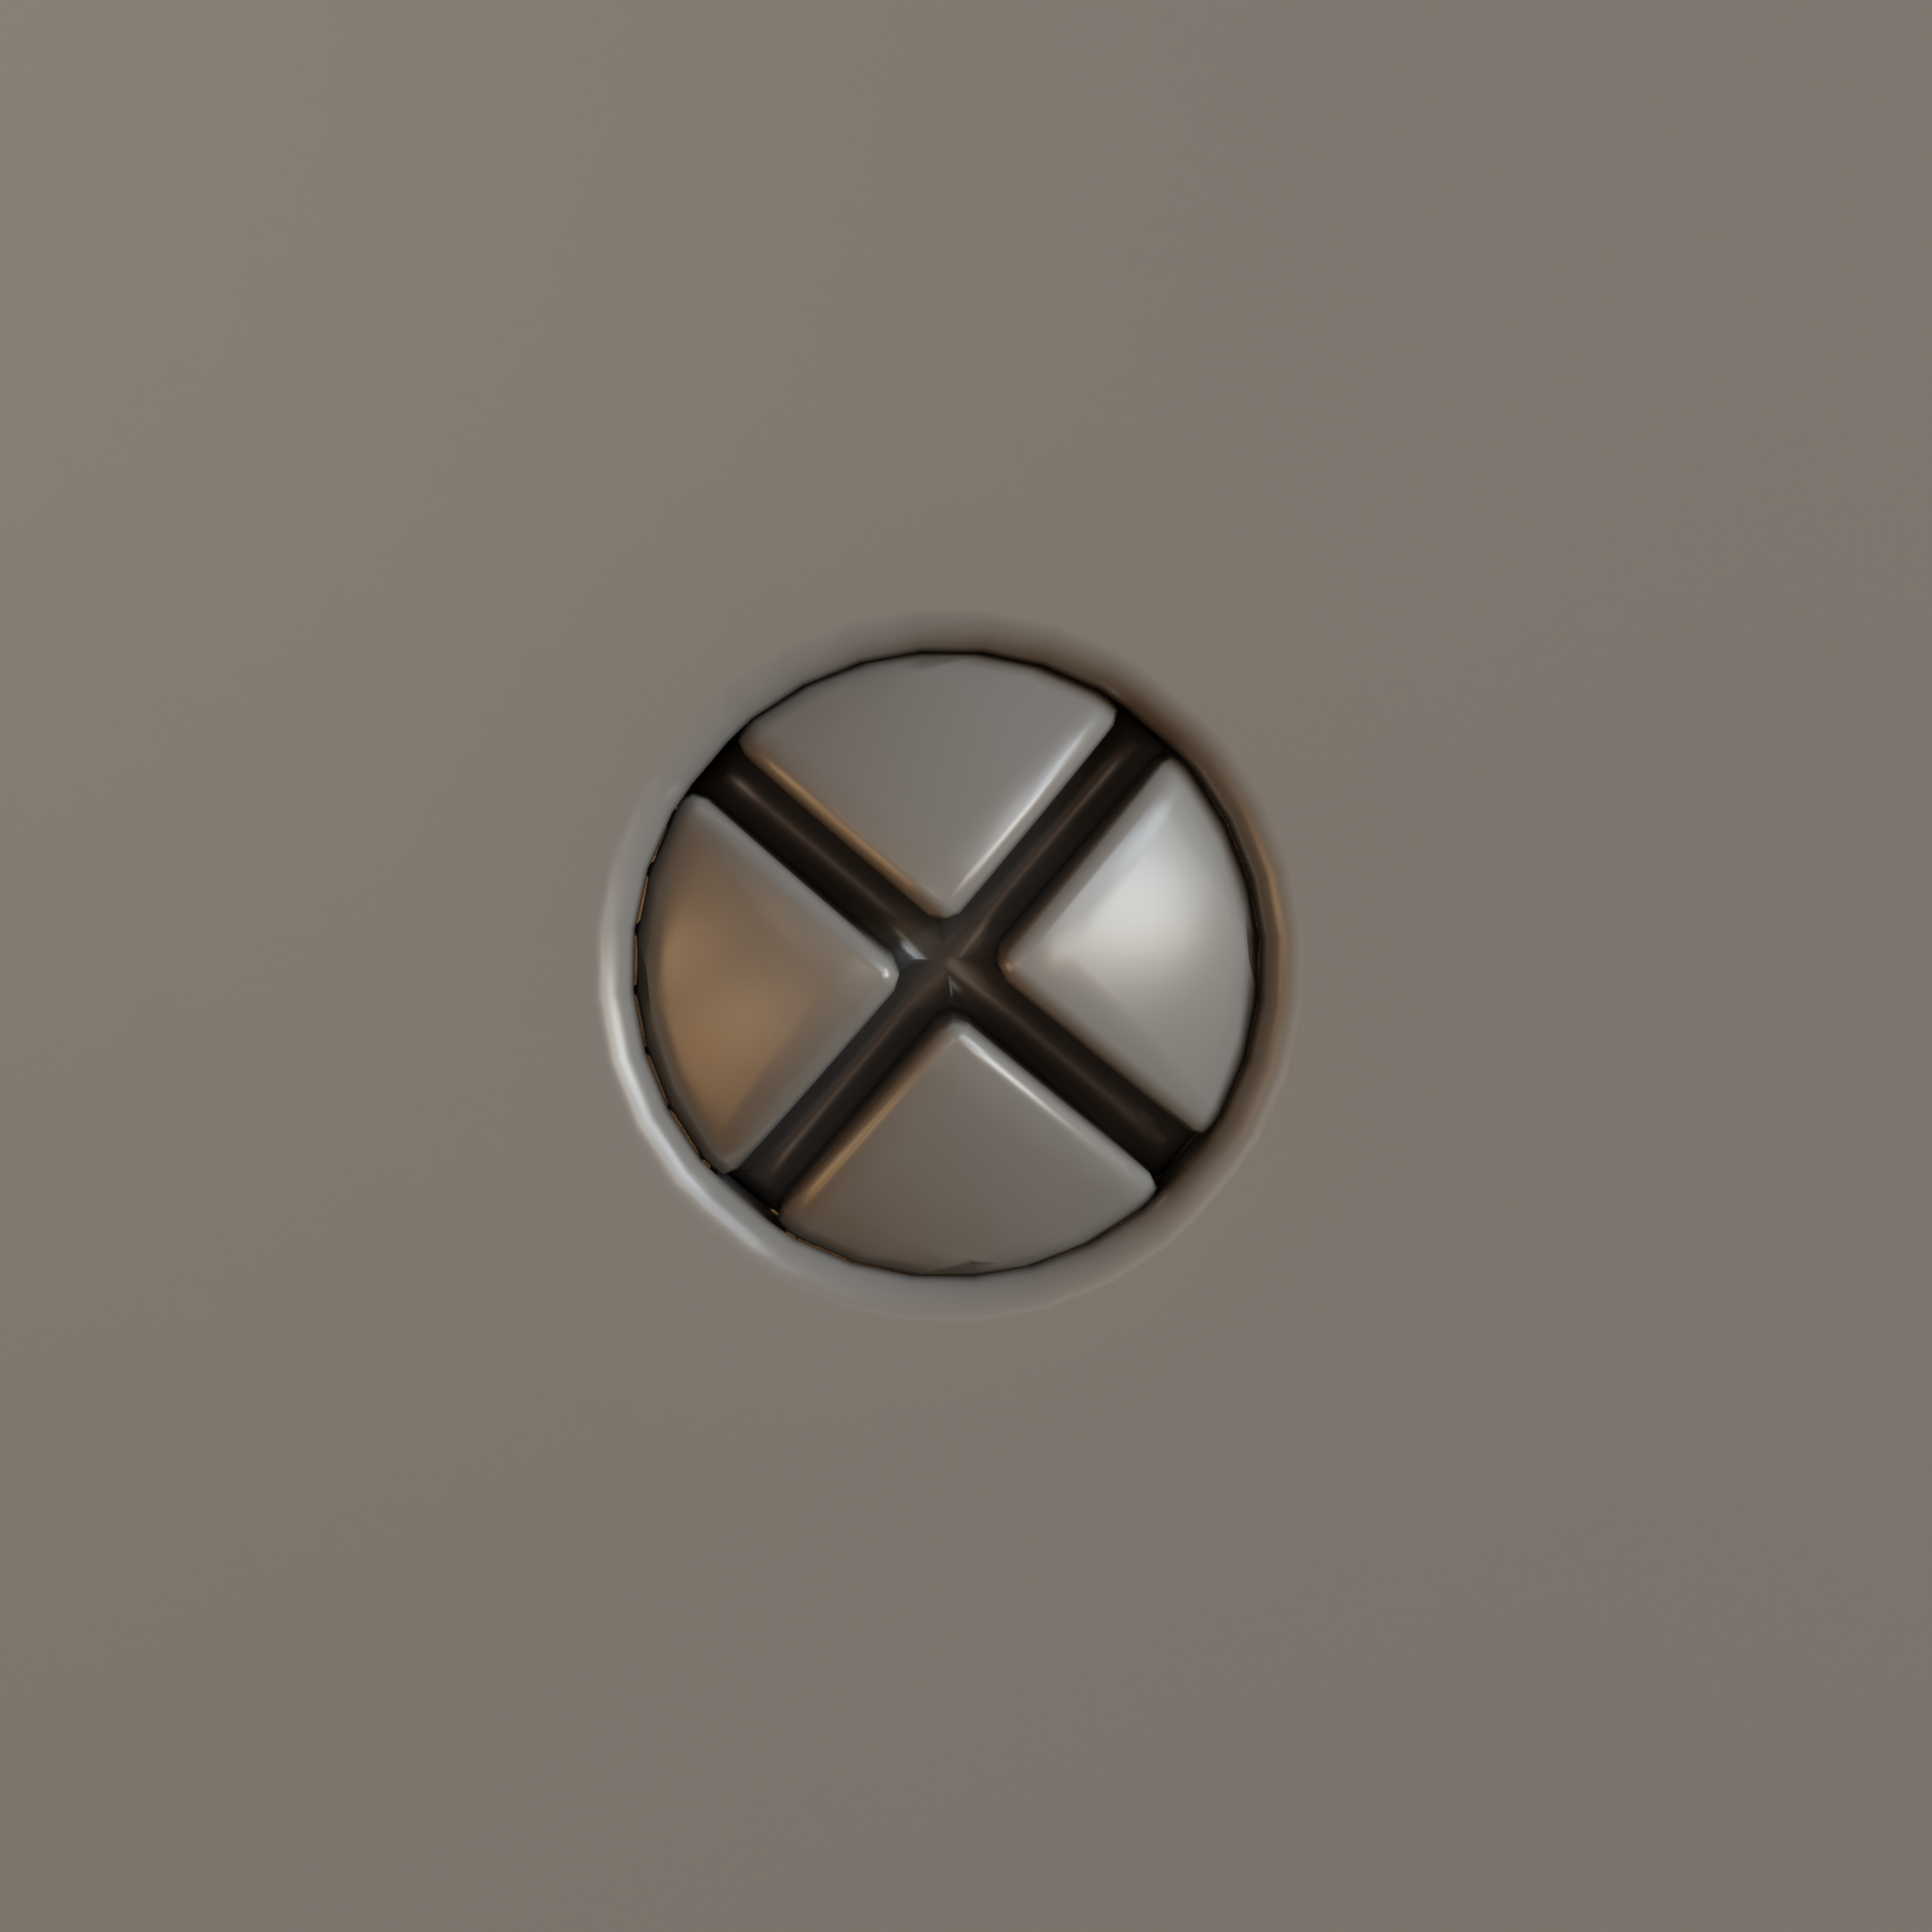
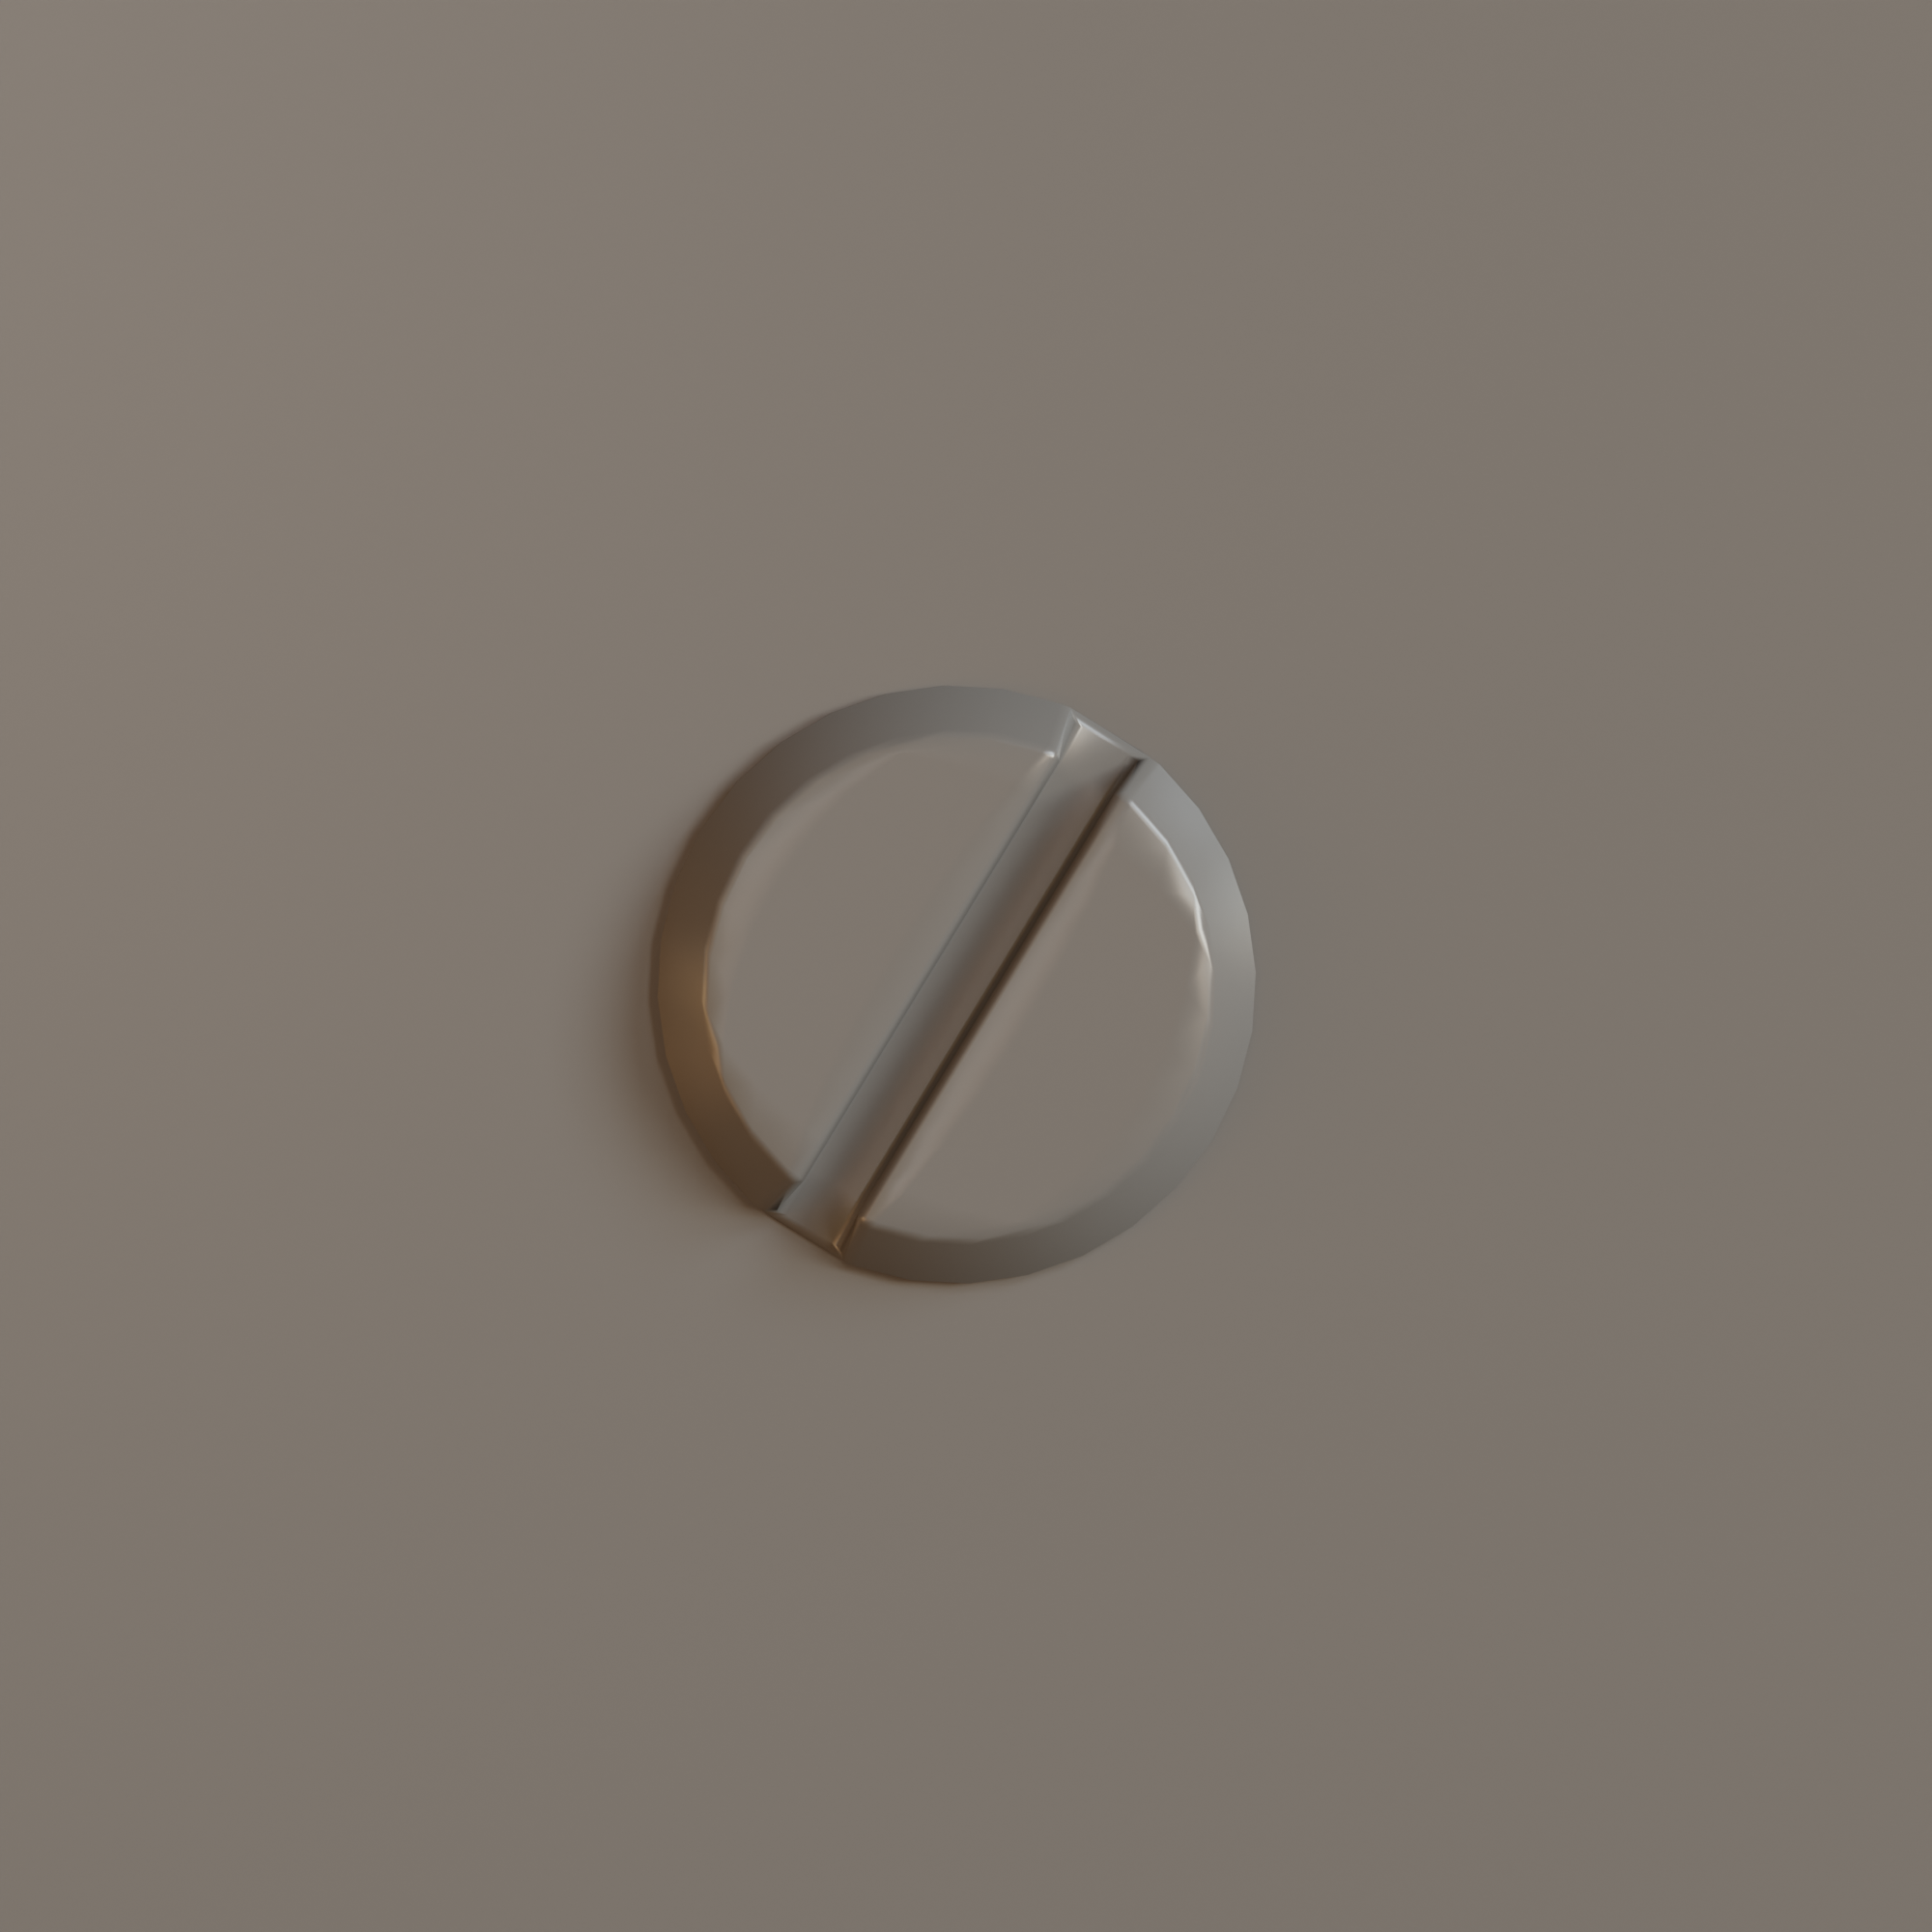
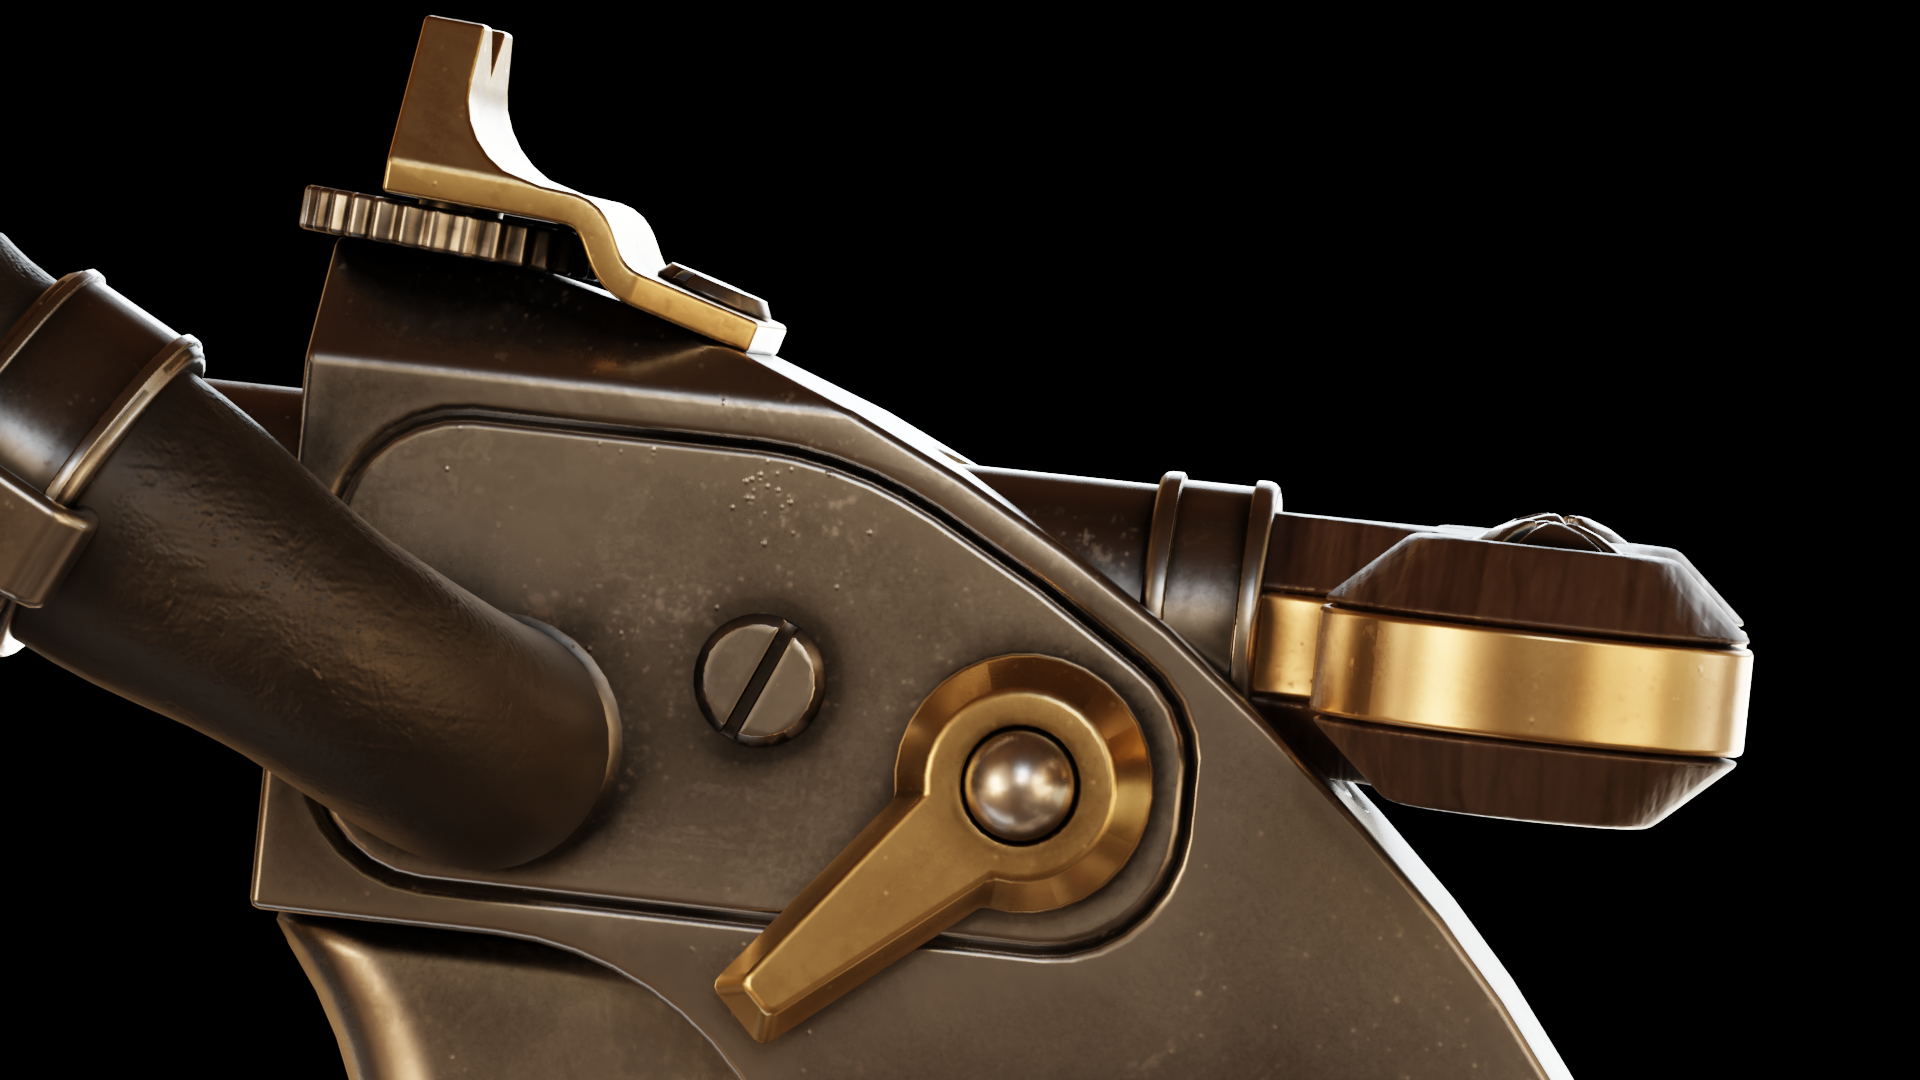
In hindsight, the Phillips screws look very unnatural. They should not extend through the whole head of the screw or at least the groove should become thicker as it comes to the center. Below is an image of a screw quickly generated using the BoltFactory addon for Blender (with a bit of a manual touch up and bevels), which looks much better in my opinion, and that's what I'll continue using in the future.

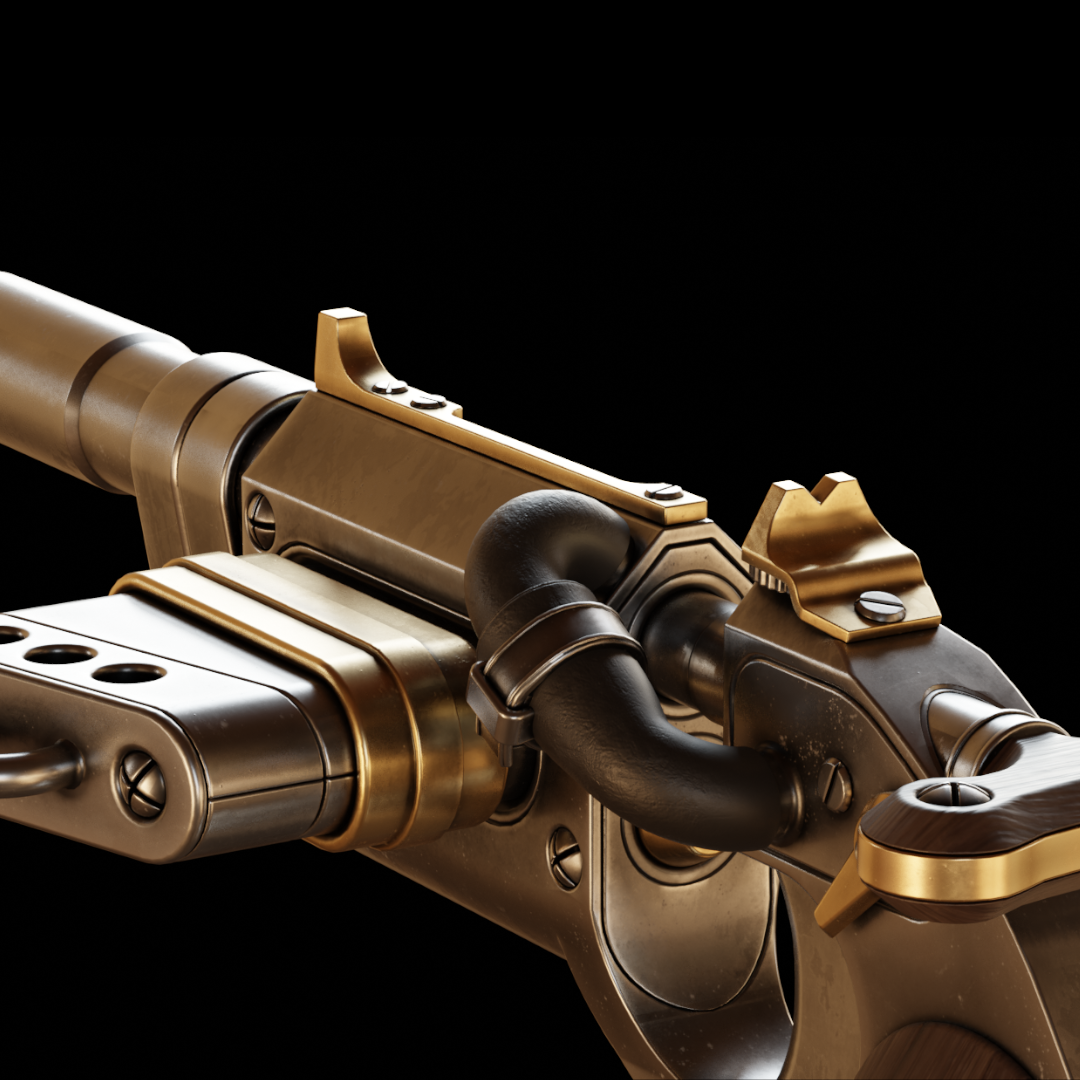
An interesting detail is insetting the surrounding mesh to house the screw. This can be seen on both the Phillips ones, and more clearly, on the big flathead. Even though on some designs this might be undesirable, it really helps making the screw feel like it belongs, if applicable.
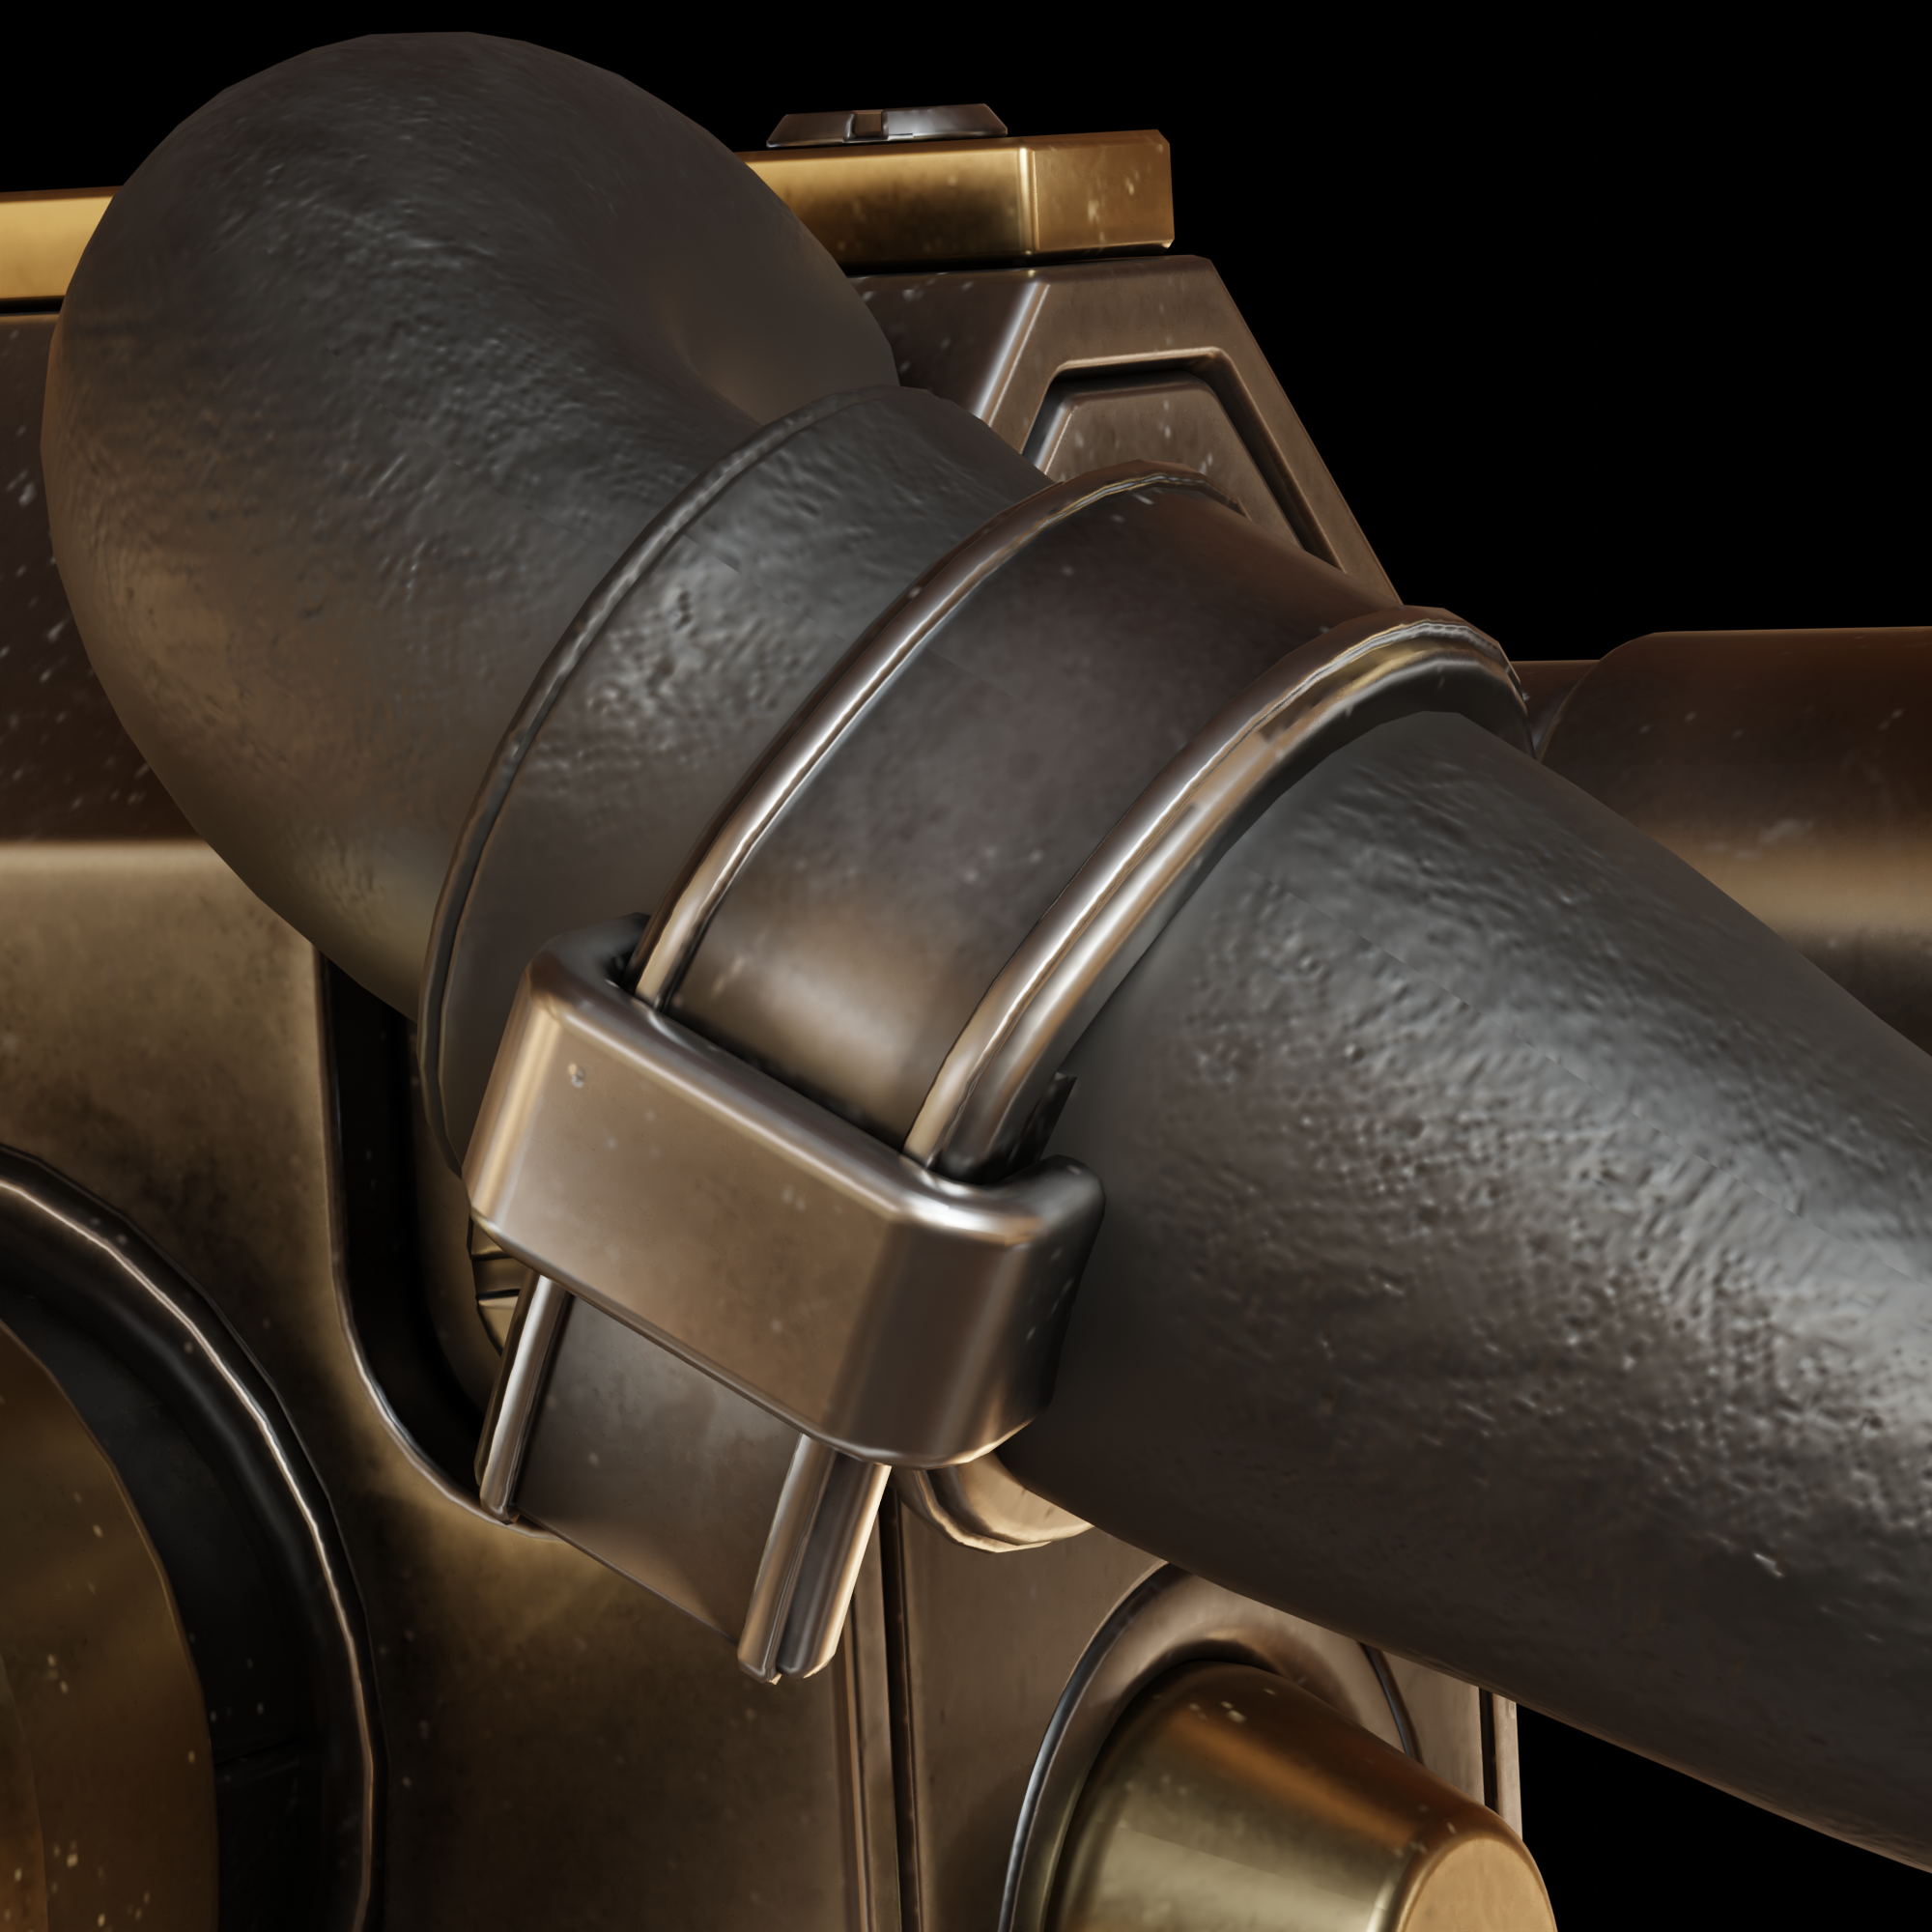
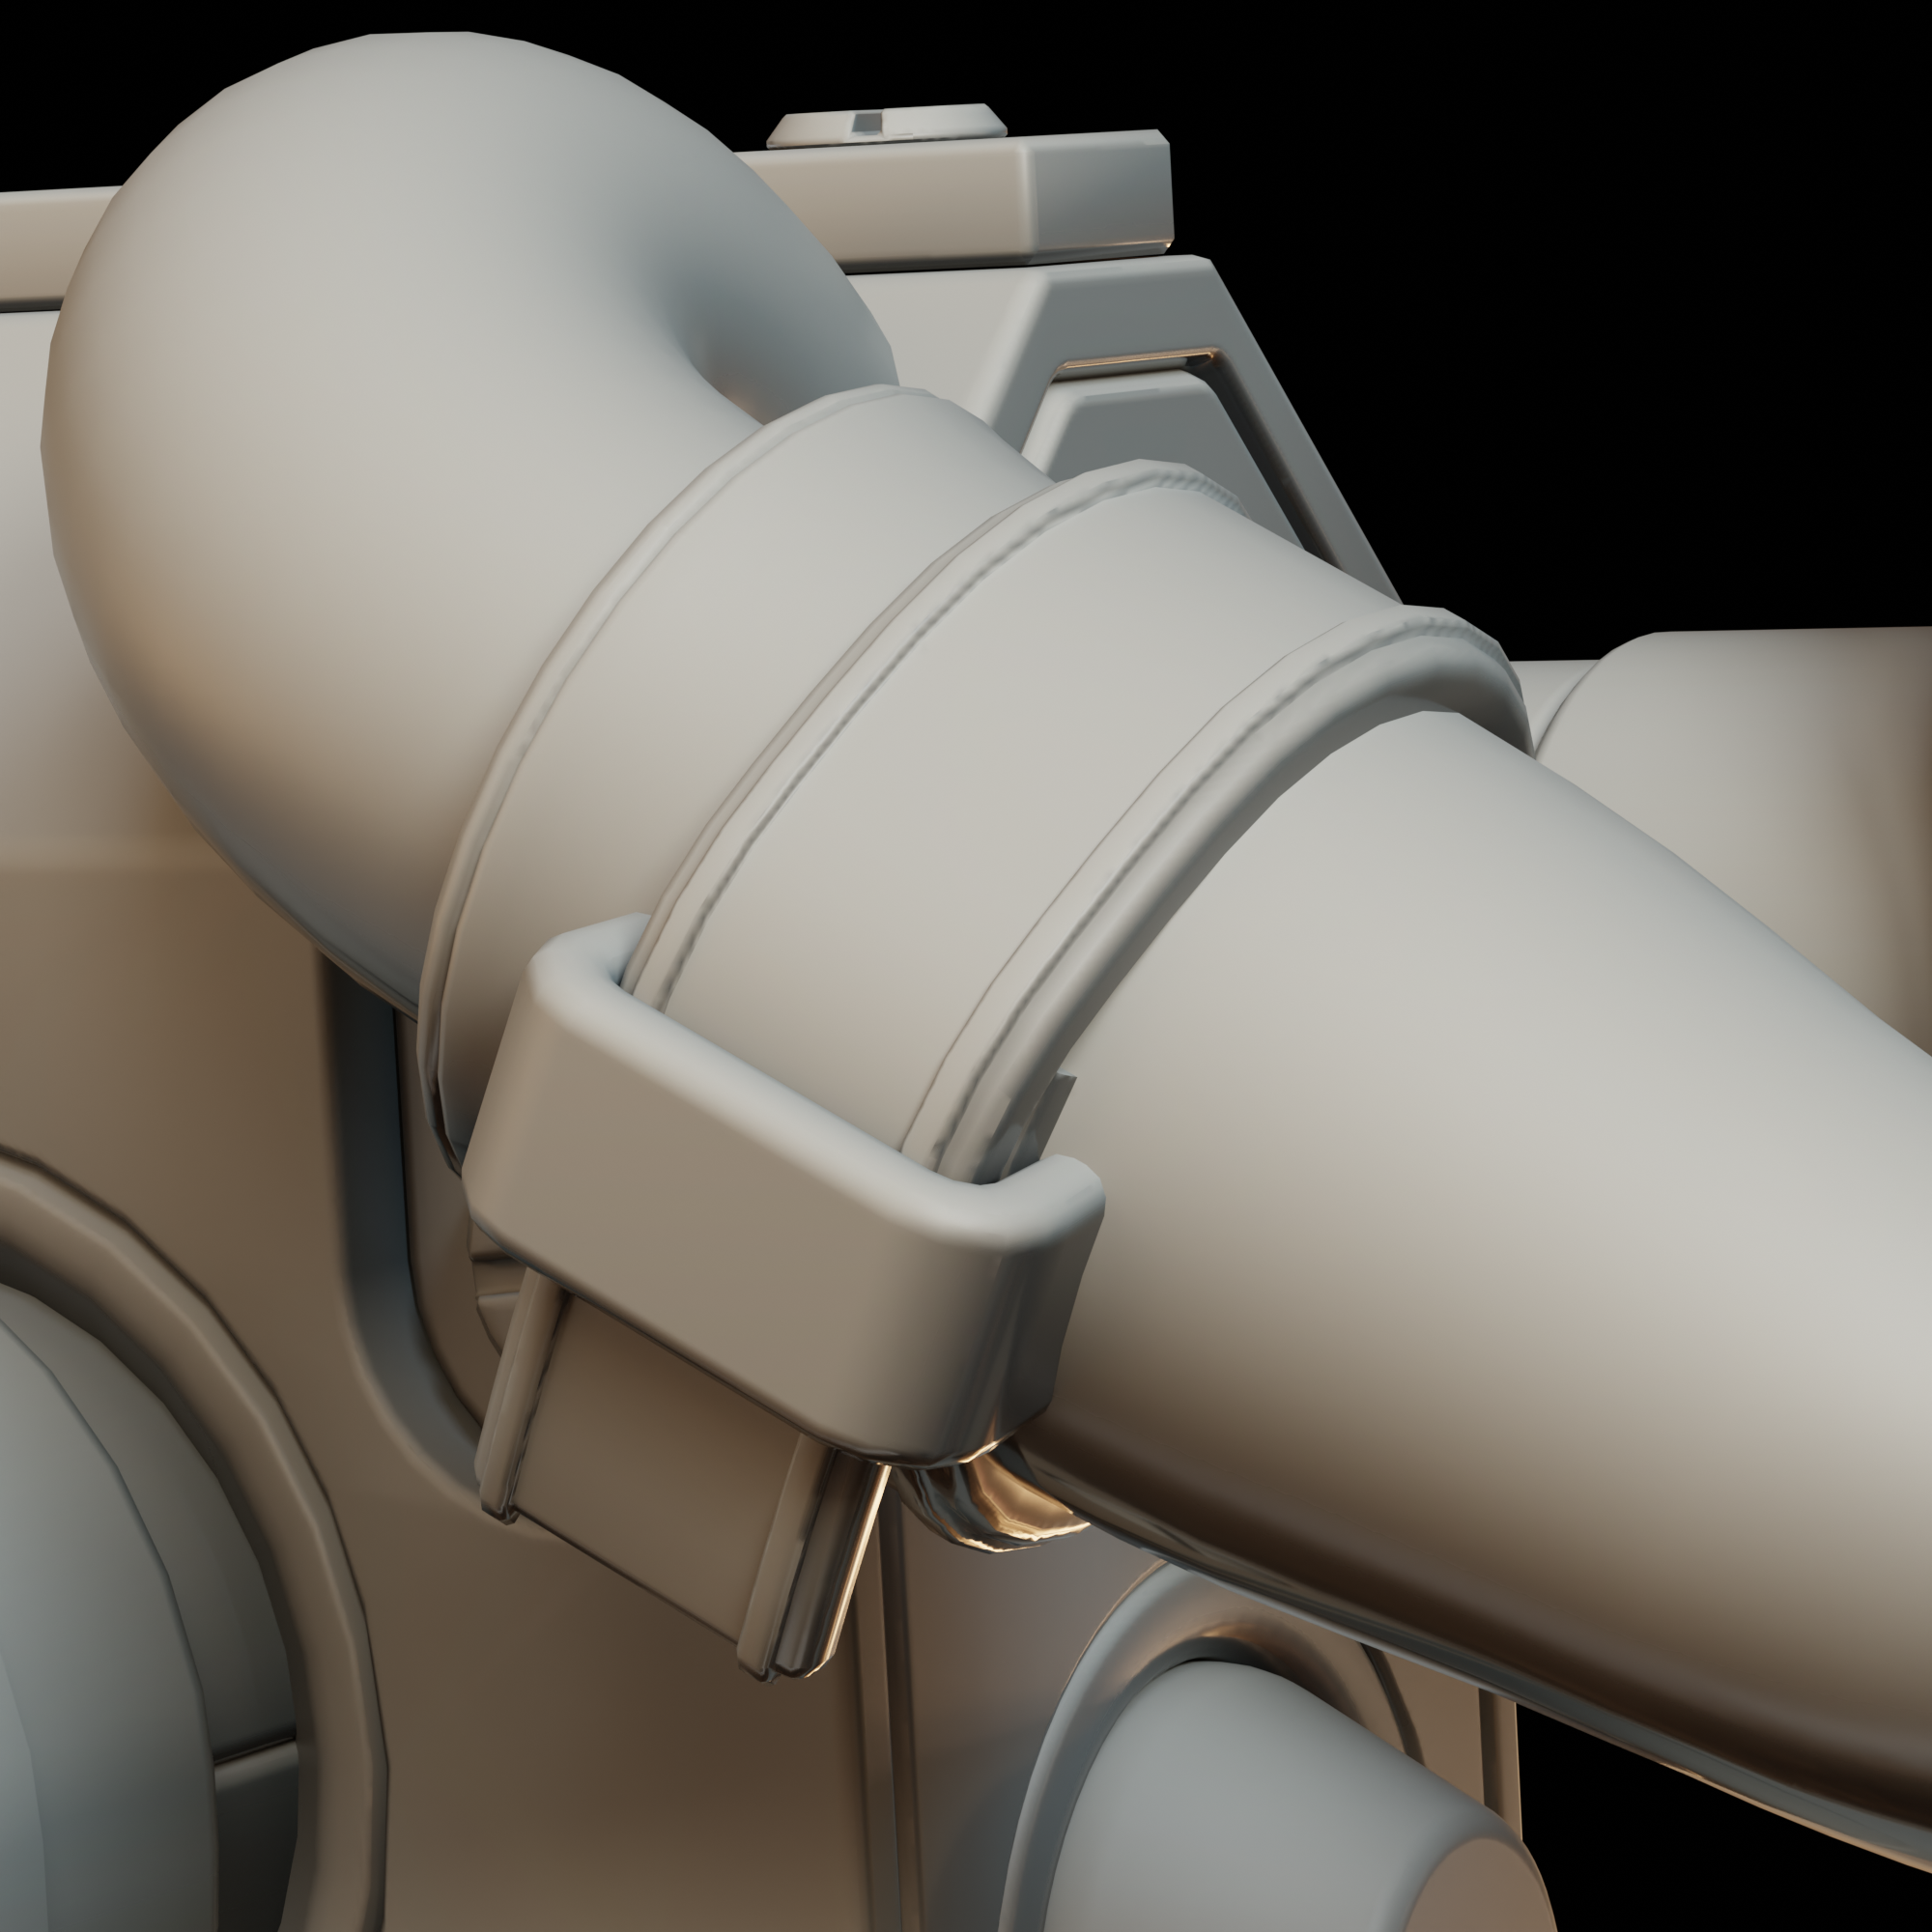
Another thing I wish I'd payed more attention to is the metal cable tie holding two sides of a rubber hose together (which by the way has no technical explanation to be there other than the cool factor).
As you can see on the images below, it doesn't feature the distinctive grooves that hold the tie in place. It's a small detail but it's things like that, that add to the realism and overall feel of a 3D model. Definitely not skipping them on the next one!
The metal materials are pretty straightforward on this one.
For the steel parts I achieved a lightly blued effect by darkening the base albedo of the whole material along with an Ambient Occlusion based mask darkening and roughing it up even more in crevices and around connecting parts. All of the metals include a layer of white-ish dust/grunge on top to make them feel more used.
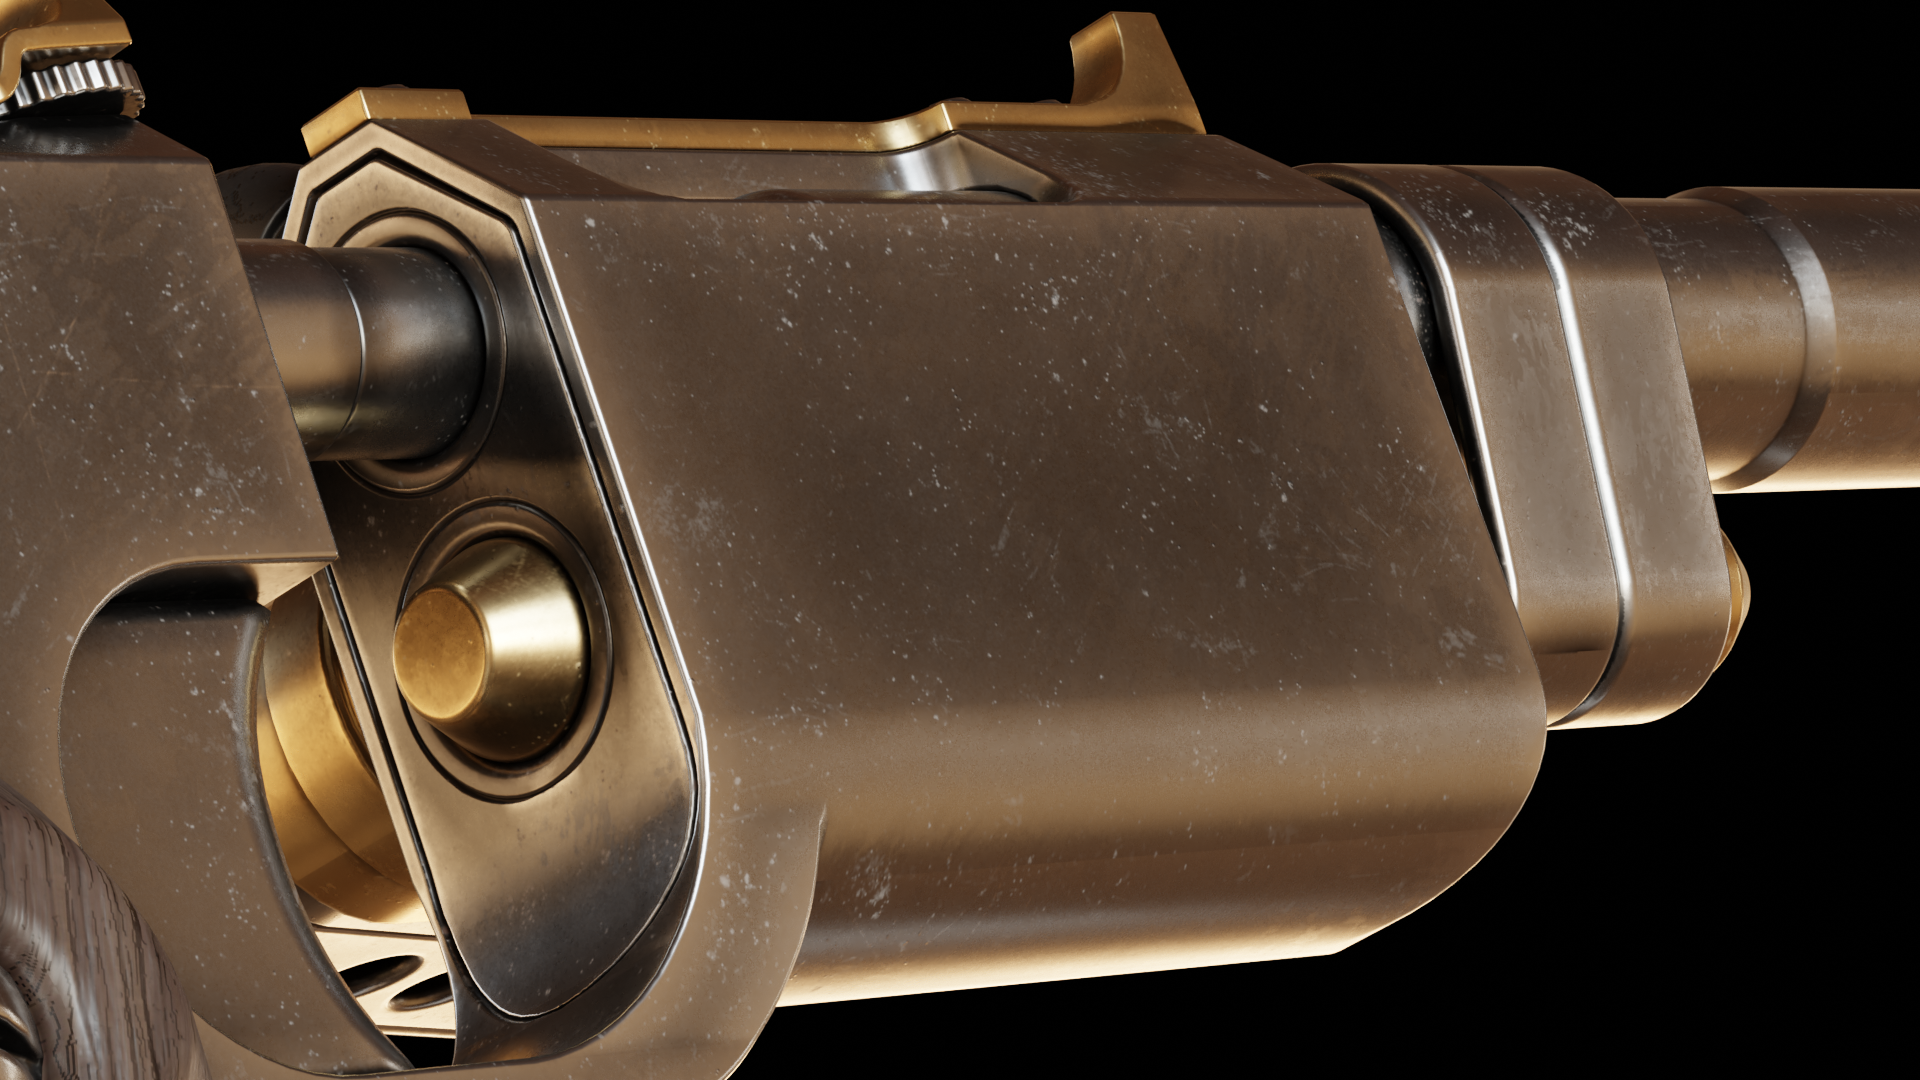
Brass on the other hand skips the general darkening and keeps only the AO based one, on top of which I added a bit of lightness on the edges with a generator and manual touch up, removing it in areas that wouldn't make sense to be worn and strengthening it for example on the tips of the sights.
I've also used a steel material without the darkening on screws and some other small metal parts for variation, visually they're just a bit lighter and in real life would be either made from a different grade of steel that reacts differently to bluing or would not be blued at all.
Overall, this was a very fun project that steps away from my usual designs that at least try to make some sense with their mechanical workings.
In the gallery below you can see renders of the firearm used in the article.
Hope you enjoyed the read, see you in the next one!